Preparing your artwork for DTF printing doesn’t have to be hard. With CADlink RIP software for DTF, especially the Cadlink Digital Factory DTF edition, you get the tools you need to turn any design into a flawless transfer. Below are simple, professional steps to make sure every print pops:
- Start with the Right File
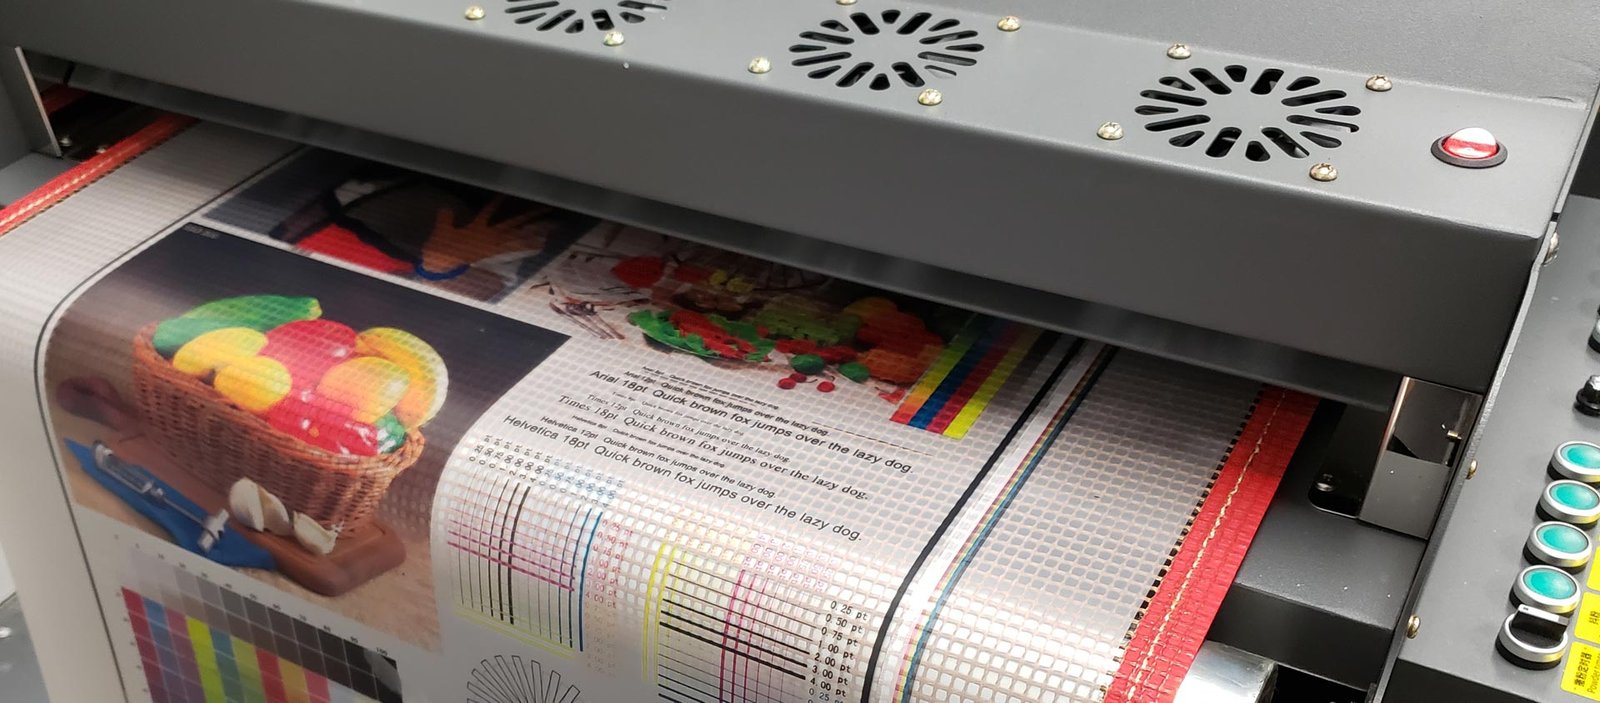
Use high-resolution art (300 DPI or more) in a clean format like TIFF, PSD, or AI. If you’re using layers, keep them organized—this helps CADlink software separate colours and underbase automatically.
- Set Up Your Color
Work in CMYK + Spot channels for white ink. The Cadlink Digital Factory DTF edition handles white-ink underbases flawlessly, but feeding it accurate spot channels speeds up your workflow. Convert any RGB art to CMYK before RIPping to avoid surprises.
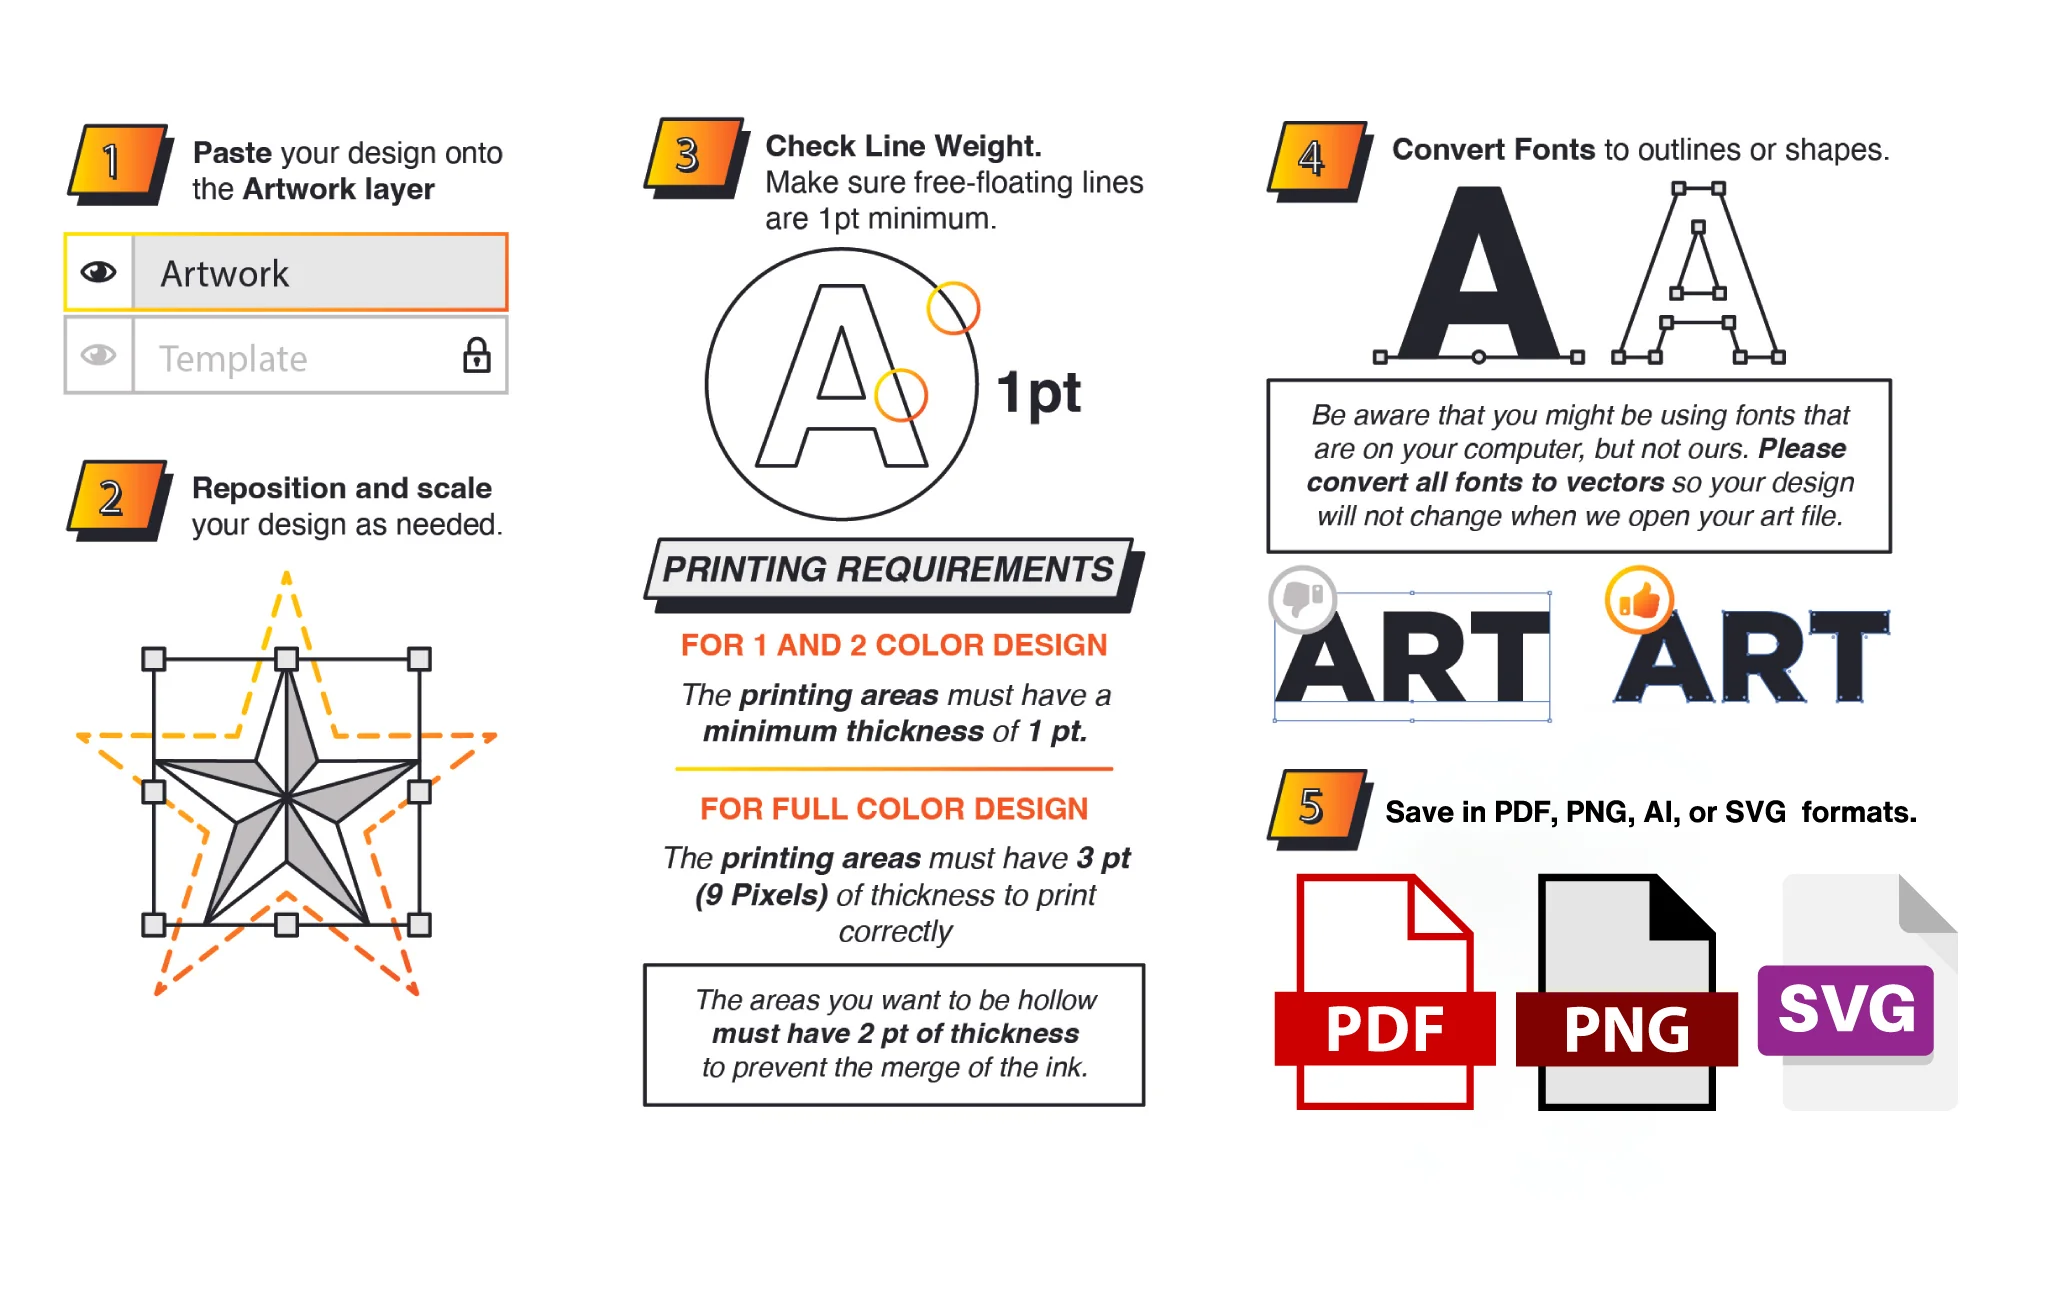
- Outline Fonts & Convert Effects
Before you send to RIP, outline all text and flatten transparency. This step ensures that CADlink software for sees every shape exactly as you designed it.
- Embed or Include ICC Profiles
Download the NIX Color ICC Profile Module for Cadlink Digital Factory DTF edition and embed it in your file. This gives you consistent color every time you press “Print.”
- Proof & Preview
Use the soft-proof feature to check your underbase, colour placement, and edge detail. A quick digital preview can save costly reprints.
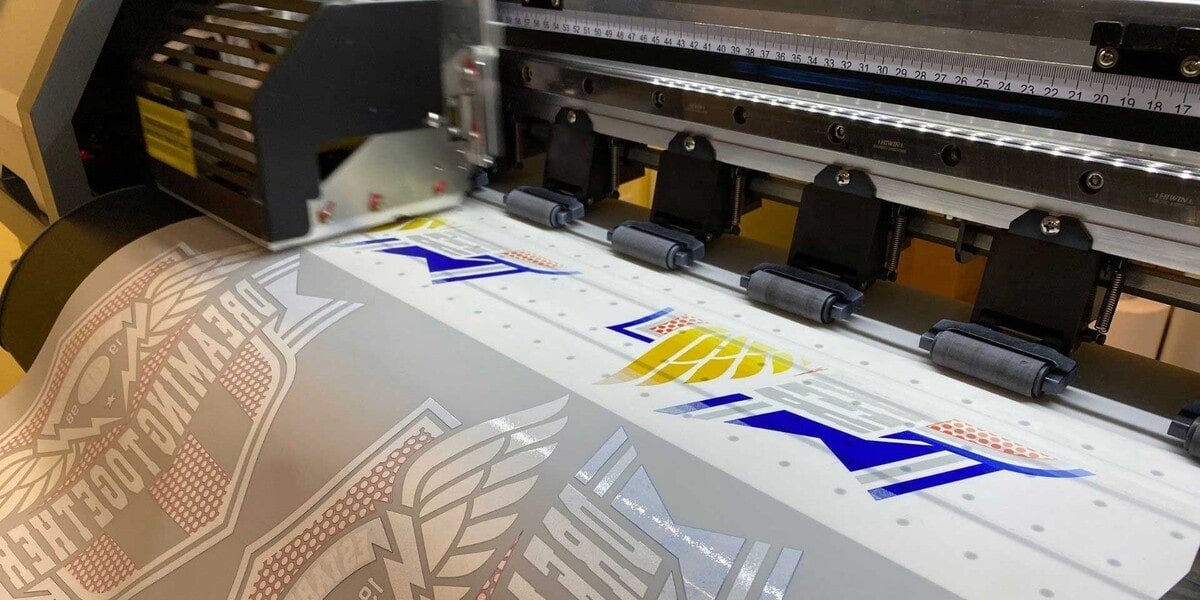
- Send to Print
Drag your final file into CADlink RIP software for DTF, select your film and ink settings, then hit “Process.” You’ll see just how smoothly Cadlink Digital Factory DTF edition translates art into ready-to-press transfers.
Ready to upgrade your workflow?
- Buy Cadlink Digital Factory DTF edition now: https://www.dtfgears.com/products/cadlink-digital-factory-dtf
- Explore CADlink RIP software for DTF options: https://www.dtfgears.com/collections/rip-software
By following these steps with the Best Professional RIP software for DTF printing, you’ll spend less time troubleshooting and more time creating stellar transfers that last.