Getting your DTF printer up and running doesn’t have to be complicated. Follow this clear, step-by-step guide by dtfgears.com to achieve crisp, vibrant prints—every time.
- Unbox and Inspect
Carefully remove your printer and all accessories from the box. Check for any damage and confirm you have the power cable, cleaning kit, and DTF film pack. Having everything on hand before you begin will save time later.
- Position and Power Up
Place your printer on a sturdy, level surface with good ventilation. Plug it in and switch it on. Let it run its initial homing sequence to ensure all parts move smoothly.
- Install “CADlink RIP software for DTF”
Before you print, install your RIP software. For the best results, choose the Cadlink Digital Factory DTF edition(https://dtfgears.com/product/cadlink-digital-factory-v11-for-dtf-wide-format-edition-large-format-edition/) -widely regarded as the “Best Professional RIP software for DTF printing.” Insert the software USB or run the downloaded installer, follow the on-screen prompts, and restart your computer.
👉 Download your free trial of Cadlink Digital Factory DTF edition at https://dtfgears.com/get-free-trial/
- Set Up Your Print Queue
Open CADlink RIP software for DTF and add your printer model. In the Device Manager, select “Add Printer,” choose your DTF model from the list, and configure the paper size to match your film roll.
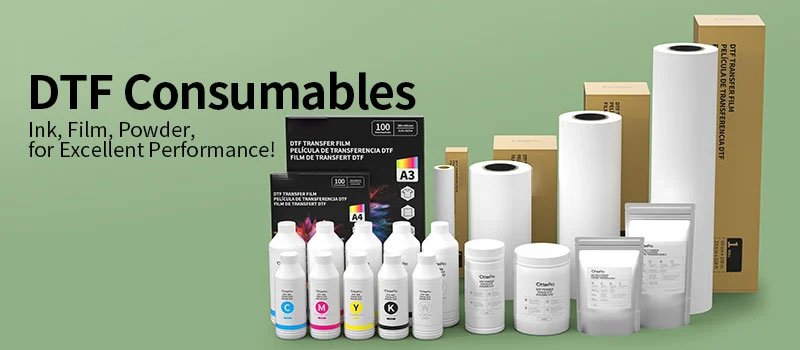
- Load Ink and Film
Fill each ink reservoir—CMYK plus white—according to the manufacturer’s instructions. Slide the DTF film under the feed rollers, ensuring it’s straight and tensioned evenly. Press “Load” on the printer’s control panel; when the film enters, lock the rollers.
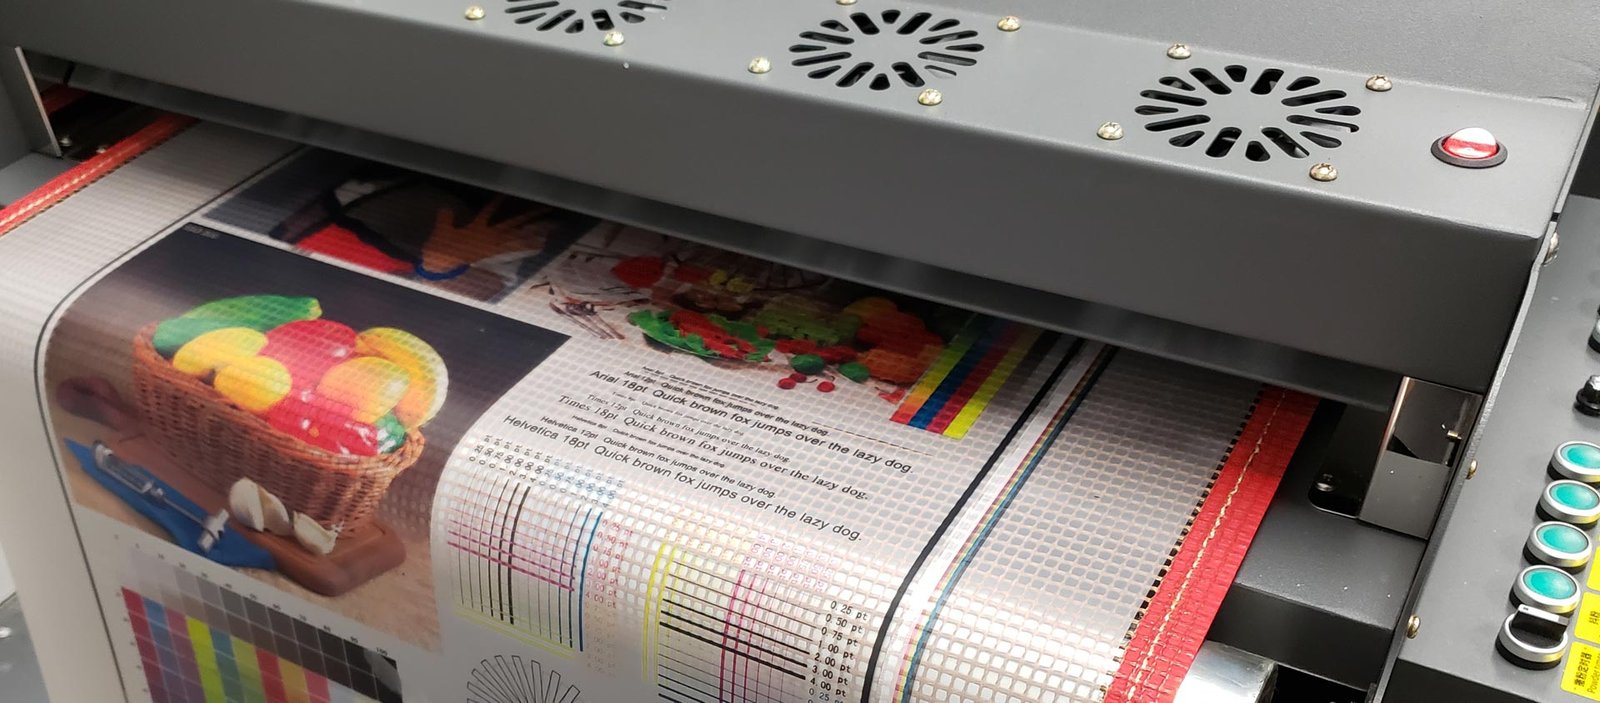
- Calibrate and Profile
Open CADlink RIP software for DTF and navigate to the Colour Management tab. Use the built-in calibration tool to print a test chart. Scan the chart with a spectrophotometer or your flatbed scanner. Load the resulting ICC profile into the software.
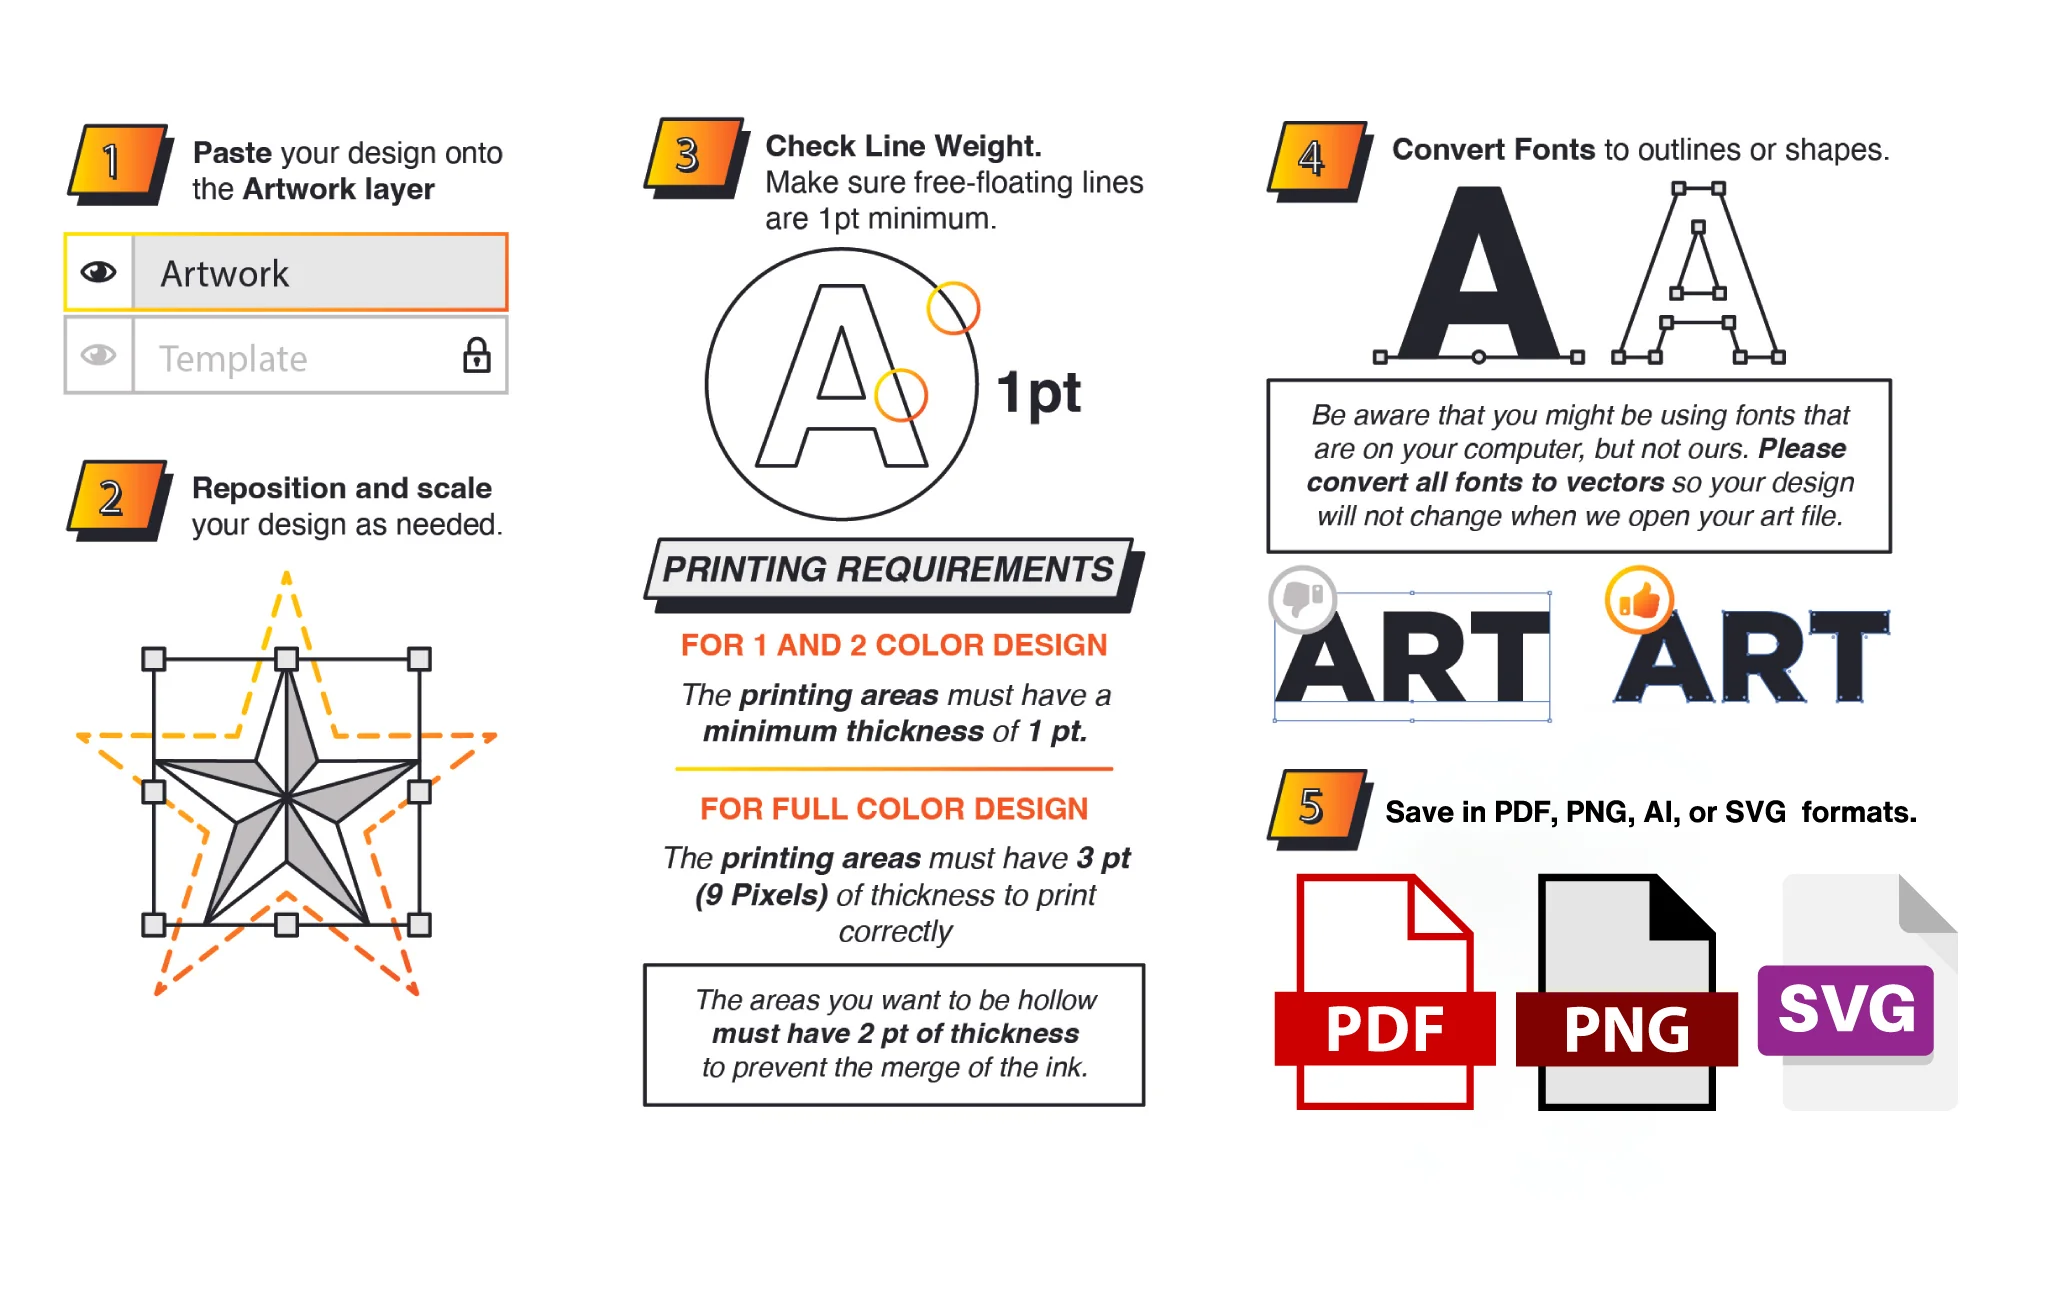
- Prepare Your Artwork
In your design app, set the resolution to 300 dpi and include a white-underbase layer for dark garments. Export as TIFF or PNG. In CADlink RIP software for DTF, drag-and-drop your file into the queue. Choose your media type (PET film) and select the correct white-underbase setting.
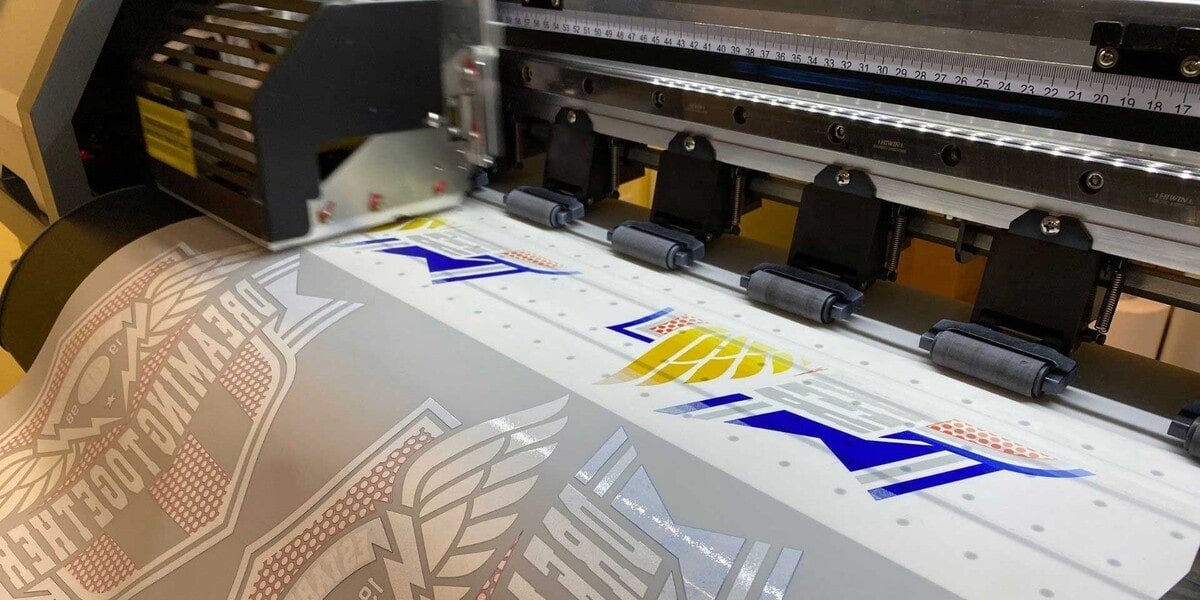
- Print and Cure
Click “Start” to send the job from Cadlink Digital Factory DTF edition to your printer. Once printed, use a hot peel—remove the film when warm—and apply your transfer to the garment with a heat press at 160 °C for 15 seconds. Peel the carrier sheet and press again for 5 seconds to lock in durability.
For seamless integration of hardware and software, trust CADlink RIP software for DTF paired with the Cadlink Digital Factory DTF edition, known as the Best Professional RIP software for DTF printing.
Ready to upgrade your setup?
👉 Browse recommended models and DTF printing bundles here: https://dtfgears.com/dtf-supplies/