Searching for a simple, premium method to print vibrant designs on nearly any fabric? Input DTF. If you’re exploring custom apparel or evaluating various print techniques, grasping the workings of DTF can help you save time, money, and countless attempts.
What Is DTF Printing?
Essentially, Direct-to-Film (DTF) printing is precisely what the name implies
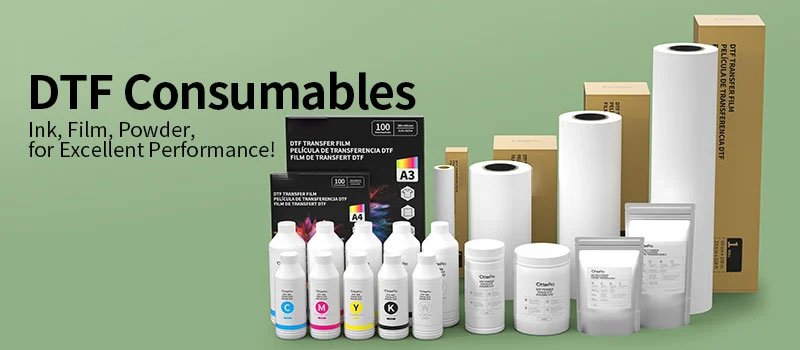
- Transfer your design onto a unique PET film utilizing CMYK along with white ink.
- Apply adhesive powder that sticks to the wet print.
- Heat-press the film onto your garment to transfer the image.
This simple trio of steps—print-film-adhesive powder-heat press—is the backbone of the DTF printing process, and it works beautifully on cotton, polyester, blends, and even unusual materials like nylon or leather.
Why It’s a Game-Changer
- Versatility Across Materials
Unlike some methods that demand 100% cotton or special coatings, DTF prints rock on almost anything—t-shirts, hoodies, tote bags, and more. - Vibrant, Durable Results
Thanks to the white underbase and CMYK inks, colors pop even on dark fabrics. Wash after wash, your prints stay crisp. - No Pre-Treat Needed
Skip the messy pretreatment spray required by DTG. With DTF printer setup, you’re ready to hit “print” straight away. - Cost-Effective for Small Batches
You don’t need to invest in huge inventories or worry about minimum orders. A compact DTF rig can handle one-offs and short runs with ease.
Breaking Down the DTF Process
1. Design Prep
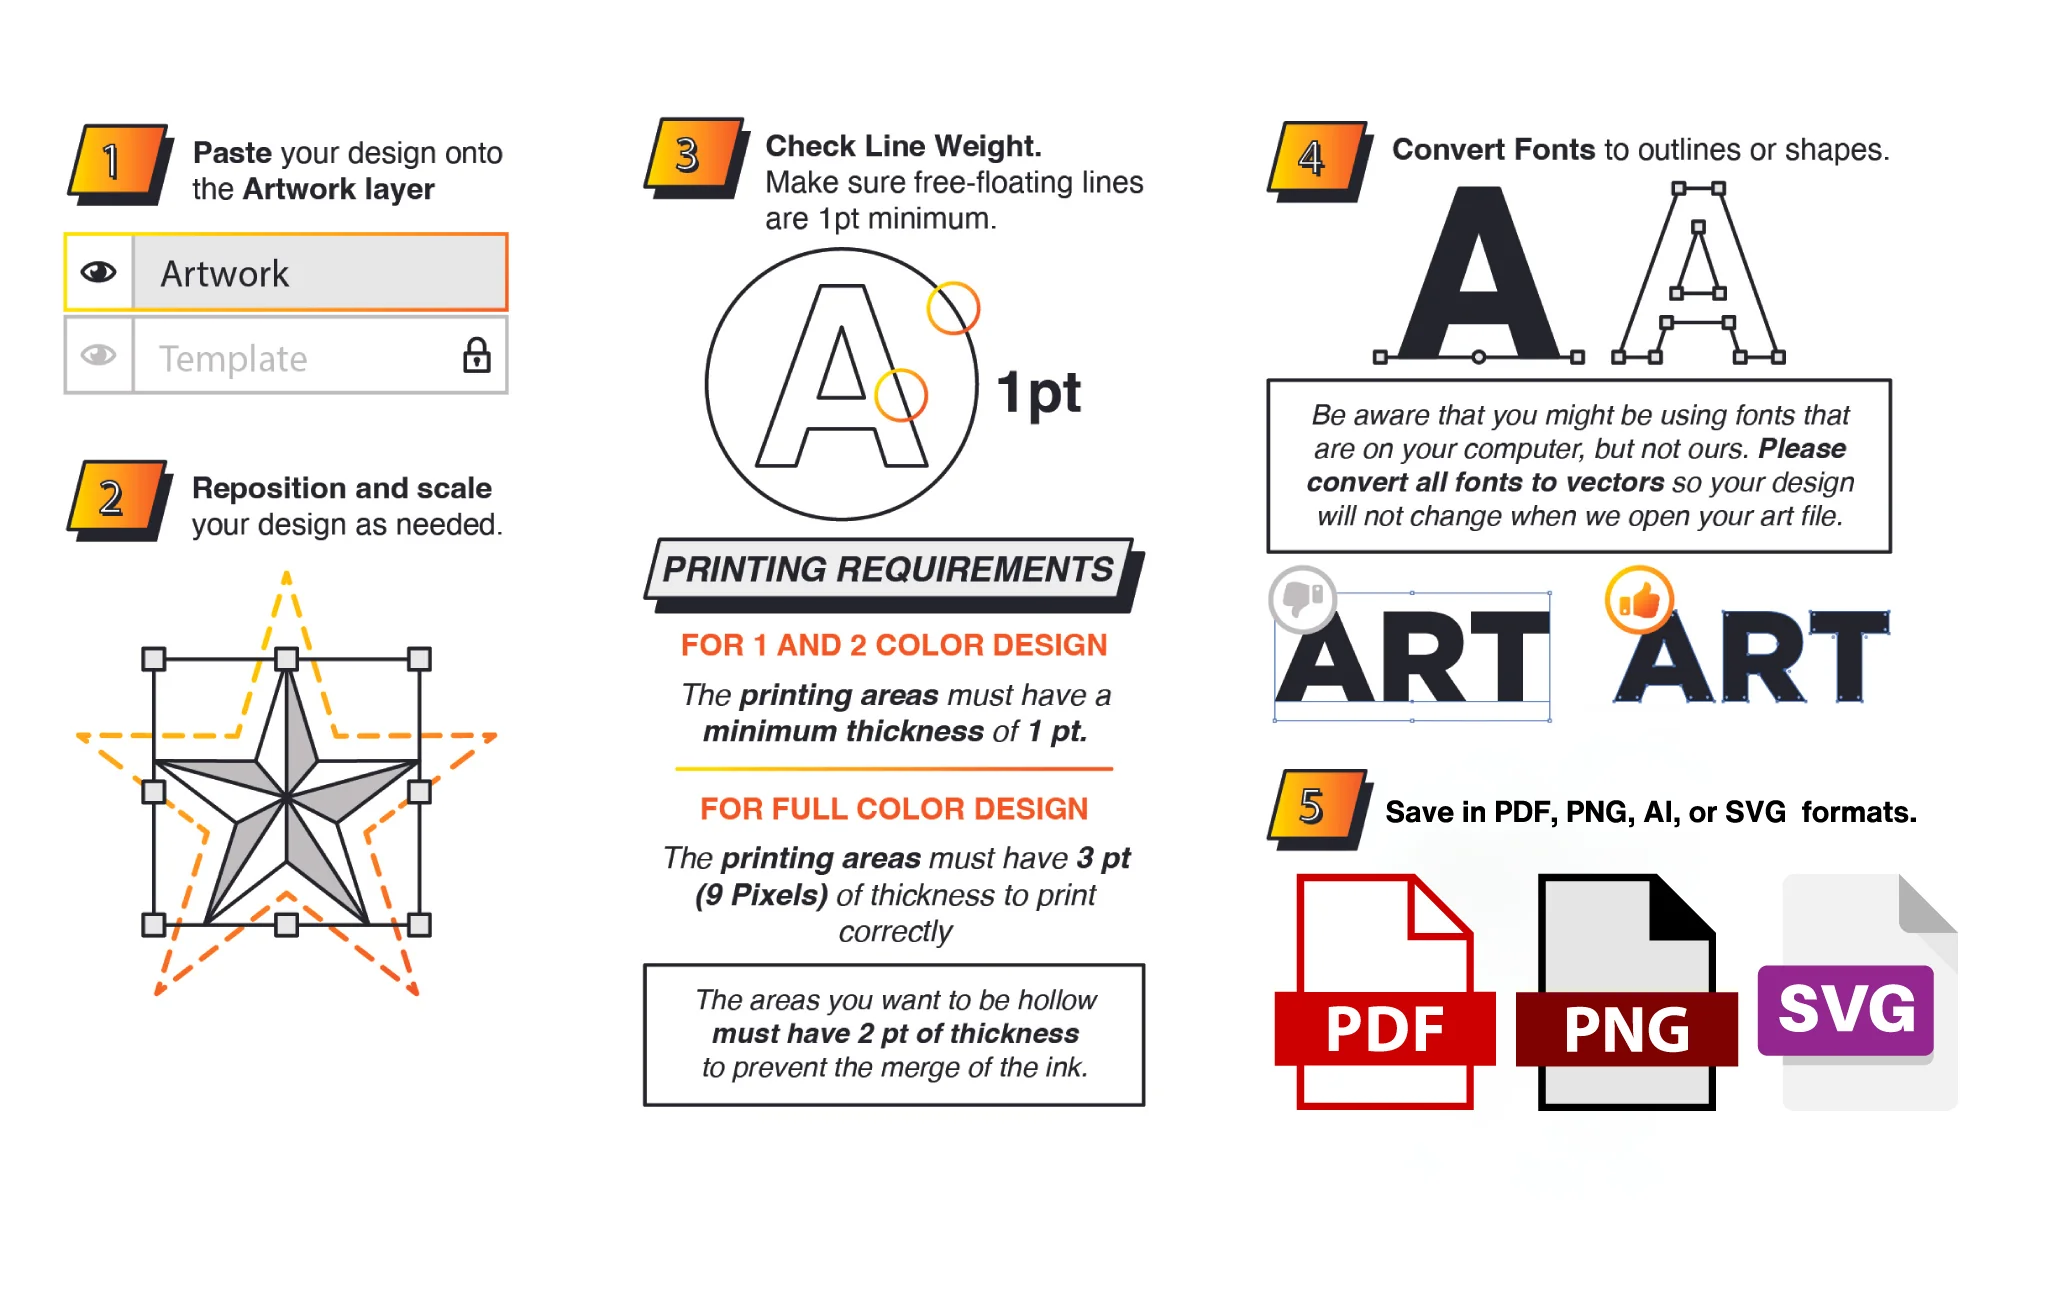
- Use your favorite design tool (Photoshop, Illustrator, or any of the best DTF printing softwares) to create or import art.
- Mirror the design and add a white underbase layer for crisp whites and bright colors.
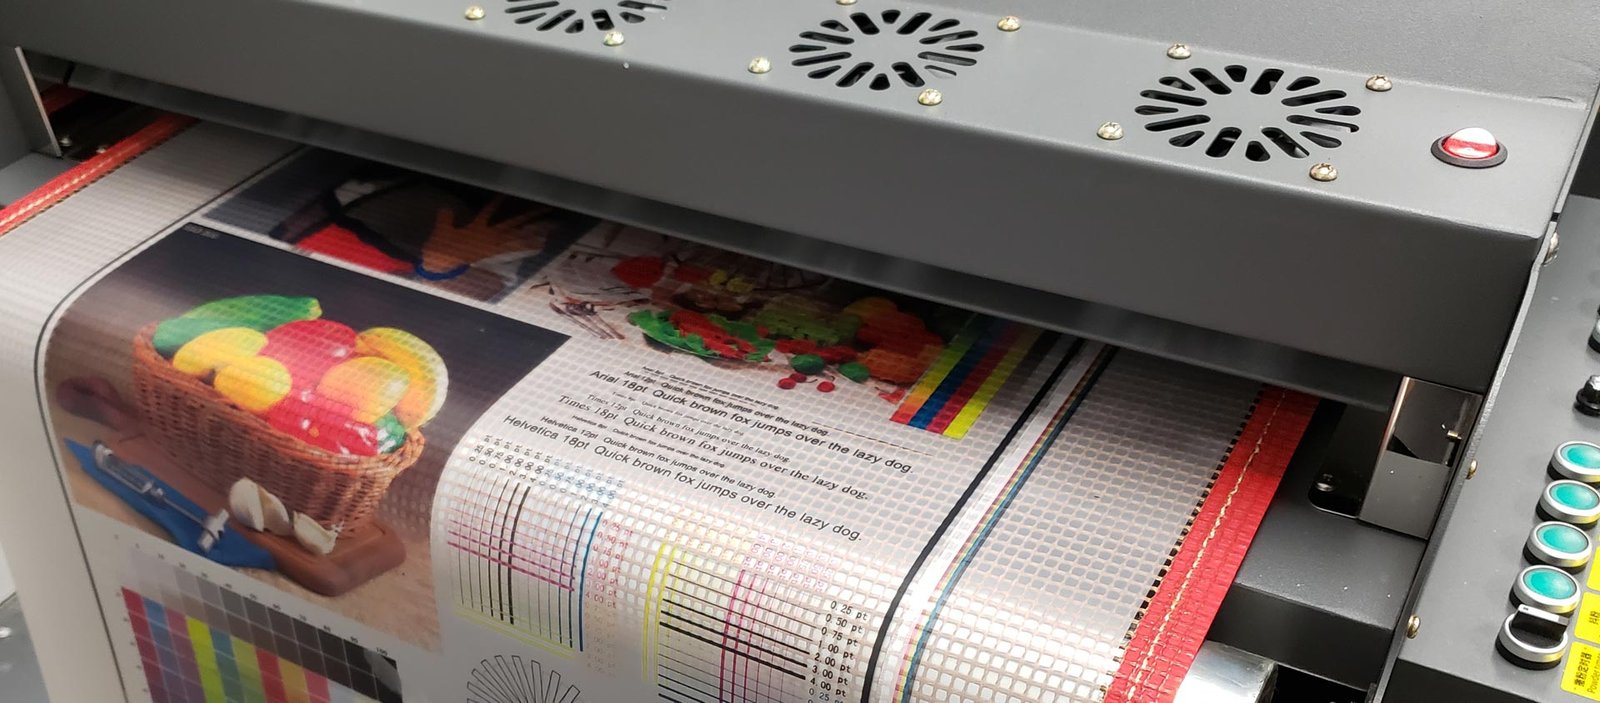
2. Printing on PET Film
- Load your film into a reliable DTF printer. We recommend checking out our DTF printers’ collection. https://dtfgears.com/product-category/dtf-supplies/dtf-film-roll/
- Print using CMYK + White ink channels in one pass.
3. Applying Adhesive Powder
- While the ink is still wet, evenly sprinkle on the adhesive powder.
- Gently shake off the excess so you’re left with a uniform coat.
4. Powder Curing
- Cure the film at 160–170 °C for about 2–5 minutes in a curing oven or on a heat press. This melts the powder into the ink.
5. Garment Pre-Press
- Pre-press your shirt or fabric for 5–10 seconds to remove moisture and smooth out any wrinkles.
6. Transfer & Final Press
- Place the cured film design-side down on the garment.
- Press at 165 °C for 15–20 seconds.
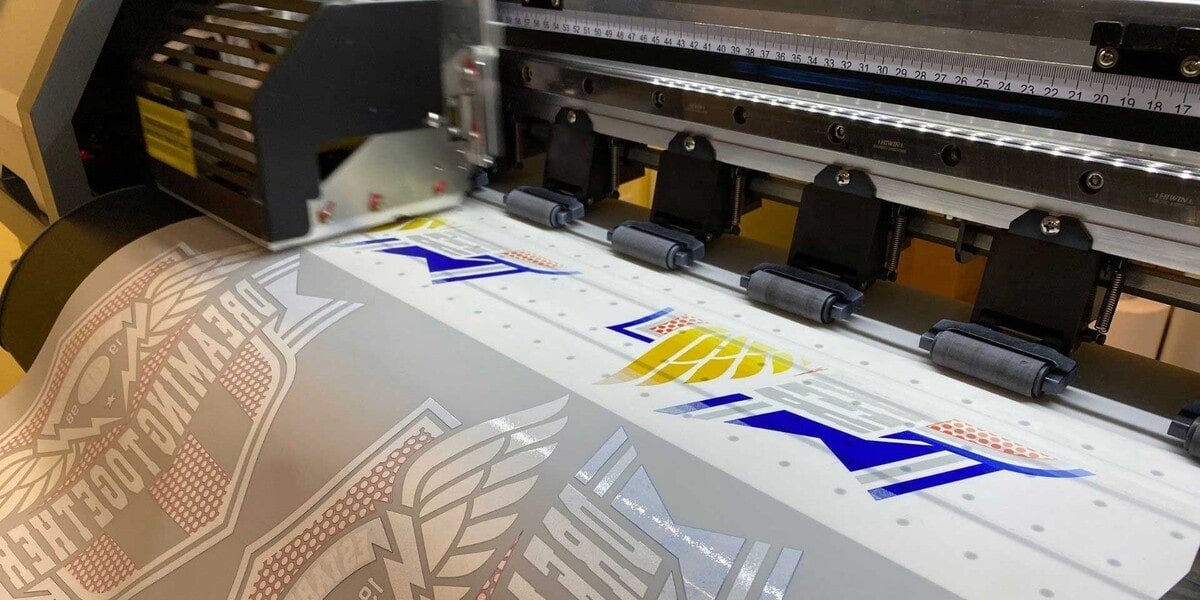
7. Peeling & Post-Press
- Hot peel immediately (or cold peel if your film requires).
- For extra durability, give it a quick post-press of 5–10 seconds.
Who Is It For?
- Small Print Shops & Startups looking for affordability and versatility.
- Apparel Brands needing multi-material capabilities without juggling multiple machines.
- Craft Entrepreneurs wanting vibrant prints on varied substrates—think canvas totes or leather patches.
- High-Volume Producers who value efficiency and speed in short and medium runs.
If you’re ready to master your DTF printer setup, explore our full lineup of heat presses, films, and adhesive powders.
Limitations & Considerations
- Hand Feel: Prints can feel slightly firmer than DTG.
- Initial Investment: You’ll need to budget for film, powder, and a good heat press.
- Learning Curve: Perfecting powder application and peel timing takes practice.
With a little patience and the right gear, though, you’ll quickly turn these “limitations” into routine steps in your DTF printing process.
Ready to Get Started?
If you’ve been searching for an all-in-one, beginner-friendly printing solution, look no further than DTF. Dive deeper into how DTF works, find the best DTF printing softwares, and browse our complete DTF printer setup at DTF Gears. Let’s make your next project a vivid reality!