
Setting up DTF printing software correctly is the difference between smooth production and constant troubleshooting. While many beginners focus only on the printer, the real backbone of professional DTF printing is the RIP software configuration.
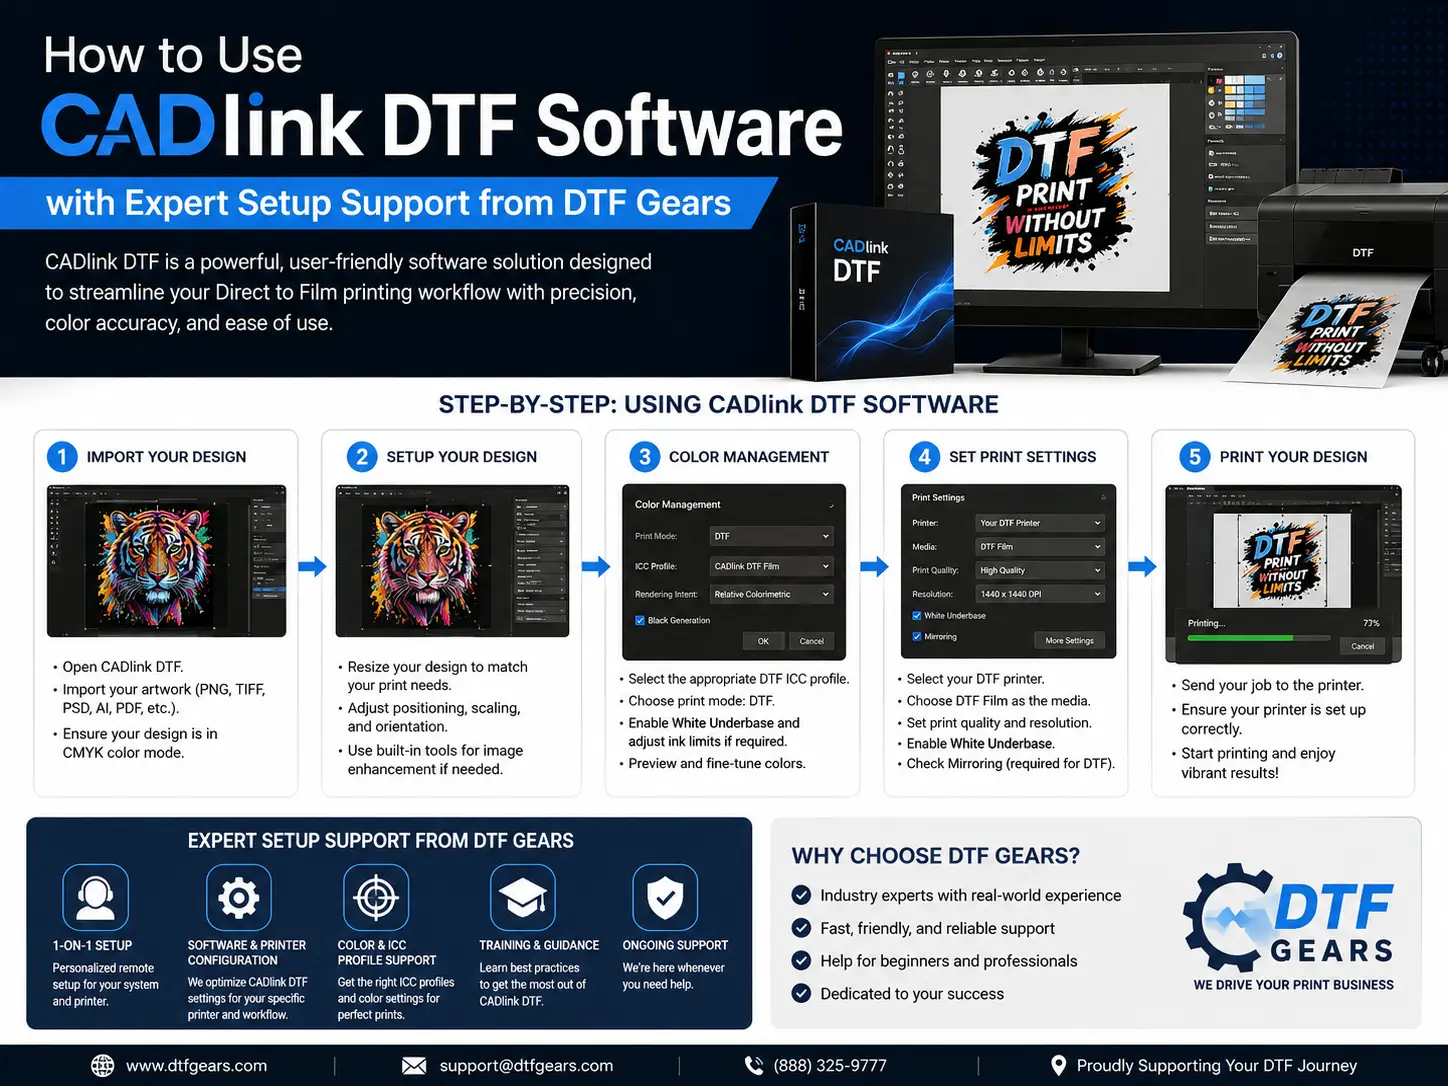
If you’re searching for how to use CADlink DTF software, this complete guide explains everything from installation and printer setup to white ink settings, color management, workflow optimization, and production best practices.
More importantly, this guide also explains how DTF Gears helps businesses properly configure CADlink software for reliable, production-ready DTF printing.
Whether you’re launching a new print business or upgrading your current workflow, this detailed CADlink setup guide will help you avoid costly mistakes and achieve consistent print quality.
What Is CADlink DTF Software?
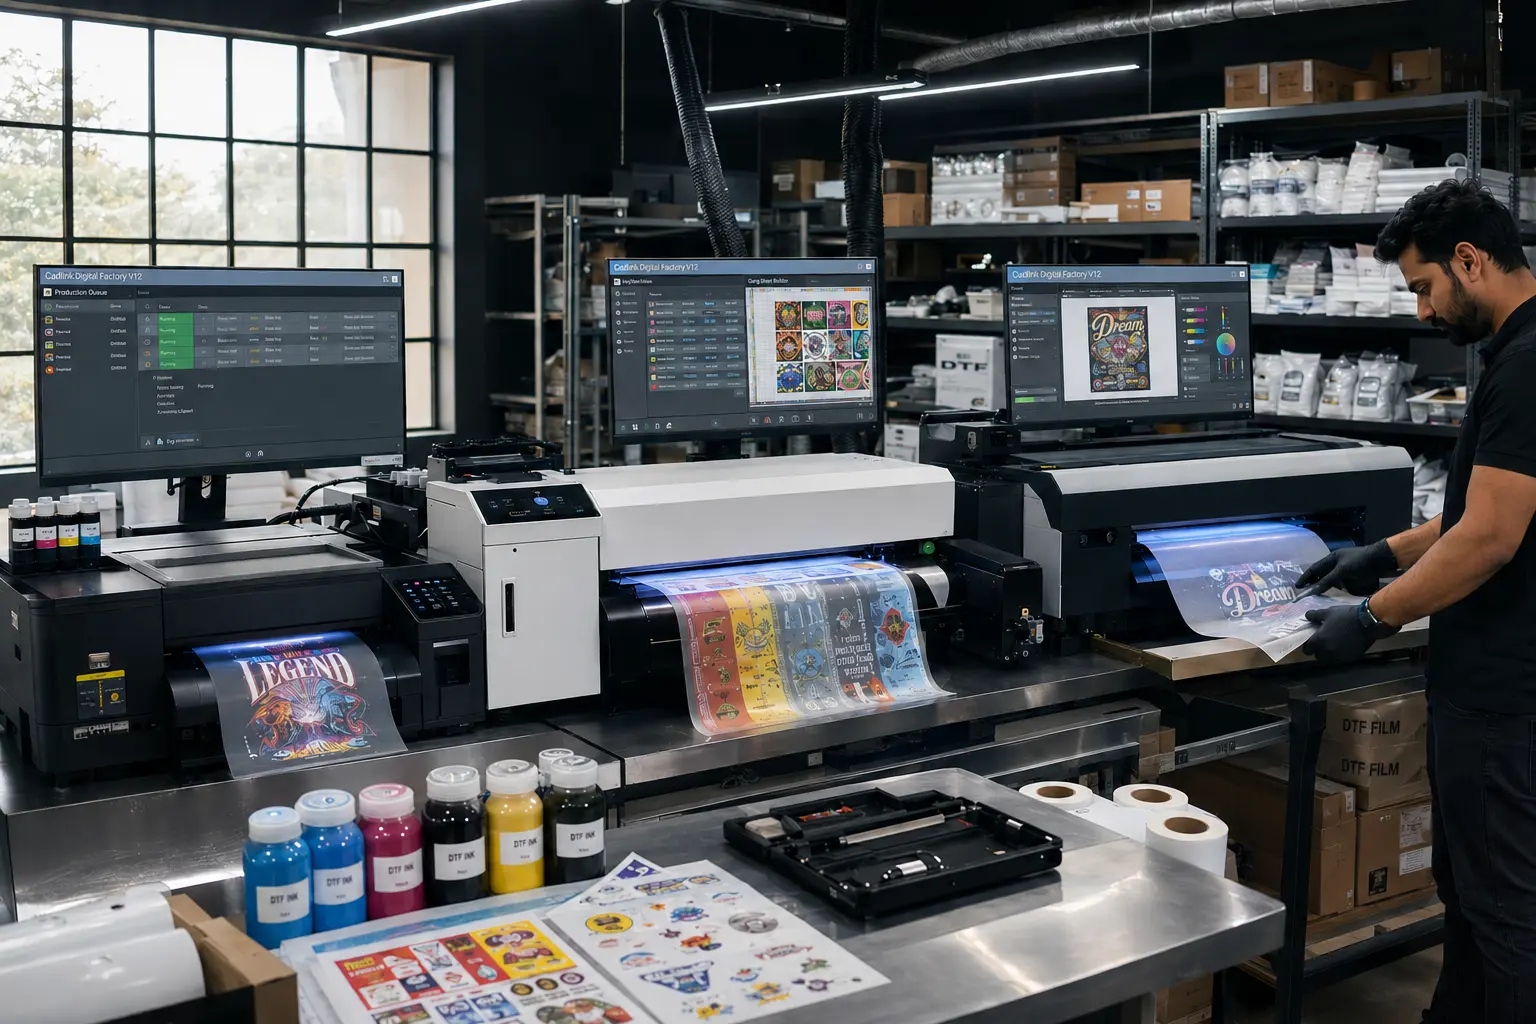
CADlink Digital Factory is professional RIP (Raster Image Processor) software designed for digital textile and DTF printing workflows.
The software converts artwork into printer-readable data while controlling:
- White ink generation
- Ink density
- Print resolution
- ICC color profiles
- Pass settings
- Print queues
- Film layout optimization
In simple terms, CADlink acts as the communication bridge between your design software and DTF printer.
Without proper RIP software settings, even high-end DTF printers can produce poor-quality results.
Why DTF Businesses Use CADlink
Many basic RIP tools offer limited white ink control and inconsistent color output. CADlink is widely used because it provides advanced production-level features.
Better White Ink Management
Precise underbase and choke settings improve vibrancy and reduce ink bleeding.
Faster Production Workflow
CADlink handles batch processing and queue management efficiently.
Improved Color Accuracy
ICC profile support helps maintain consistent color reproduction.
Advanced Print Controls
Users can fine-tune print speed, ink density, and resolution settings.
Multi-Printer Compatibility
The software supports many DTF printer models and configurations.
For serious DTF operations, learning how to use CADlink DTF software properly can dramatically improve production quality and reduce material waste.
How DTF Gears Helps with CADlink Setup
One of the biggest problems beginners face is incorrect software configuration. Improper RIP settings often lead to:
- Dull prints
- White ink flooding
- Banding issues
- Weak adhesion
- Color inconsistency
- Film wastage
DTF Gears Free Trial helps businesses simplify the entire setup process by providing guided installation and workflow support.
DTF Gears CADlink Support Includes
Initial Software Installation
The team helps install and activate CADlink correctly.
Printer Configuration
Proper printer selection and communication setup.
White Ink Calibration
Optimization of underbase density and choke settings.
ICC Profile Assistance
Color profile setup for better color accuracy.
Production Workflow Guidance
Helping businesses create faster and more efficient workflows.
Troubleshooting Support
Resolving common RIP and print issues.
For beginners especially, expert setup assistance can save weeks of trial and error.
Step-by-Step CADlink Setup Guide
Step 1: Download CADlink Software
Start by downloading the latest version through:
- → Software page
- → Get Free Trial
- → CADlink product page
Using updated software ensures better compatibility and fewer bugs.
Step 2: Install the Software
Run the installer as Administrator.
During installation:
- Accept the license agreement
- Choose installation folder
- Install printer drivers
- Activate the software
- Restart your computer
After installation, launch CADlink.
Step 3: Add Your DTF Printer
Inside CADlink:
Navigate To:
Devices → Add Device
Choose:
- Printer manufacturer
- Printer model
- Connection method
After setup:
- Configure media width
- Set print resolution
- Save printer profile
This becomes your primary production preset.
Understanding the CADlink Interface
A proper DTF RIP software tutorial starts with understanding the dashboard.
Main Sections Include
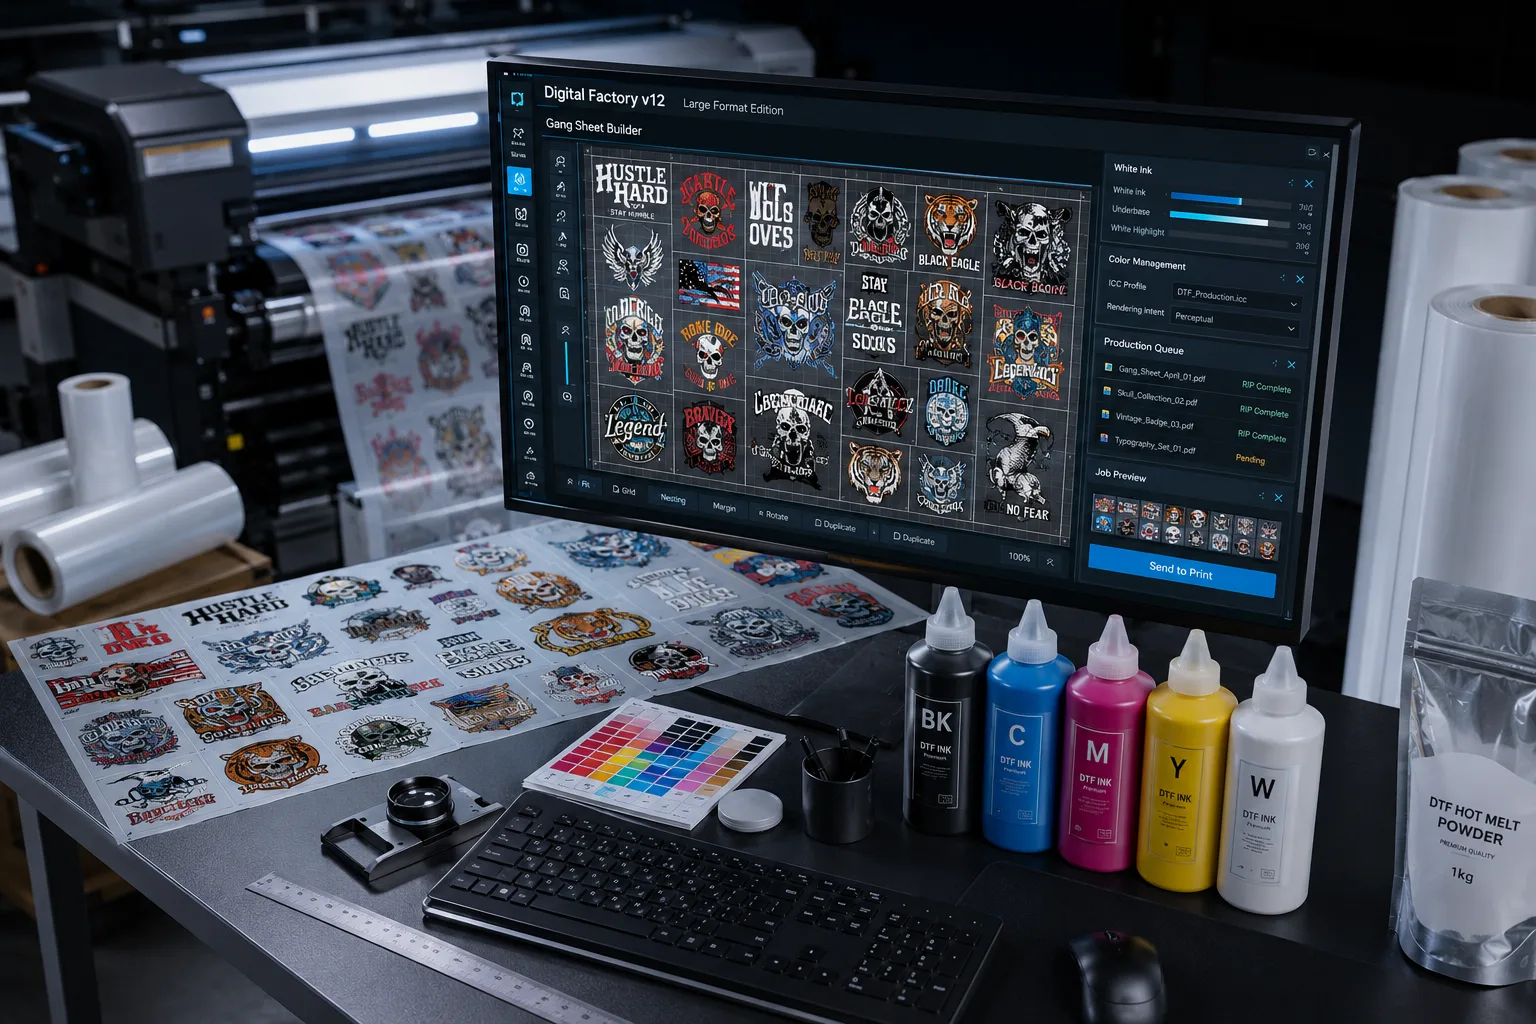
Job Queue
Displays active and pending print jobs.
RIP Settings Panel
Controls resolution, color profiles, and white ink layers.
Layout Workspace
Where artwork positioning and nesting happen.
Printer Status Monitor
Shows printer communication and operational status.
Mastering the interface improves workflow efficiency significantly.
How to Import Artwork into CADlink
Supported File Formats
CADlink supports:
- PNG
- PSD
- TIFF
- EPS
PNG files with transparent backgrounds work best for DTF printing.
Import Process
Method 1
Drag and drop artwork directly.
Method 2
Use:File → Import
After importing:
- Resize design
- Position artwork
- Mirror image if required
- Inspect edges carefully
Always preview artwork before RIP processing.
CADlink White Ink Settings Explained
Proper CADlink white ink settings are essential for vibrant and durable DTF prints.
Incorrect settings often create:
- Ink pooling
- Cracking
- Muddy colors
- Weak opacity
1. White Underbase Settings
The white underbase creates opacity beneath the colored layer.
Recommended Starting Values
| Setting | Recommended |
|---|---|
| White Density | 70–85% |
| Choke | 1–2 px |
Higher density increases vibrancy but may create excessive ink buildup.
2. Choke Settings
Choke slightly shrinks the white layer to avoid visible outlines.
Recommended Values
| Artwork Type | Choke |
|---|---|
| Logos | 1 px |
| Detailed graphics | 2 px |
| Small text | 0.5 px |
Incorrect choke settings often create white halos around artwork.
3. Highlight White
Highlight white adds extra brightness for vivid output.
Useful for:
- Neon graphics
- Dark garments
- High-saturation artwork
Best Resolution Settings for DTF Printing
Print resolution affects both quality and production speed.
Recommended Settings
| Usage | Resolution |
|---|---|
| Draft prints | 720×720 |
| Standard production | 1440×720 |
| High-detail artwork | 1440×1440 |
Higher resolutions increase RIP processing time and ink usage.
Color Management in CADlink
Color accuracy is critical for professional DTF printing.
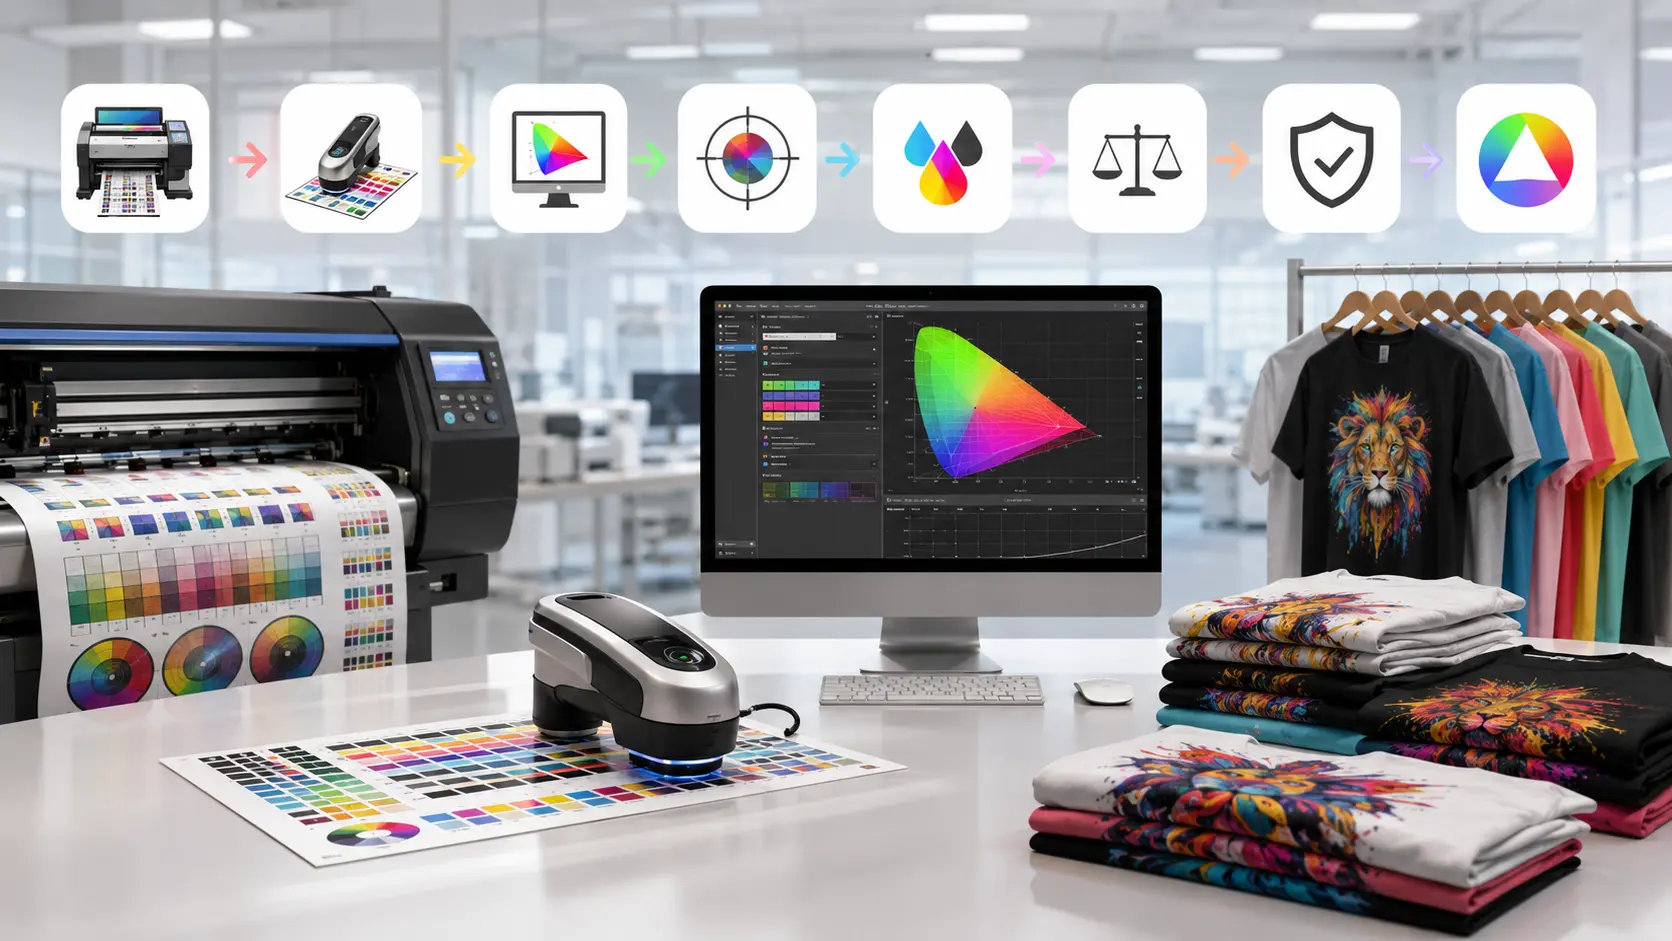
Use Proper ICC Profiles
Different profiles are needed for:
- Different inks
- Different films
- Different fabrics
- Different printers
Never rely entirely on default profiles.
Recommended Workflow
- Load ICC profile
- Print test chart
- Compare output
- Adjust saturation if needed
- Save custom preset
This helps maintain consistent production quality.
How to RIP and Print Designs
Step 1: RIP the Artwork
Select:RIP Only or RIP and Print
CADlink processes:
- White layers
- Ink sequencing
- Resolution mapping
- Color conversion
Step 2: Preview the Output
Before printing, inspect:
- White layer alignment
- Transparency
- Edge smoothness
- Final dimensions
This prevents costly print errors.
Step 3: Send to Printer
Before printing:
- Load film correctly
- Check nozzle status
- Verify ink levels
- Monitor first passes
Always inspect the first print carefully.
DTF Powder and Curing Tips
After printing:
Apply Adhesive Powder
- Coat evenly
- Remove excess powder
- Avoid clumping
Cure Correctly
Recommended Temperature
110–130°C
Recommended Time
2–5 minutes
Incorrect curing affects transfer durability.
Heat Press Application Settings
Recommended Heat Press Settings
| Fabric | Temp | Time |
|---|---|---|
| Cotton | 160°C | 15 sec |
| Polyester | 145°C | 12 sec |
| Blends | 150°C | 15 sec |
Always test settings before bulk production.
Common CADlink Problems and Solutions
Printer Not Connecting
Causes
- Driver issues
- Faulty USB cable
- Wrong port selection
Solution
- Reinstall drivers
- Restart spooler
- Use direct USB connection
White Ink Misalignment
Causes
- Incorrect calibration
- Print head alignment issues
Solution
Recalibrate the printer.
Slow RIP Processing
Causes
- Large layered files
- Low RAM
- Background applications
Solution
- Flatten artwork
- Upgrade RAM
- Close unnecessary programs
Banding Issues
Causes
- Clogged nozzles
- Poor humidity
- Incorrect pass settings
Solution
- Perform nozzle checks
- Clean print heads
- Maintain humidity levels
Best Practices for Professional DTF Printing
Maintain Proper Humidity
Low humidity causes static and inconsistent ink flow.
Clean Print Heads Regularly
Daily maintenance prevents expensive repairs.
Use Quality Film
Cheap film negatively affects print quality.
Save Presets
Create presets for different garments and workflows.
Run Test Prints
Every ink and film combination behaves differently.
Testing reduces production failures.
Why Businesses Choose DTF Gears
DTF Gears Official Website supports DTF businesses with software guidance, setup assistance, and workflow optimization.
Their support helps reduce:
- Setup confusion
- Calibration errors
- Color inconsistency
- White ink issues
- Production downtime
For beginners especially, expert guidance shortens the learning curve significantly.
Final Thoughts
Learning how to use CADlink DTF software correctly is essential for producing professional DTF transfers consistently.
The software offers advanced control over:
- White ink settings
- Color management
- RIP processing
- Production workflows
But proper configuration is critical.
That’s why many businesses rely on support from DTF Gears to streamline setup and optimize production workflows from the beginning.
If you want better print quality, faster production, and fewer costly mistakes, start with a properly configured CADlink workflow and continue refining your presets through testing and calibration.
Frequently Asked Questions
What is CADlink used for in DTF printing?
CADlink is RIP software that processes artwork for DTF printers while controlling white ink, color profiles, and print settings.
Can DTF Gears help with CADlink setup?
Yes. DTF Gears helps businesses with installation, printer configuration, white ink settings, and workflow optimization.
What are the best CADlink white ink settings?
A common starting point is:
- White density: 70–85%
- Choke: 1–2 px
- Resolution: 1440×720
Settings vary depending on printer, ink, and film type.
Why are my DTF prints dull?
Common causes include:
- Incorrect ICC profile
- Low white ink density
- Under-curing
- Poor film quality
- Incorrect heat press settings
Is CADlink beginner-friendly?
Yes. Once properly configured and calibrated, the workflow becomes easy to manage even for beginners.