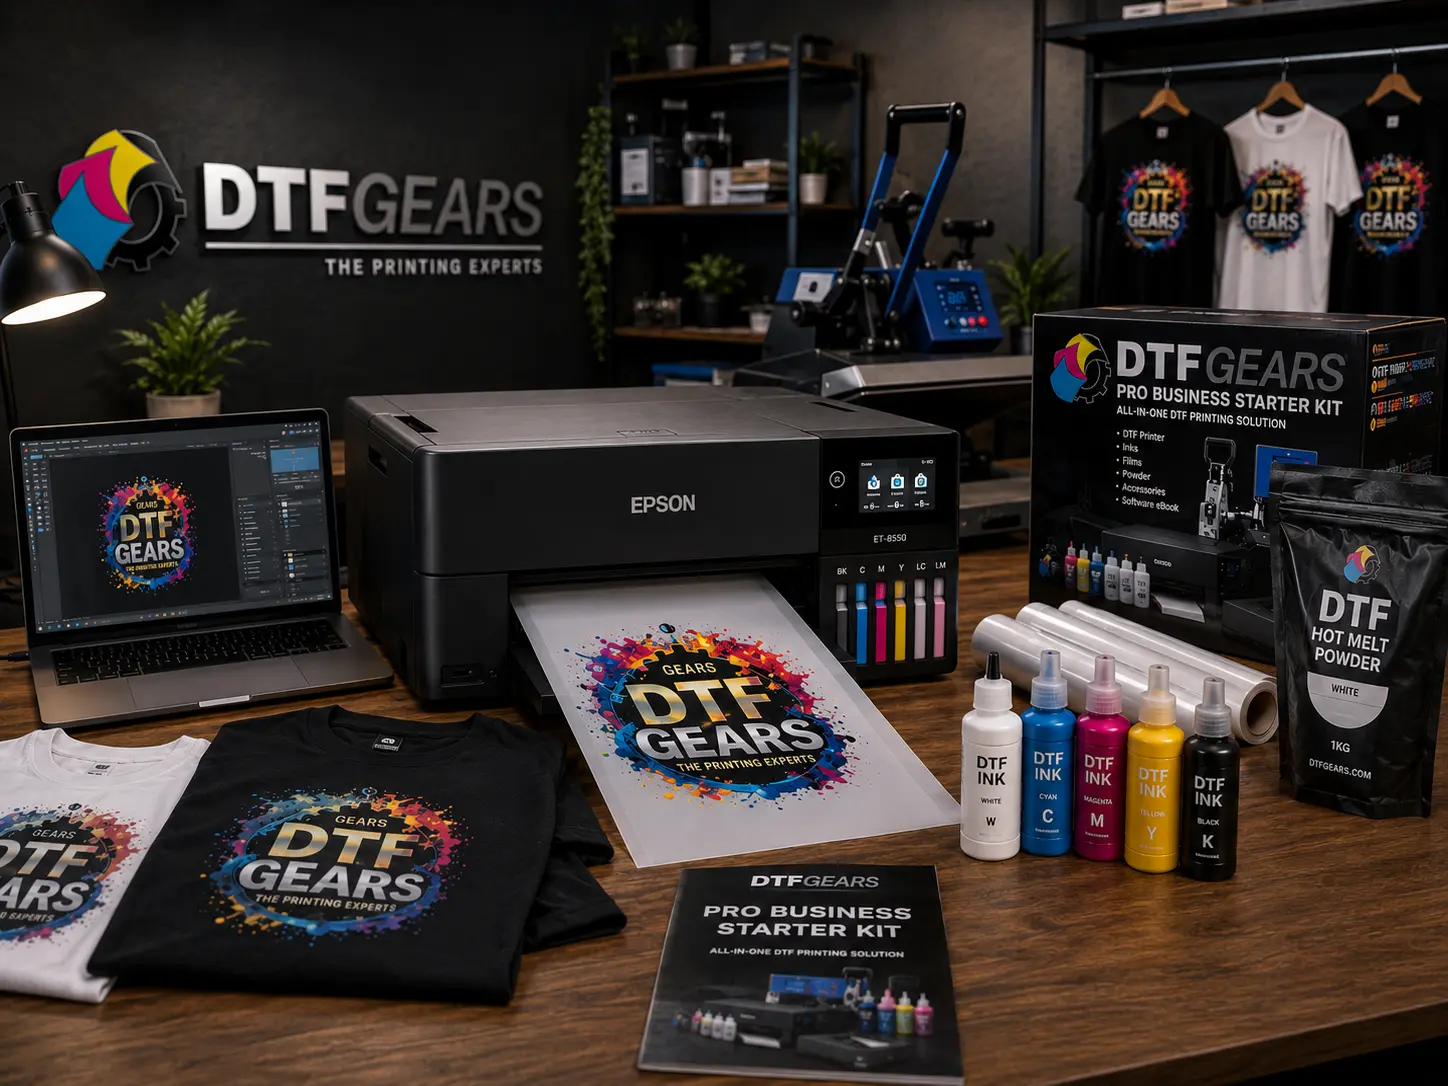
Starting a DTF printing business begins with the right Epson ET-8550 DTF printing setup. The DTF Gears ET-8550 DTF Pro Business Starter Kit helps creators, entrepreneurs, and small businesses turn the powerful Epson ET-8550 into a complete direct-to-film printing solution.
With the DTF Gears ET-8550 DTF Pro Business Starter Kit, you get the essential equipment and supplies needed to create high-quality apparel transfers, including DTF inks, transfer film, powder, and a professional RIP workflow.
In this guide, we’ll explain the complete Epson ET-8550 DTF printing setup, including printer preparation, Cadlink RIP installation, and your first DTF print process.
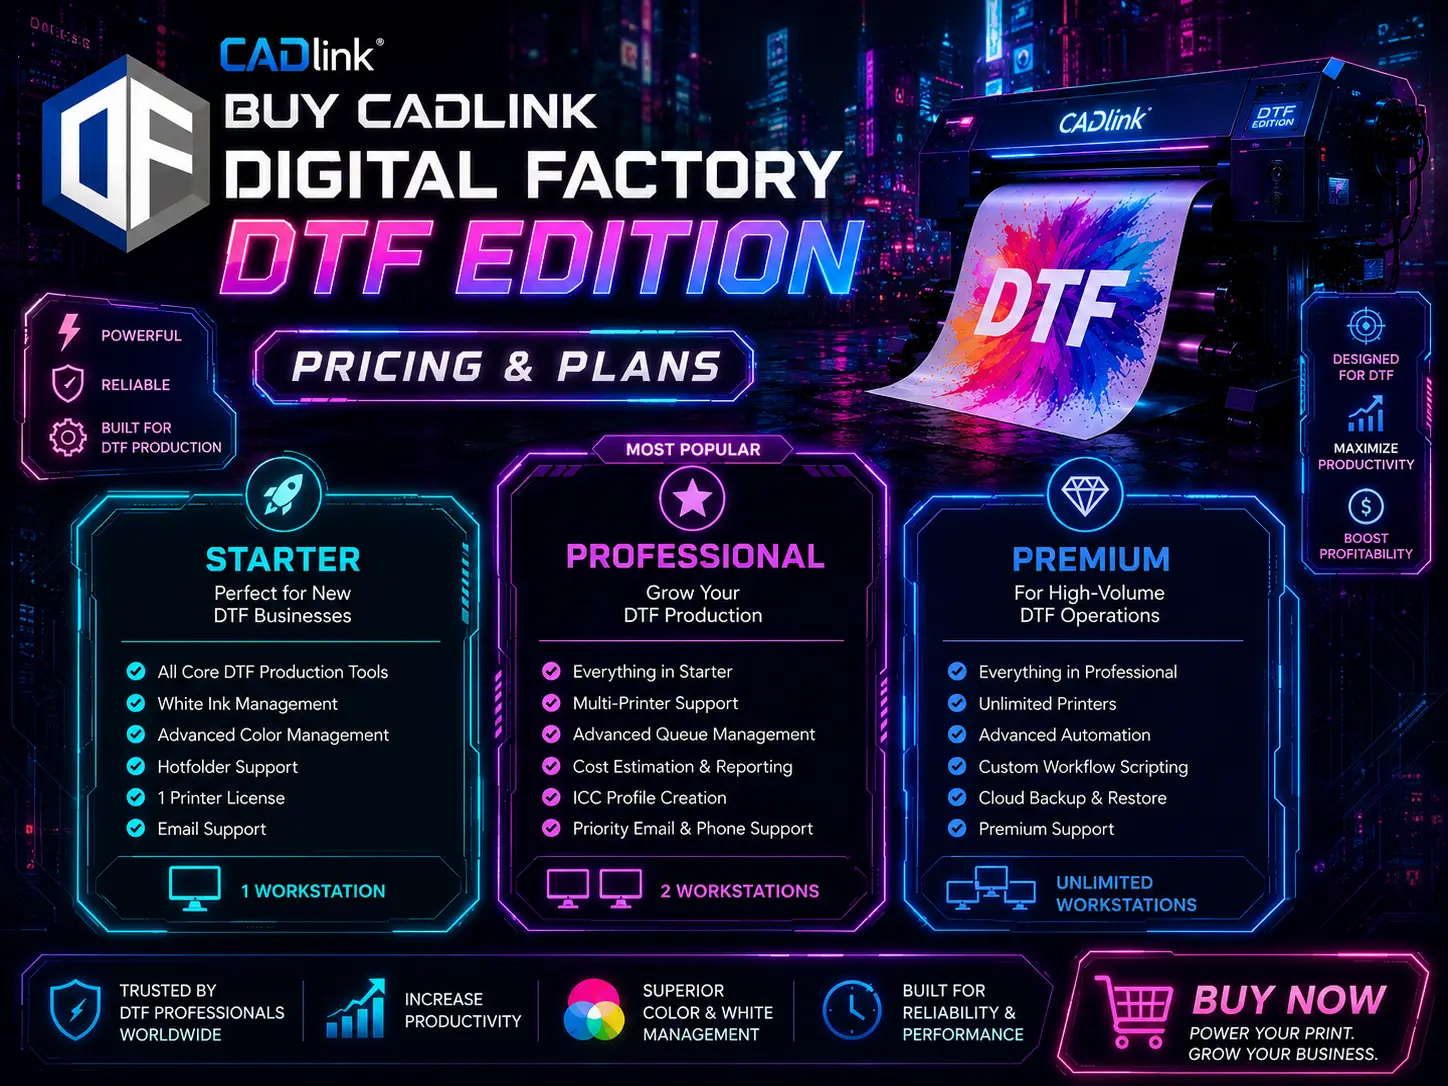
Start printing today — Buy ET-8550 DTF Starter Kit — $749
How to Set Up the ET-8550 for DTF Printing
A successful Epson ET-8550 DTF printing setup depends on using the right equipment and correct configuration.
The ET-8550 is popular among DTF users because of its compact design, excellent print quality, and suitability for small business production.
The DTF Gears Starter Kit provides everything required to begin your DTF journey without sourcing multiple components separately.
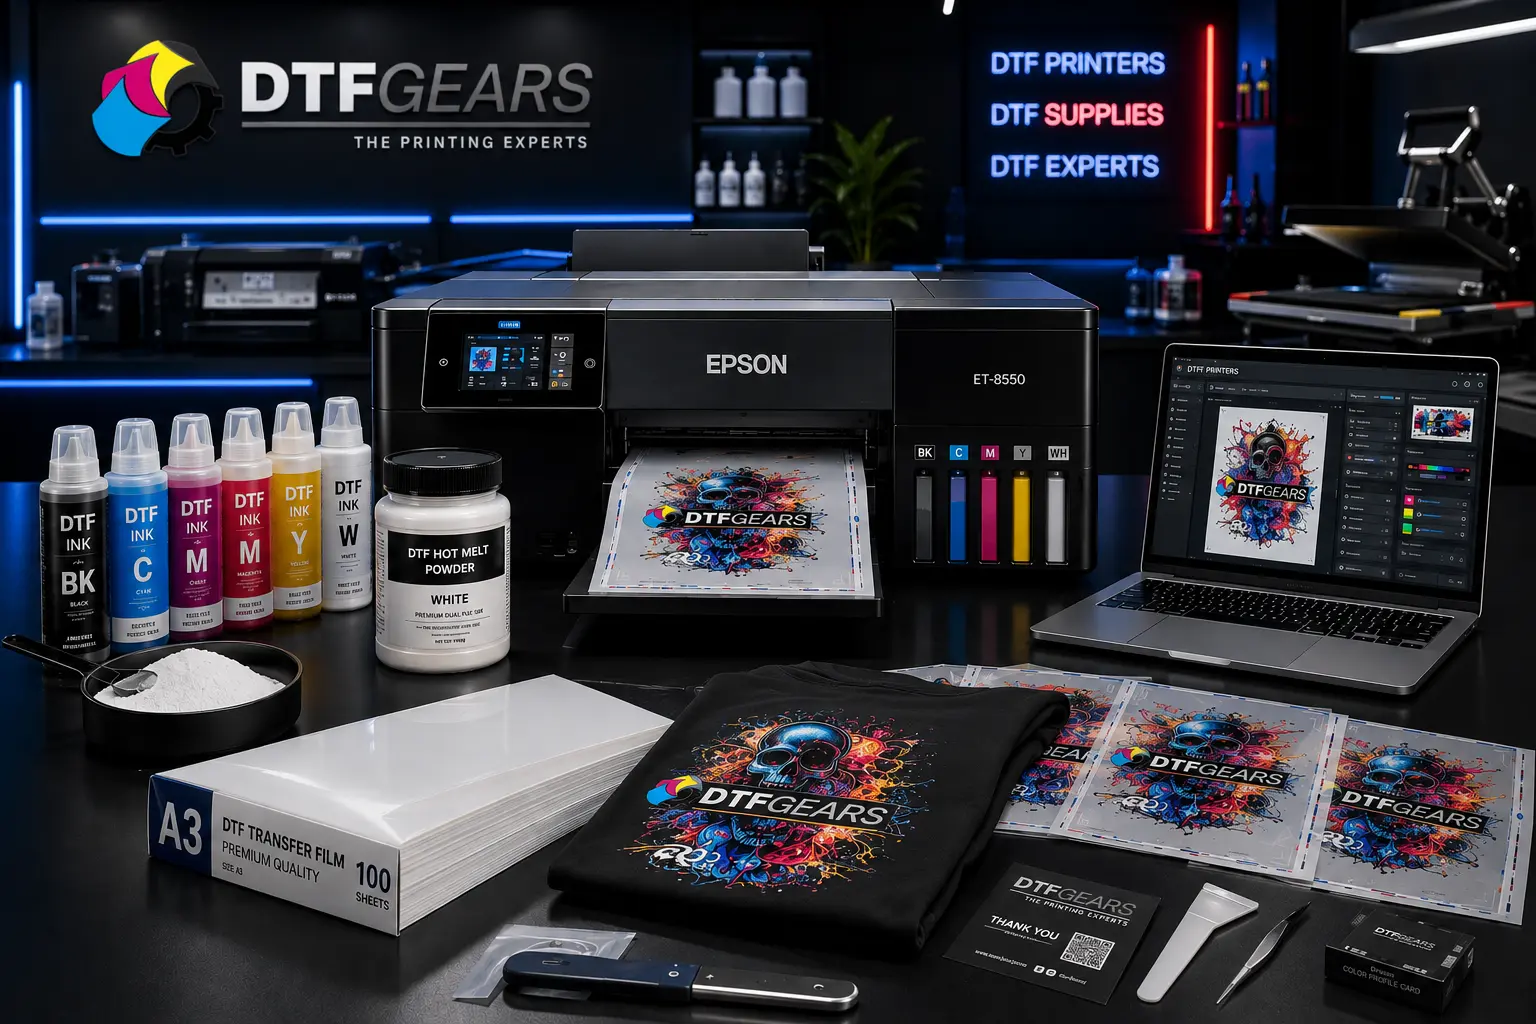
What Comes Inside the DTF Gears ET-8550 Starter Kit?
The kit includes essential DTF printing supplies such as:
- DTF-compatible inks
- Transfer film
- Hot melt powder
- Printing accessories
- RIP software workflow support
This makes the DTF Gears ET-8550 DTF Pro Business Starter Kit a complete starting point for beginners and growing print businesses.
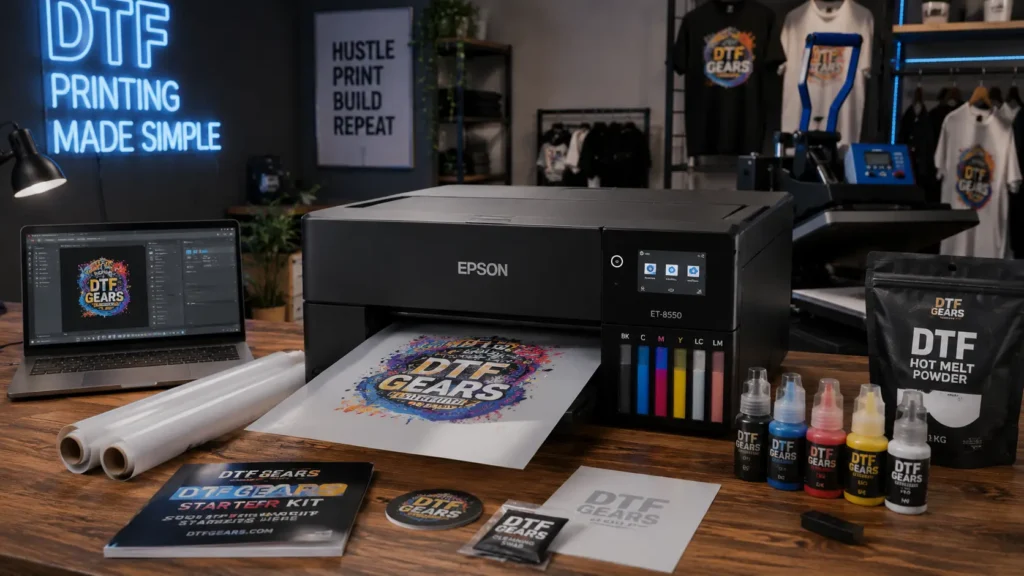
Step 1: Prepare Your Epson ET-8550 Printer
Before starting your Epson ET-8550 DTF printing setup, prepare your workspace properly.
Follow these steps:
- Place the printer on a stable surface
- Keep the area clean
- Check printer connections
- Prepare DTF supplies
A clean setup helps maintain consistent print quality and reduces common DTF printing issues.
Step 2: Install DTF Ink from DTF Gears Kit
DTF ink installation is one of the most important parts of converting your ET-8550.
Using the DTF Gears DTF ink system, carefully:
- Open the printer ink compartment
- Fill the tanks with compatible DTF ink
- Check ink levels
- Run nozzle checks
- Confirm smooth ink flow
White ink is especially important because it creates the base layer needed for bright and durable garment transfers.
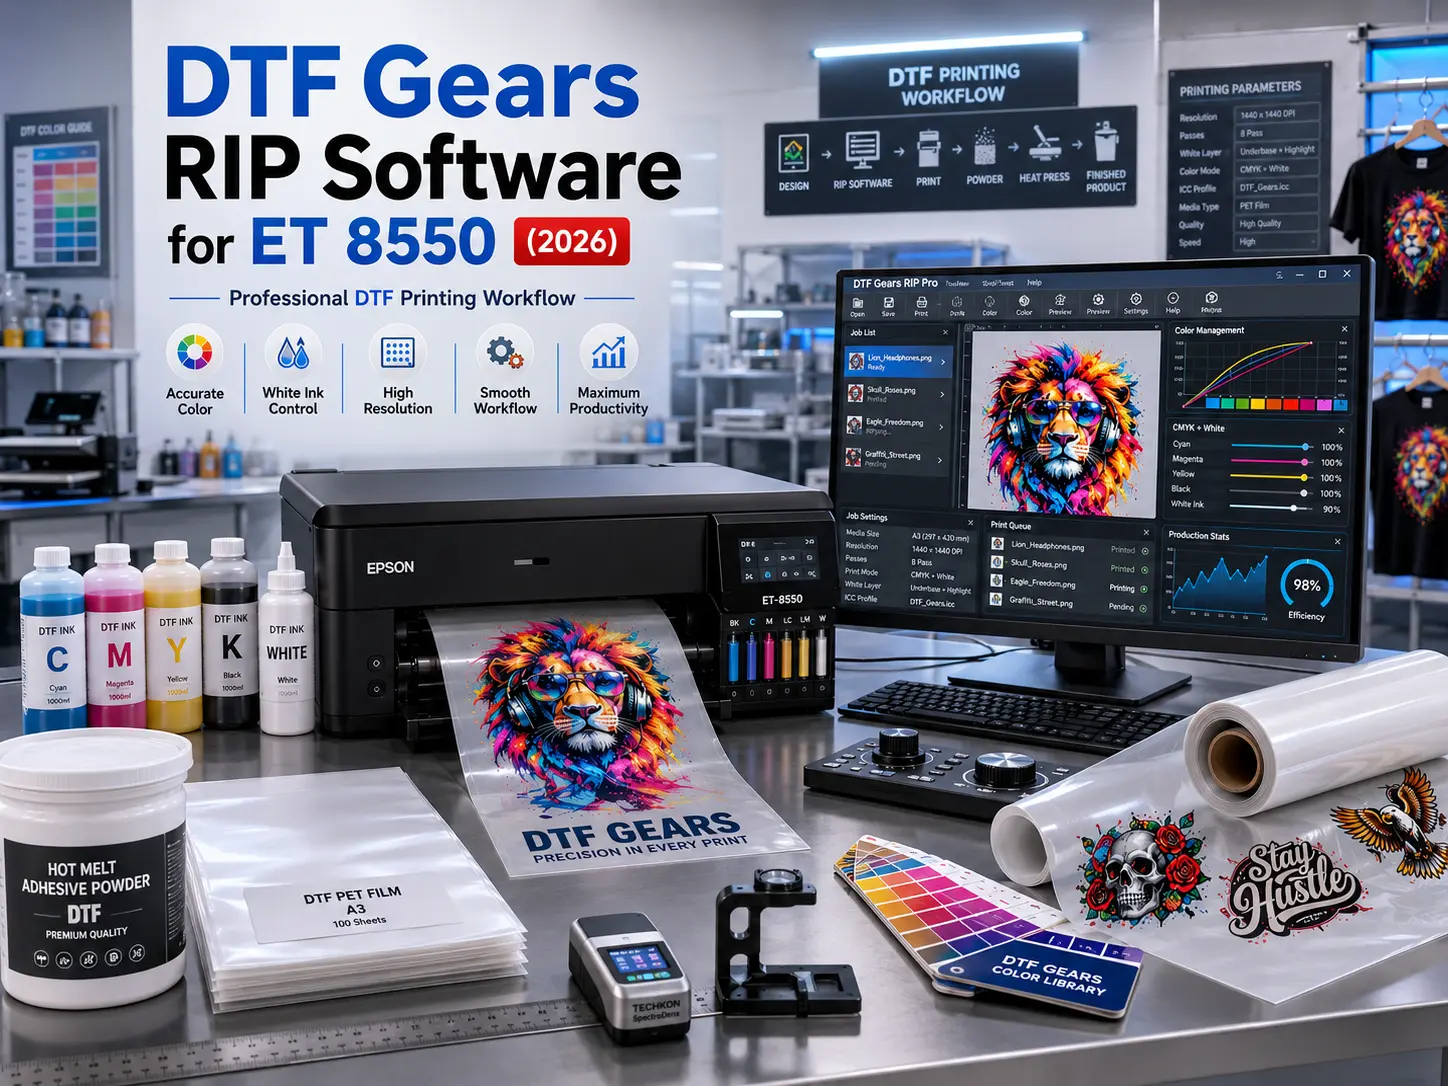
Step 3: Adjust ET-8550 Print Settings
After ink installation, optimize your printer settings.
Recommended adjustments:
- Select correct media settings
- Adjust print quality
- Check color management
- Confirm film loading direction
The correct settings help your DTF Gears ET-8550 setup produce sharp designs with accurate colors.
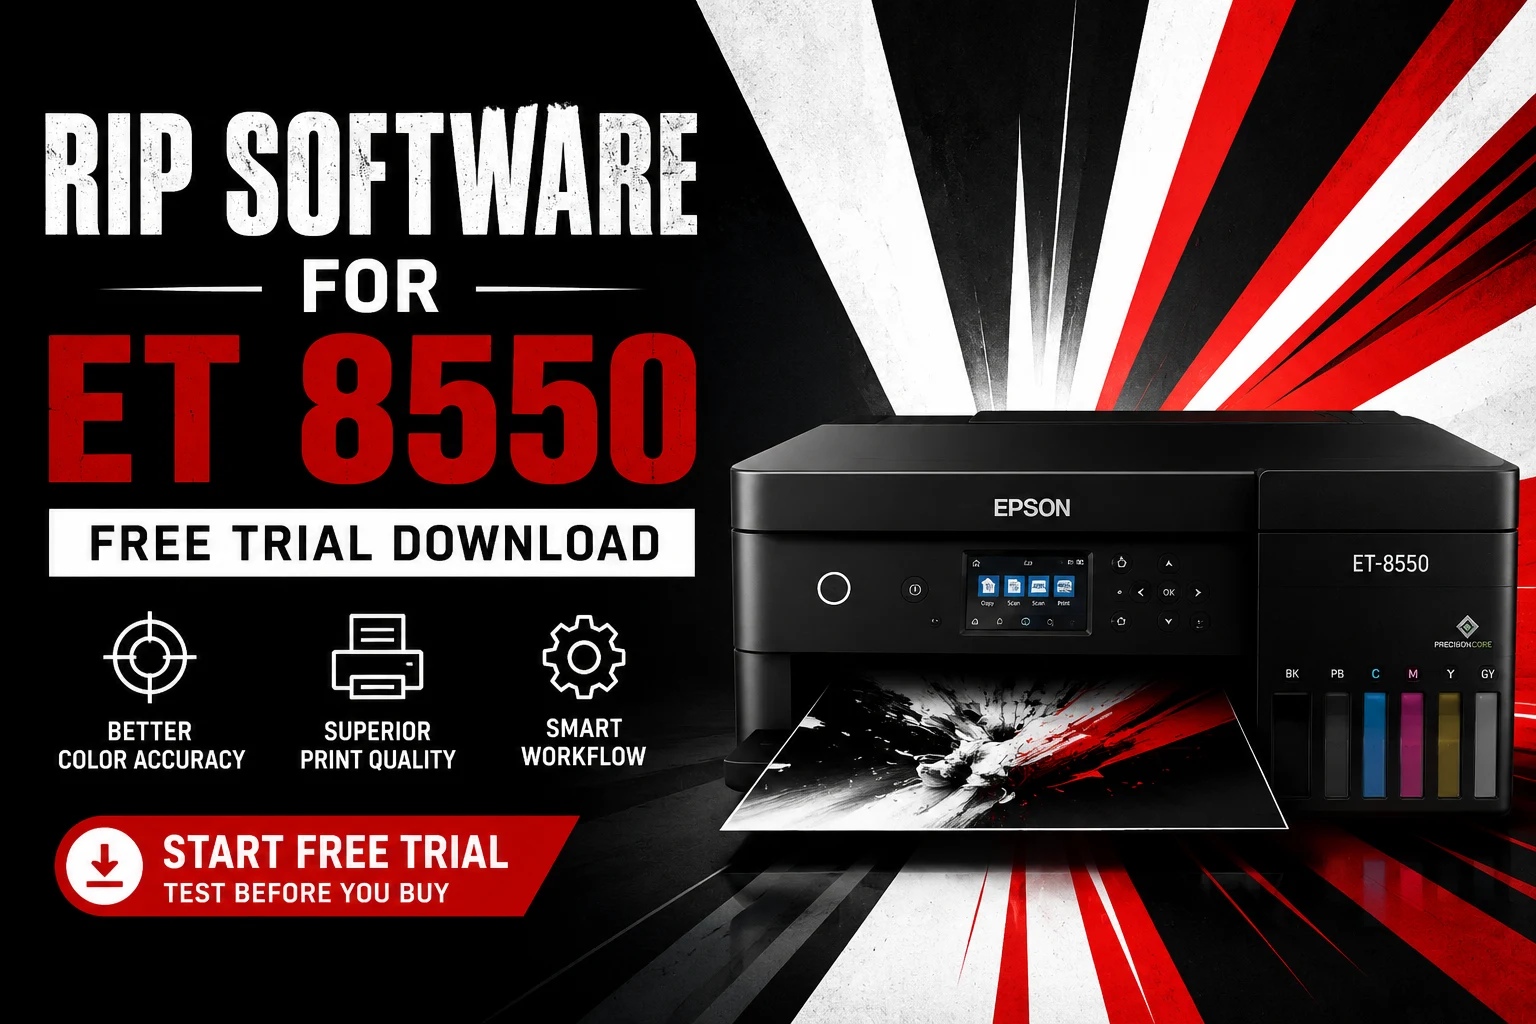
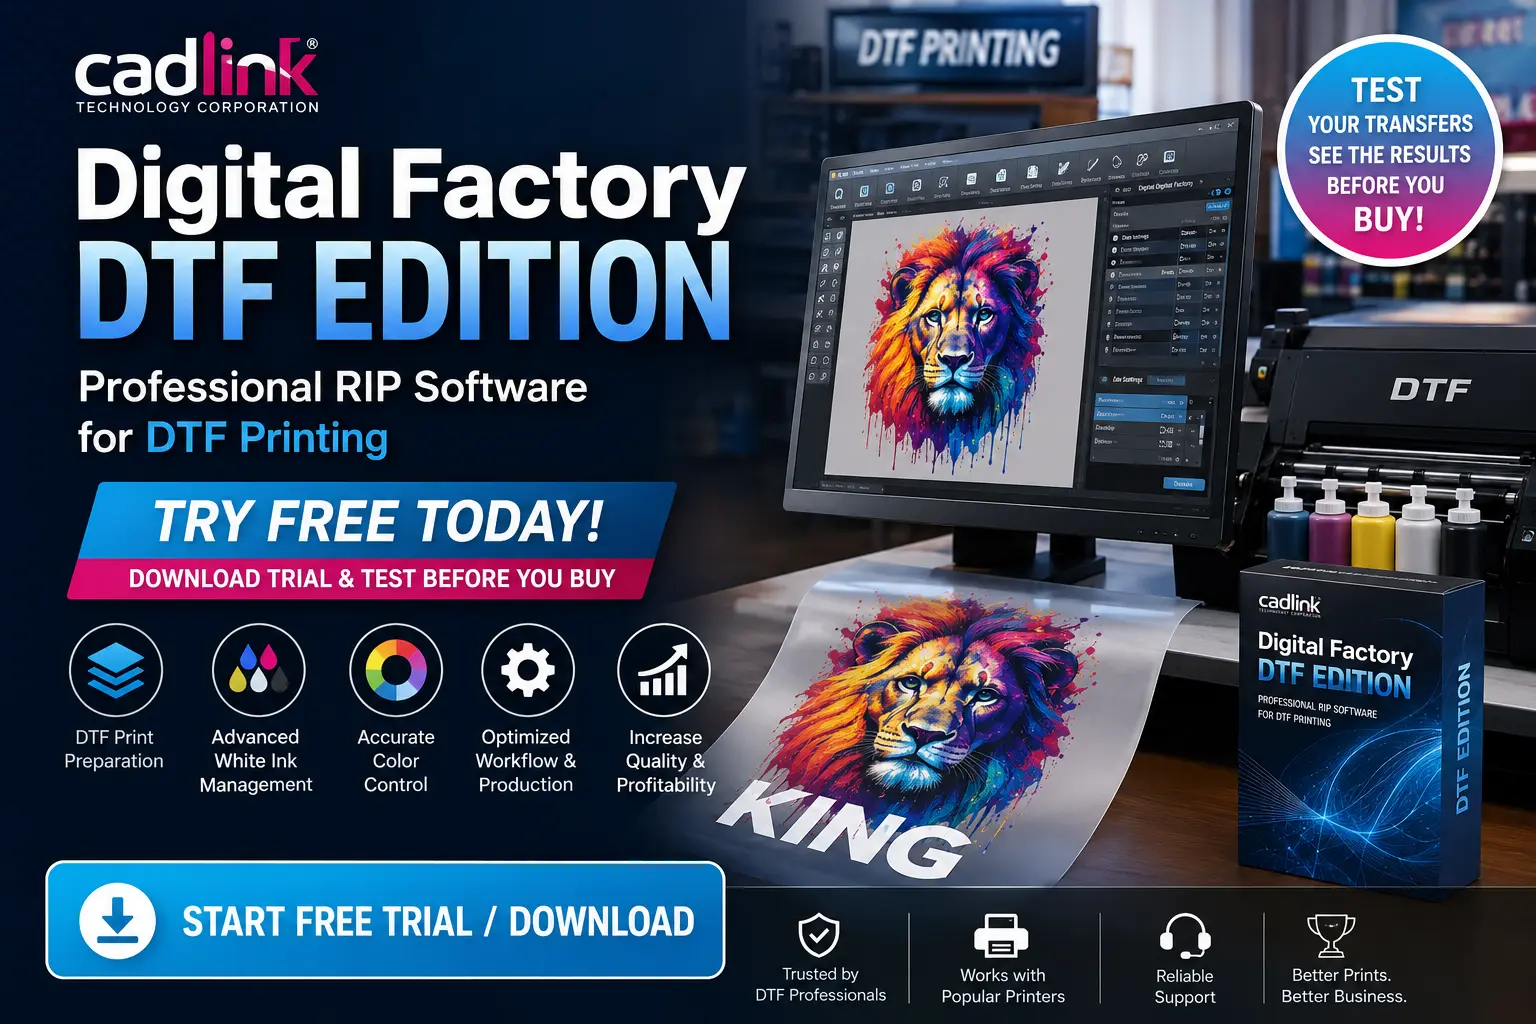
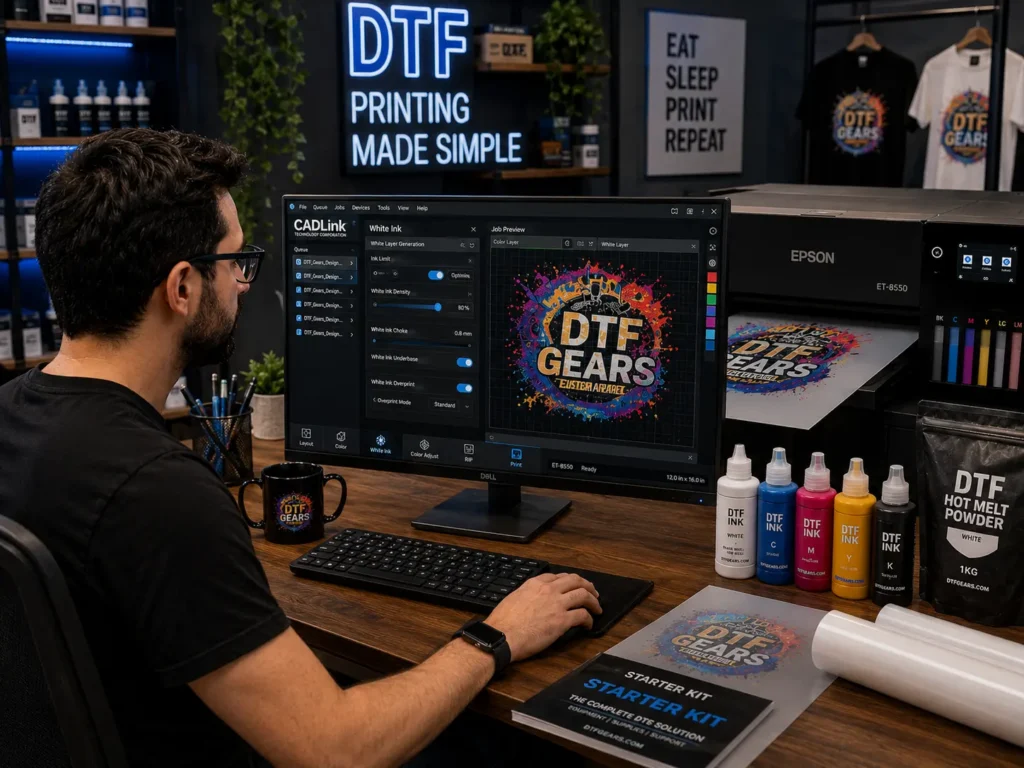
Installing the Cadlink RIP Software from DTF Gears Starter Kit
Professional DTF printing requires proper RIP software.
The Cadlink RIP software included in the DTF Gears workflow helps control:
- White ink printing
- Color separation
- Ink density
- Print layers
- Overall output quality
Standard printer drivers cannot properly manage DTF requirements, especially white ink.
Step-by-Step Cadlink RIP Setup
Install Cadlink RIP Software
Install the Cadlink software provided with your DTF Gears setup.
During installation:
- Connect your ET-8550
- Select printer settings
- Complete software configuration
Configure White Ink Settings
White ink settings directly affect transfer quality.
Adjust:
- White underbase
- Ink coverage
- Print resolution
Proper configuration creates a strong foundation for vibrant prints.
Upload Your Design
Import your artwork into Cadlink RIP.
For better results:
- Use high-resolution files
- Maintain transparency
- Review the preview
- Check print dimensions
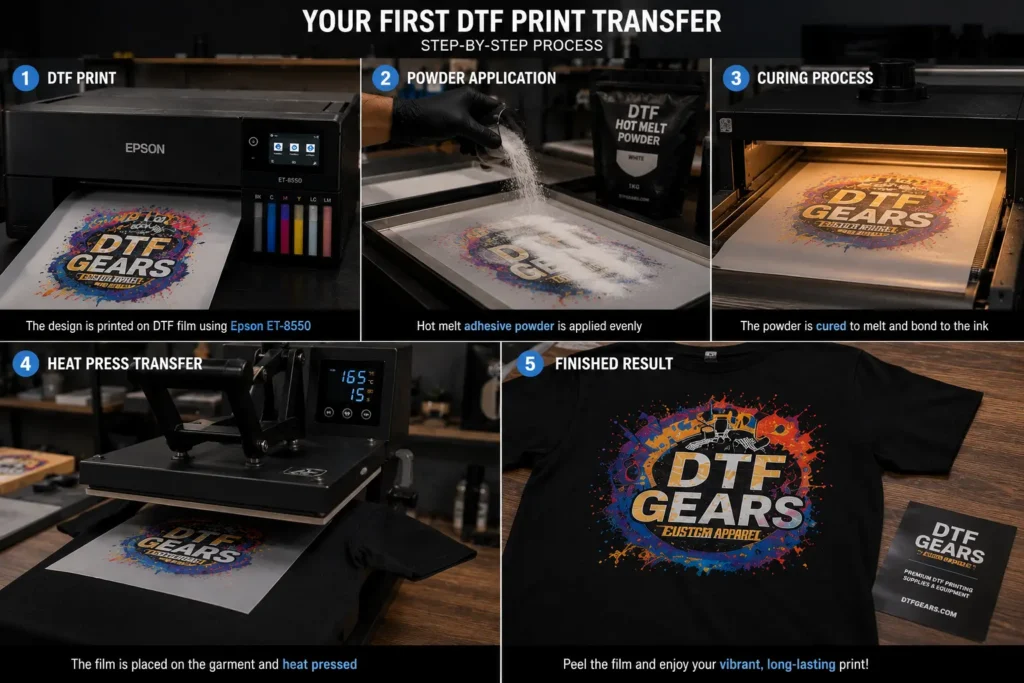
Your First DTF Print on the ET-8550: Step by Step
After completing your Epson ET-8550 DTF printing setup, it’s time to create your first transfer.
Step 1: Print Your Design
Load the DTF film into the Epson ET-8550.
Check:
- Correct film placement
- Proper RIP settings
- White ink layer
Start printing and allow the design to complete.
Step 2: Apply Hot Melt Powder
Apply DTF powder over the printed design while the ink is still wet.
Make sure:
- Powder covers the entire design
- Extra powder is removed
- Edges stay clean
Step 3: Cure the Transfer
Heat the powder until it melts and forms an adhesive layer.
This step ensures the design bonds properly with fabric.
Step 4: Heat Press the Design
Place the transfer on your garment and apply heat.
After pressing:
- Remove film correctly
- Inspect the print
- Check durability
Your first DTF transfer is ready.
Common Epson ET-8550 DTF Setup Mistakes
Using Non-DTF Ink
Regular ink will not provide the required durability and wash resistance.
Always use a proper DTF ink system like the one included with DTF Gears solutions.
Skipping White Ink Maintenance
White ink needs regular circulation and care because it can settle over time.
Wrong RIP Settings
Incorrect Cadlink settings may cause:
- Weak white layers
- Poor colors
- Low-quality transfers
Start Printing with DTF Gears ET-8550 Starter Kit
A proper Epson ET-8550 DTF printing setup gives you the foundation to create custom apparel, merchandise, and professional transfers.
The DTF Gears ET-8550 DTF Pro Business Starter Kit combines the essential tools needed to start printing from day one.