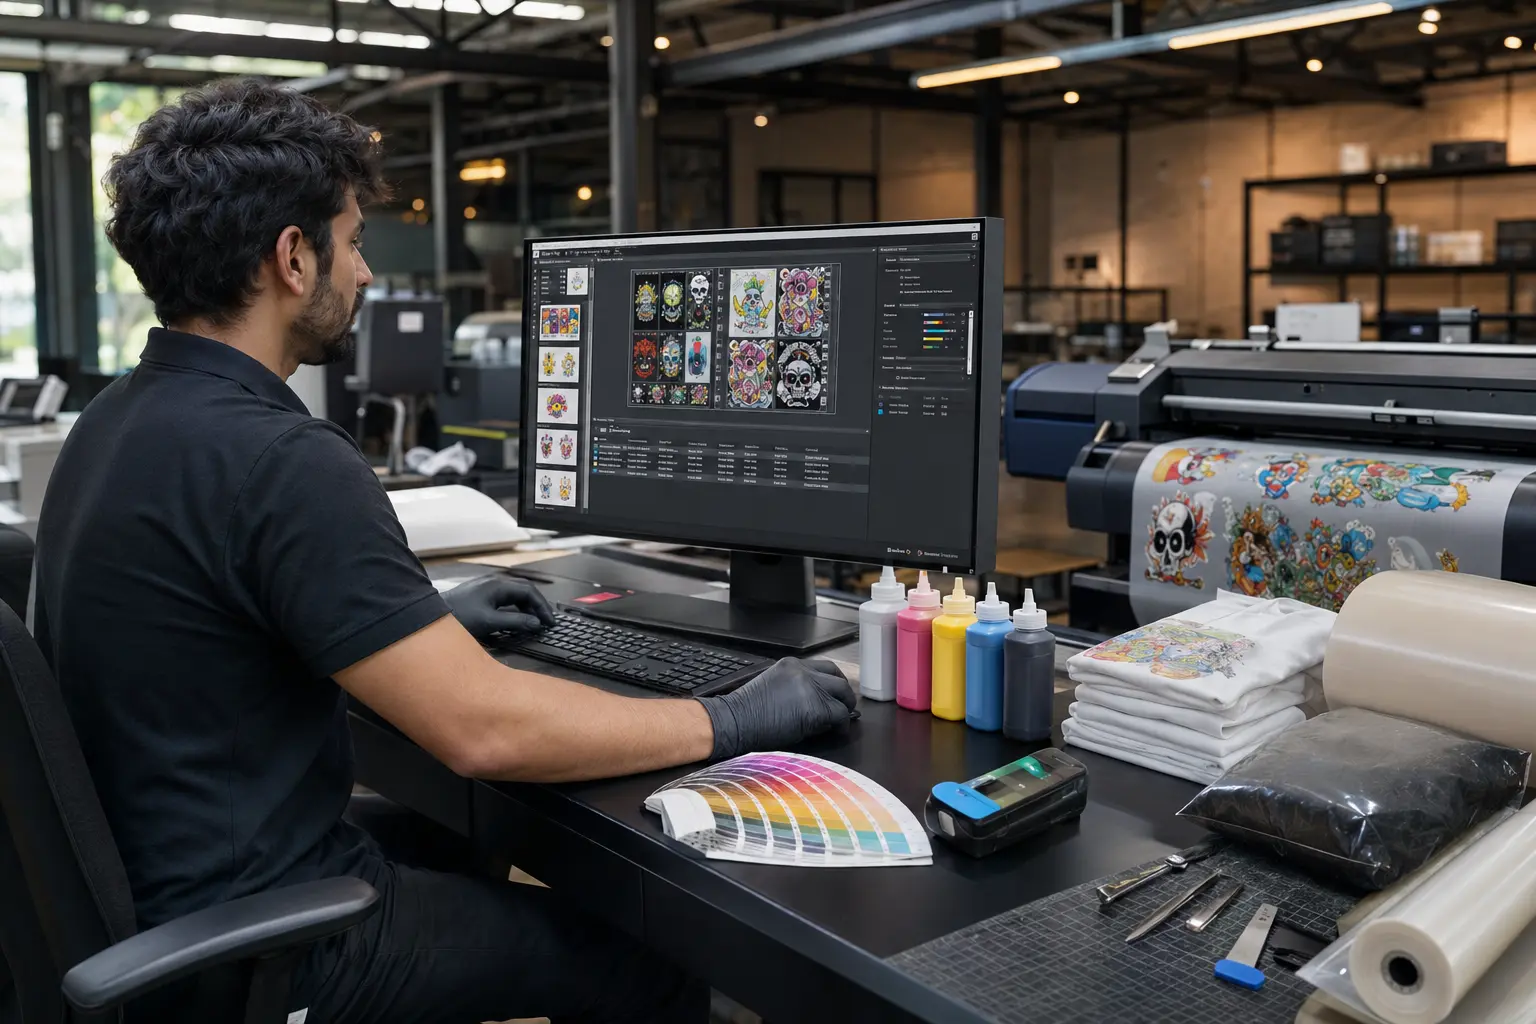

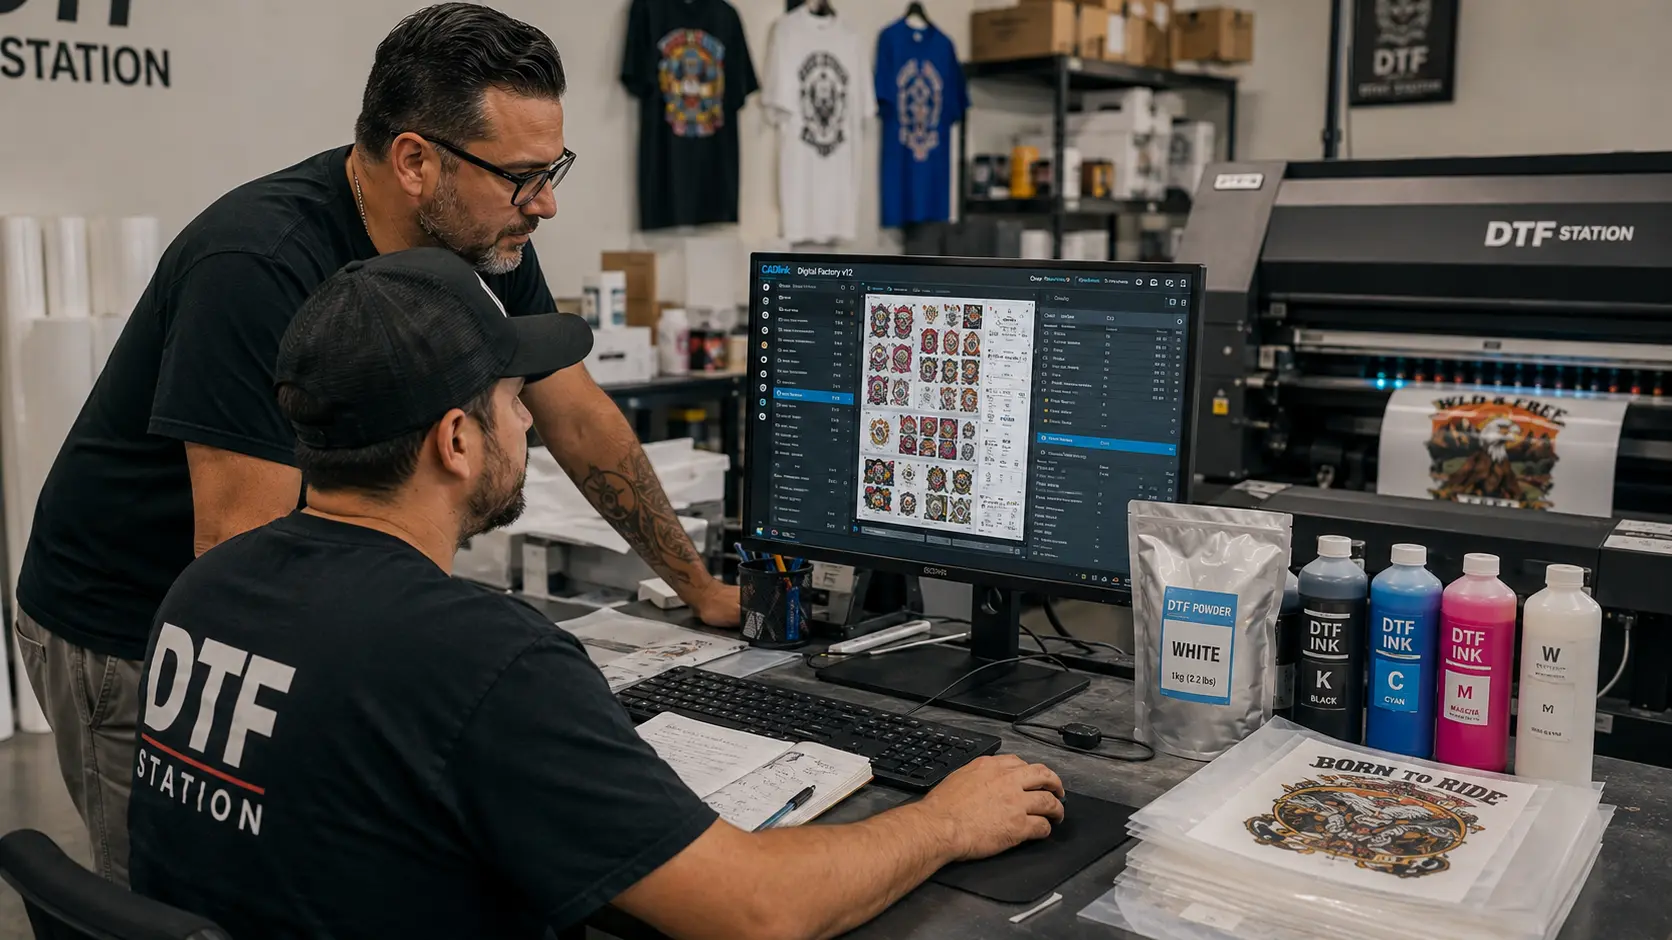
When you’re running a DTF printing business, the cost of every print adds up quickly. Ink, film, powder, labor, wasted material, and reprints can all reduce your profit margin.
That is why understanding your CADlink V12 cost per print matters.
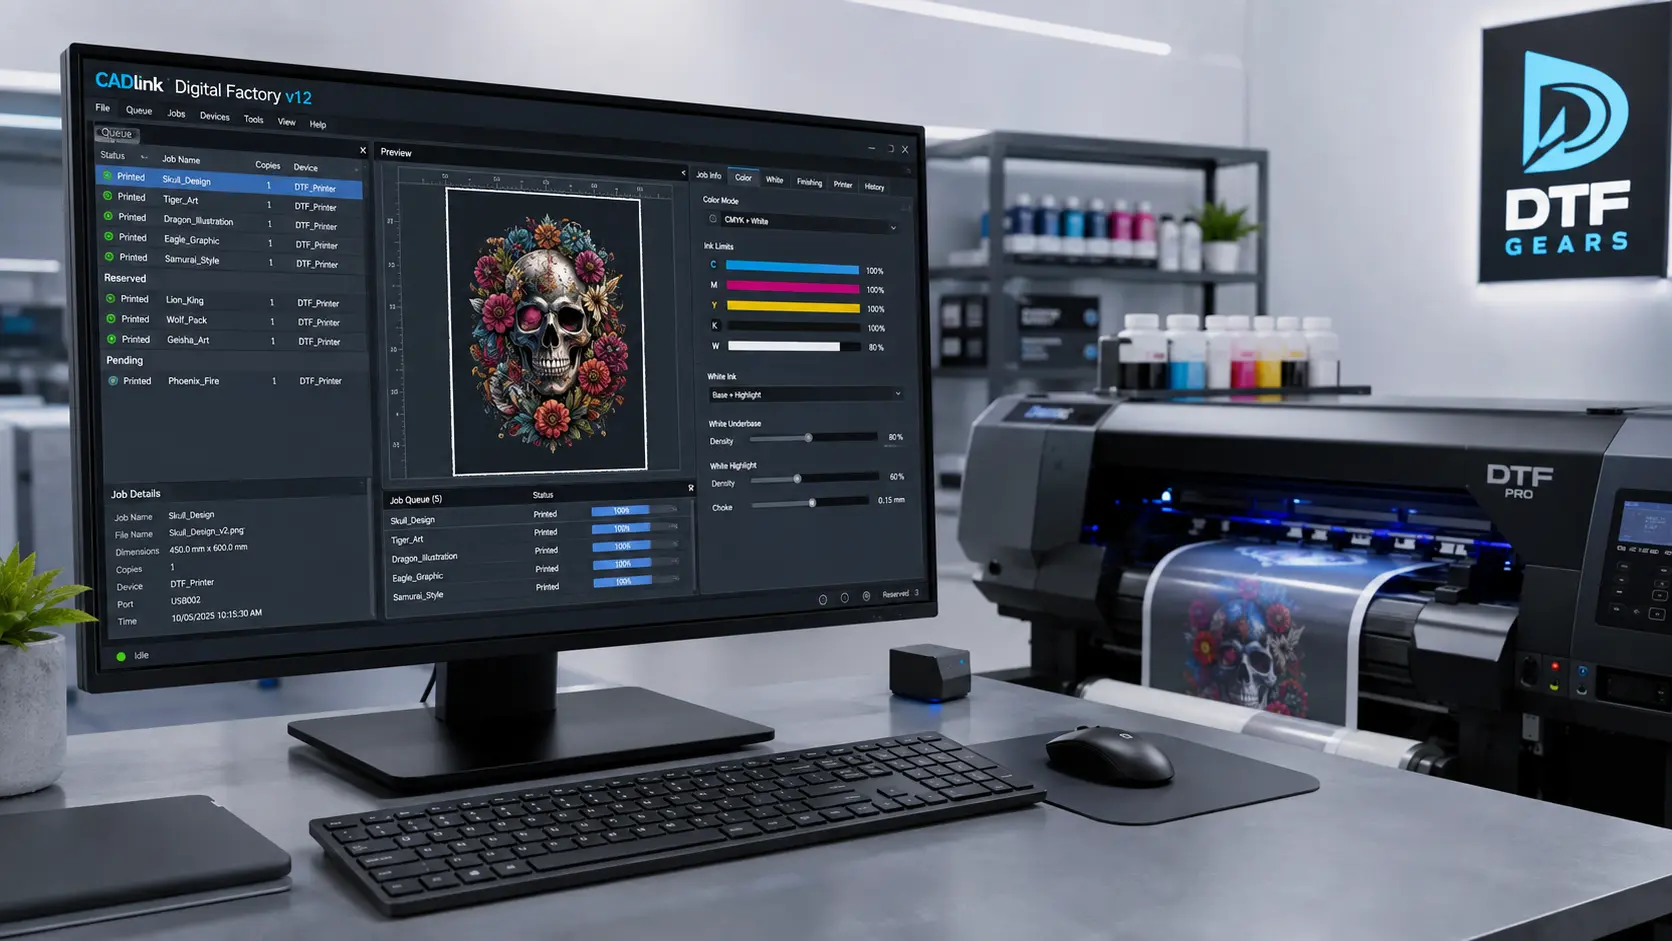
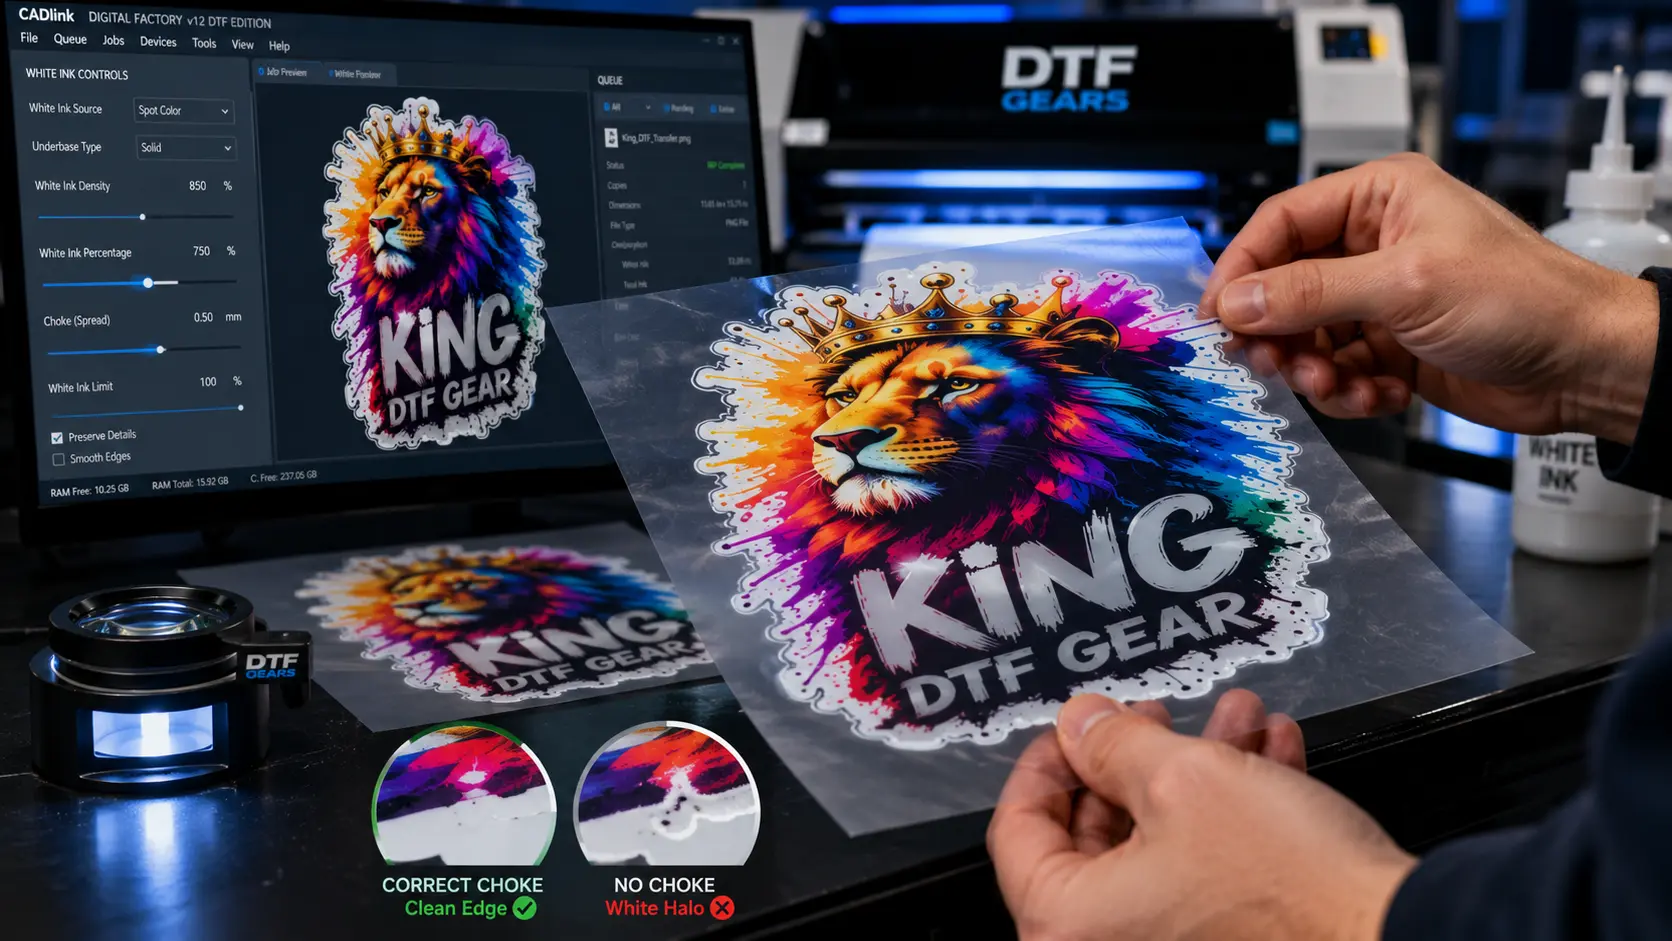
CADlink Digital Factory V12 is designed to streamline DTF production through features such as smart nesting, production workflow management, white-ink controls, print previews, and color management. The real financial benefit isn’t simply the software’s purchase price—it is how much more efficiently your shop can use materials and operator time.
In this guide, we’ll break down the potential DTF printing cost savings, calculate an example cost per print, and show how to estimate your CADlink ROI.
Important: The calculations below are illustrative examples. Your actual cost per print will depend on ink consumption, artwork coverage, film pricing, labor rates, production volume, and printer settings.
The Hidden Cost of Manual Print Prep
Most DTF businesses focus heavily on the price of ink, film, and powder.
But there’s another cost that is easy to overlook:
operator time.
Preparing files manually can involve:
- Checking artwork dimensions
- Positioning multiple designs
- Creating gang sheets
- Adjusting white ink
- Checking transparency
- Setting print parameters
- Reviewing color output
- Repositioning artwork
- Fixing incorrect files
- Preparing repeat jobs
- Handling reprints
Individually, these tasks may only take a few minutes.
Across hundreds of jobs, however, those minutes become hours of paid labor.
Example
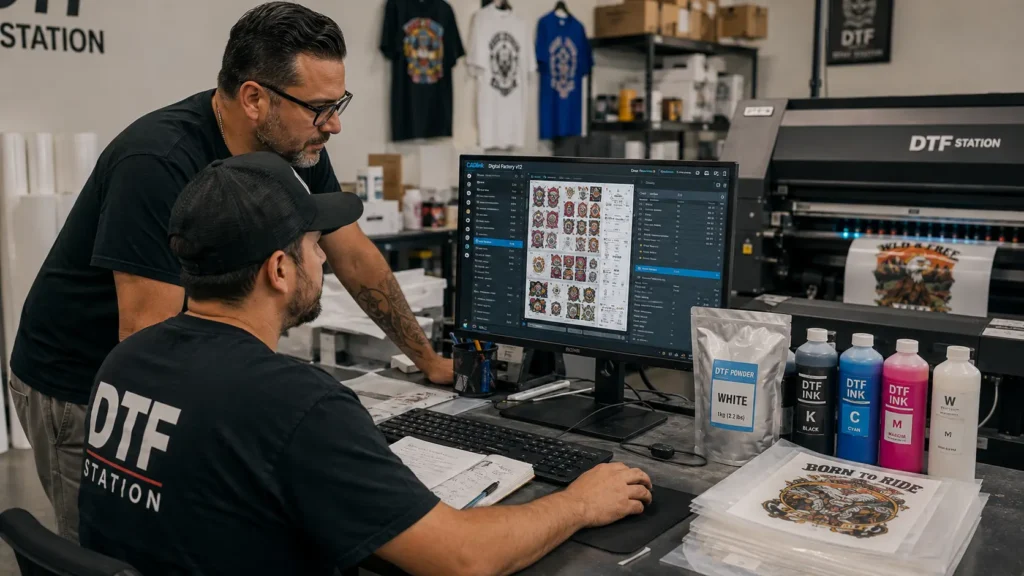
Imagine an operator spends an average of 15 minutes preparing each job.
At 20 jobs per day:
15 minutes × 20 jobs = 300 minutes
That’s 5 hours of preparation every day.
At an illustrative labor cost of $20 per hour, that’s:
5 × $20 = $100/day
Over 22 working days:
$100 × 22 = $2,200/month
The exact number will vary significantly between businesses, but the example demonstrates why workflow efficiency can become an important part of your DTF production economics.
CADlink V12 can help centralize production preparation instead of relying on multiple disconnected steps.
Ink & Film Savings with Smart Nesting
One of the biggest opportunities for DTF printing cost savings comes from reducing material waste.
Film is not free.
Neither is ink.
When designs are placed inefficiently on a sheet or roll, the unused space still costs money.
What Is Nesting?
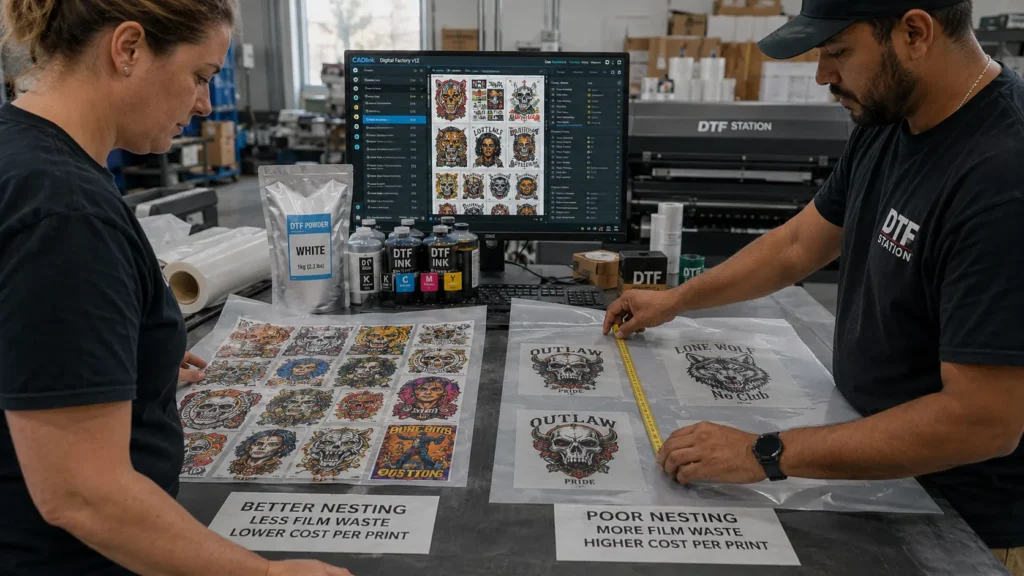
Nesting means arranging multiple designs efficiently within the available printable area.
Instead of treating every design as an individual print job, a shop can organize multiple graphics into a more efficient layout.
For example:
Poor layout
[ DESIGN A ]

        [ DESIGN B ]

[ DESIGN C ]

              [ DESIGN D ]
Large gaps between designs can increase wasted film.
An optimized layout might look more like:
[ DESIGN A ][ DESIGN B ]

[ DESIGN C ][ DESIGN D ]
The objective is simple:
Fit more printable artwork into the available film area.
CADlink Digital Factory V12 includes production-oriented tools that can help with this type of workflow.
Example Film Calculation
Suppose a DTF shop uses film costing $0.40 per linear foot.
A particular batch requires:
10 linear feet
Film cost:
10 × $0.40 = $4.00
If improved nesting reduces the requirement to 8.5 linear feet:
8.5 × $0.40 = $3.40
Potential film saving:
$4.00 − $3.40 = $0.60
For one batch, $0.60 may seem insignificant.
But at 100 similar batches:
$0.60 × 100 = $60
And at higher production volumes, small improvements can compound.
Ink Consumption Also Affects Your DTF Cost Per Print
Film isn’t the only variable.
Your DTF ink consumption can have a major impact on your cost per print.
A graphic with light coverage won’t necessarily consume the same amount of ink as a dense full-color design.
White ink can also represent a significant portion of DTF ink usage because it is commonly used as the foundation beneath CMYK artwork.
That’s why a useful cost-per-print calculation shouldn’t assume that every design consumes exactly the same amount of ink.
Instead, calculate based on your actual production data.
Basic Ink Cost Formula
Ink cost per print = Ink consumed per print × Ink cost per unit
For example:
If a printer uses an average of 8 ml of ink per print and your blended ink cost is $0.08/ml:
8 × $0.08 = $0.64
Estimated ink cost:
$0.64 per print
If better production settings reduce average consumption to 7.5 ml:
7.5 × $0.08 = $0.60
Potential saving:
$0.04 per print
At 5,000 prints:
$0.04 × 5,000 = $200
Again, actual savings depend on your printer, artwork, ink system, resolution, white-ink settings, and production profile.
Time Savings = Labor Cost Savings
Material savings are only one part of the equation.
For many DTF shops, operator time is another major production cost.
Consider a shop producing 100 jobs per week.
If manual preparation takes 10 minutes per job:
100 × 10 minutes = 1,000 minutes
That’s:
16.67 hours per week
At $20/hour:
16.67 × $20 = $333.40
That’s more than $1,300 in monthly labor time at four weeks.
If improved workflow reduces preparation time by even a few minutes per job, the potential labor impact can become meaningful.
Why CADlink V12 Can Matter
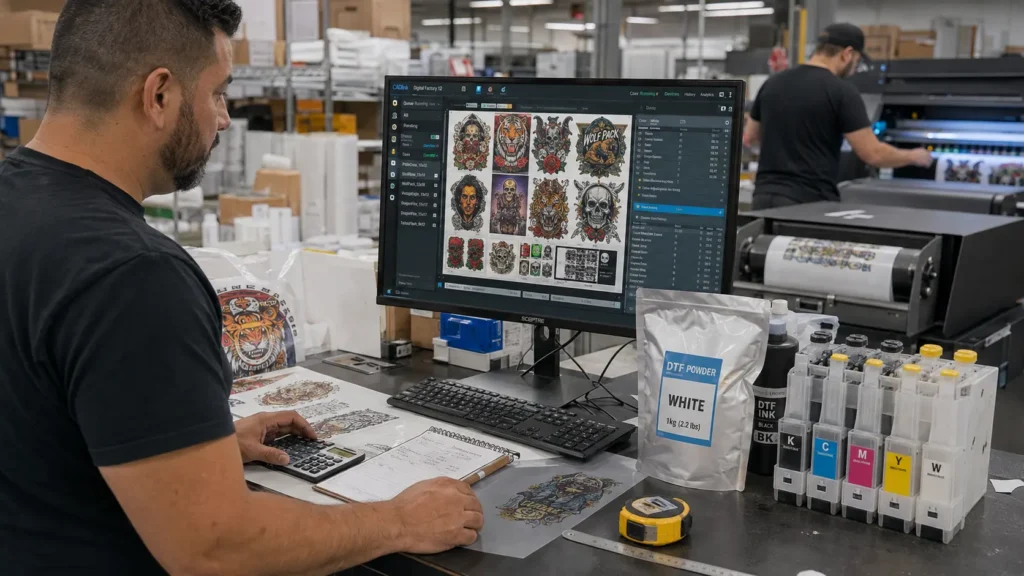
Digital Factory V12 brings production functions into a dedicated RIP workflow, including:
- Job management
- Print previews
- Production queues
- Color management
- White-ink controls
- Gang-sheet workflows
- Nesting
- Repeat production
The goal isn’t simply to make printing possible.
It’s to make the production process more predictable and repeatable.
Sample CADlink V12 Cost-Per-Print Calculation
Now let’s put everything together.
Suppose a DTF shop estimates the following average cost for a particular type of print.
| Cost Component | Example Cost |
|---|---|
| CMYK + White Ink | $0.65 |
| DTF Film | $0.30 |
| DTF Powder | $0.15 |
| Labor | $0.40 |
| Other Consumables | $0.10 |
| Total Cost Per Print | $1.60 |
So the estimated baseline cost is:
$1.60 per print
Now suppose improved workflow reduces:
- Film waste
- Preparation time
- Minor production inefficiencies
The shop’s estimated cost becomes:
| Cost Component | Example Cost |
|---|---|
| CMYK + White Ink | $0.62 |
| DTF Film | $0.26 |
| DTF Powder | $0.15 |
| Labor | $0.25 |
| Other Consumables | $0.10 |
| Total Cost Per Print | $1.38 |
Potential difference:
$1.60 − $1.38 = $0.22 per print
That’s a potential saving of:
$0.22 per print
What Does That Mean Monthly?
At 500 prints:
500 × $0.22 = $110
At 1,000 prints:
1,000 × $0.22 = $220
At 2,500 prints:
2,500 × $0.22 = $550
At 5,000 prints:
5,000 × $0.22 = $1,100
This is where CADlink ROI becomes easier to understand.
A small saving per print can become significant when multiplied across a high-volume production operation.
How to Calculate Your Own CADlink ROI
Don’t rely on someone else’s cost-per-print figure.
Use your own numbers.
The basic calculation is:
Step 1: Calculate Current Cost
Current cost per print = Ink + Film + Powder + Labor + Other Costs
Step 2: Calculate Optimized Cost
Optimized cost per print = New Ink + New Film + New Powder + New Labor + Other Costs
Step 3: Calculate Savings
Savings per print = Current Cost − Optimized Cost
Step 4: Calculate Monthly Savings
Monthly Savings = Savings Per Print × Monthly Print Volume
Step 5: Calculate Payback Period
Payback Period = Software Cost ÷ Monthly Savings
This gives you a much more useful answer to the question:
“How quickly can CADlink V12 pay for itself?”
ROI Timeline — When CADlink V12 Pays for Itself
Let’s use the illustrative example above.
Assume:
Software cost: $394.99
Potential saving: $0.22 per print
At 500 Prints Per Month
$0.22 × 500 = $110 monthly savings
Estimated payback:
$394.99 ÷ $110 = 3.59 months
At 1,000 Prints Per Month
$0.22 × 1,000 = $220 monthly savings
Estimated payback:
$394.99 ÷ $220 = 1.80 months
At 2,500 Prints Per Month
$0.22 × 2,500 = $550 monthly savings
Estimated payback:
$394.99 ÷ $550 = 0.72 months
At 5,000 Prints Per Month
$0.22 × 5,000 = $1,100 monthly savings
Estimated payback:
$394.99 ÷ $1,100 = 0.36 months
| Monthly Prints | Example Savings/Print | Potential Monthly Savings | Illustrative Payback |
|---|---|---|---|
| 500 | $0.22 | $110 | 3.59 months |
| 1,000 | $0.22 | $220 | 1.80 months |
| 2,500 | $0.22 | $550 | 0.72 months |
| 5,000 | $0.22 | $1,100 | 0.36 months |
These are example calculations, not guaranteed savings.
Your actual CADlink V12 ROI could be higher or lower depending on your production workflow.
Your CADlink V12 Cost Per Print Depends on More Than Software Price
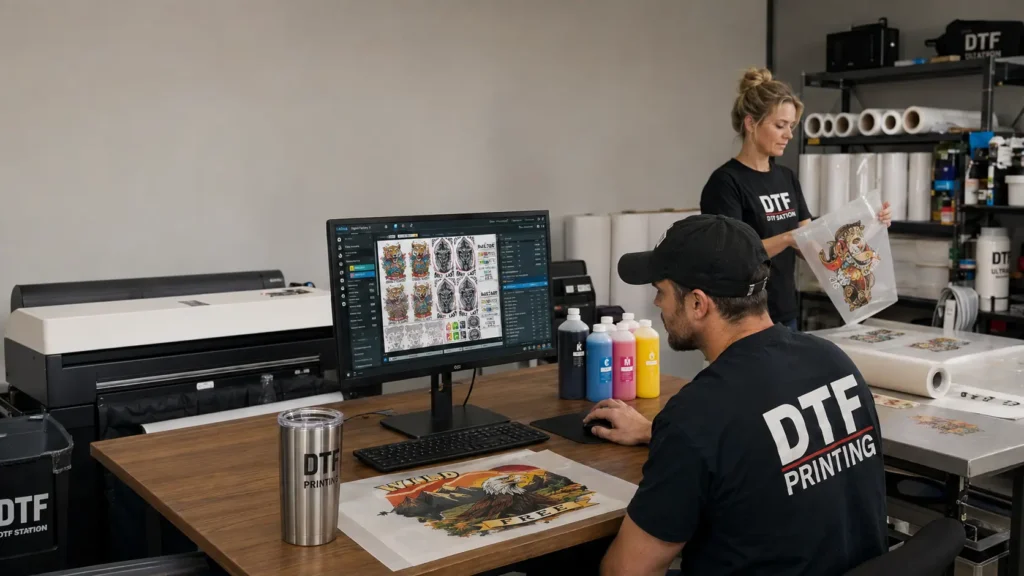
A common mistake is to calculate the software cost alone.
For example:
“$394.99 divided by my number of prints.”
That’s not really your CADlink V12 cost per print.
The better approach is to evaluate the software against the production costs it can influence.
Think about:
1. Ink
How much CMYK and white ink does each design consume?
2. Film
How efficiently are designs positioned?
3. Powder
Are you wasting powder because of inefficient production?
4. Labor
How long does an operator spend preparing each job?
5. Reprints
How often are jobs printed again because of preparation or setup mistakes?
6. Production Volume
How many prints are you producing every month?
The more jobs you process, the more important small efficiency improvements become.
When CADlink V12 Makes the Most Financial Sense
CADlink V12 can be particularly relevant for DTF businesses that are:
- Producing multiple orders every day
- Printing gang sheets
- Handling many different designs
- Working with white ink
- Processing repeat customer orders
- Spending significant operator time preparing files
- Experiencing film waste
- Managing growing production queues
For a shop printing only a handful of transfers occasionally, the financial impact may be less significant.
For a production shop handling hundreds or thousands of prints, workflow efficiency can have a much larger effect on operating costs.
How to Track Your Real DTF Printing Cost Savings
If you want accurate numbers, track your production for 30 days.
Record:
| Metric | Track This |
|---|---|
| Prints produced | Total monthly prints |
| Film consumed | Linear feet/meters |
| Ink consumed | ml |
| Powder consumed | grams |
| Preparation time | Hours |
| Reprints | Number |
| Material waste | Film/ink/powder |
| Labor | Production hours |
| Total production cost | Monthly total |
Then calculate your baseline.
After implementing a new workflow, measure the same metrics again.
This gives you a much better picture of your actual DTF printing cost savings than an estimated percentage.
The Bottom Line: Is CADlink V12 Worth It?
The value of CADlink V12 isn’t just about how much the software costs.
The bigger question is:
How much does inefficient production cost your DTF business every month?
If better workflow management helps your shop reduce wasted film, streamline job preparation, improve production organization, and reduce operator time, those savings can accumulate across every job.
The most important number to calculate is therefore not simply the software price.
It’s your real cost per print.
Calculate your current cost, estimate the efficiency improvement you can realistically achieve, and multiply that difference by your monthly production volume.
That’s the foundation of a meaningful CADlink ROI calculation.
Ready to Reduce DTF Production Costs?
If you’re looking for a more efficient DTF RIP and production workflow, explore CADlink Digital Factory V12 and see whether its production tools fit your shop.
Explore CADlink V12 at DTF Gears →
CADlink V12 Gang Sheet Builder: The Built-In Tool That Replaces Third-Party Nesting Software