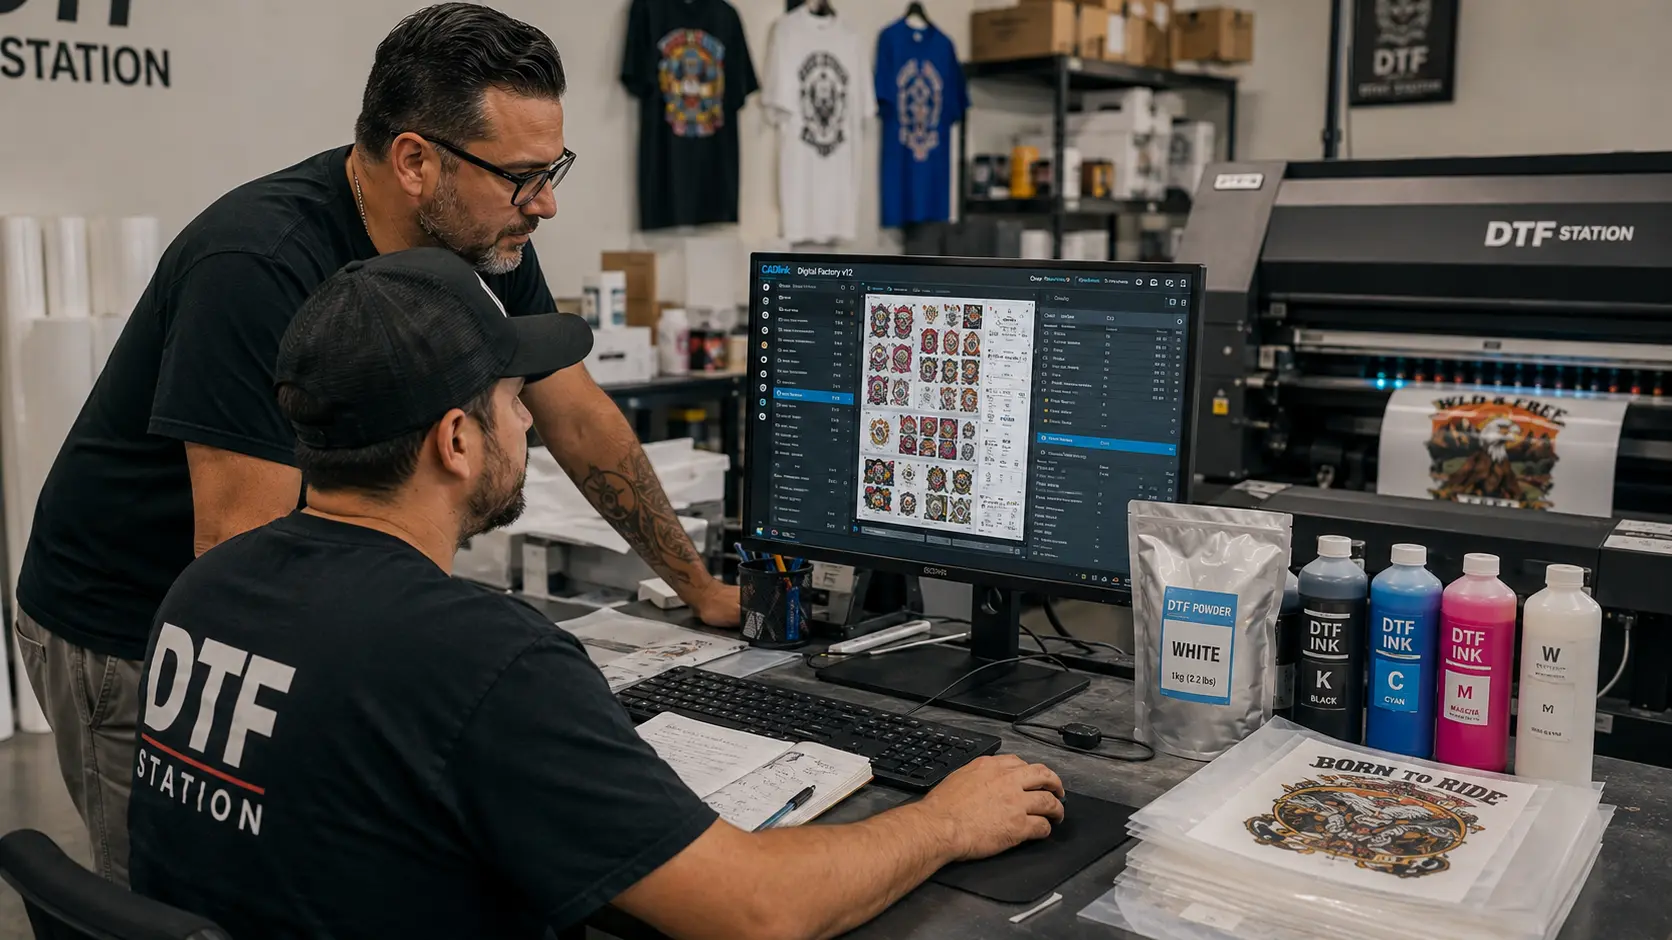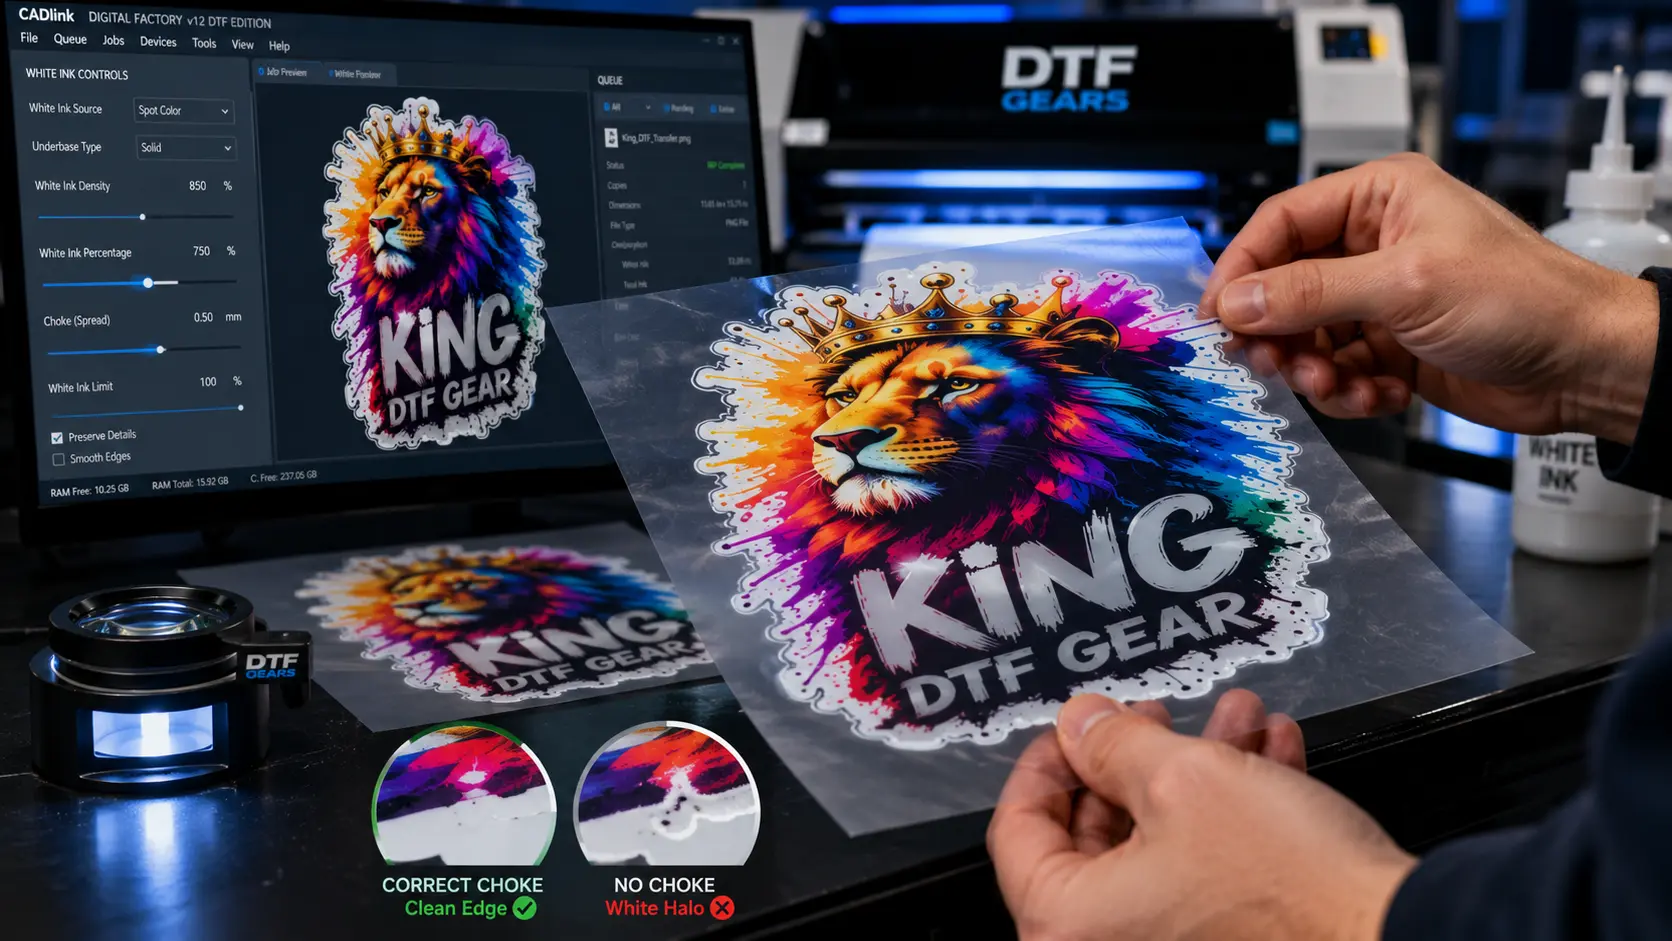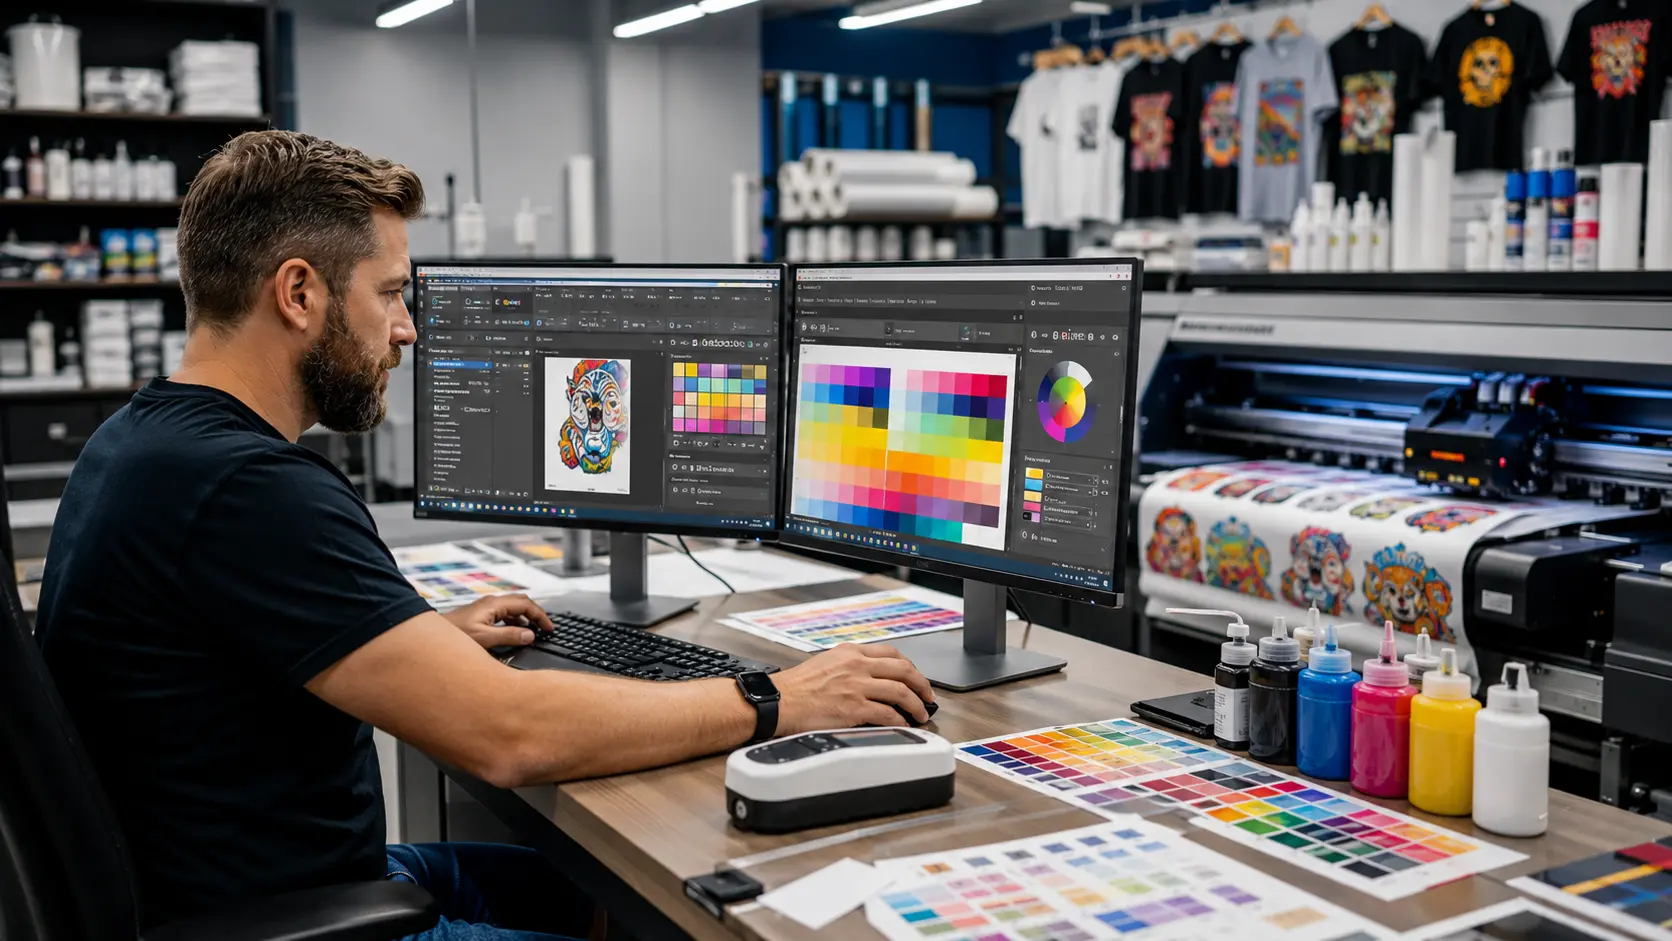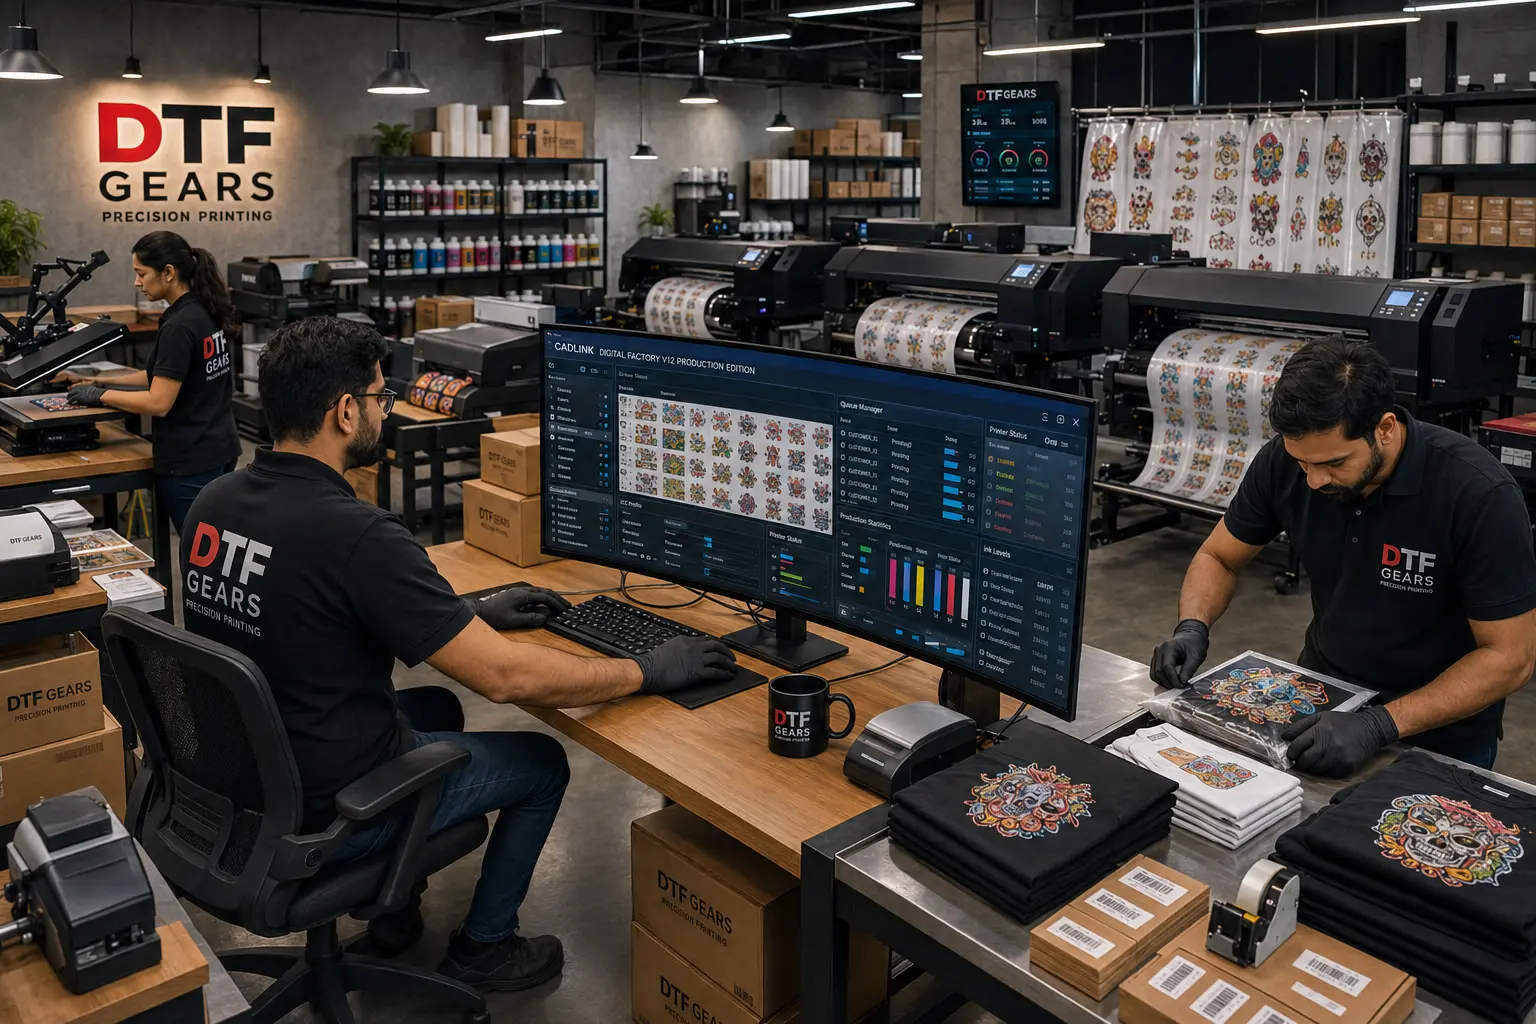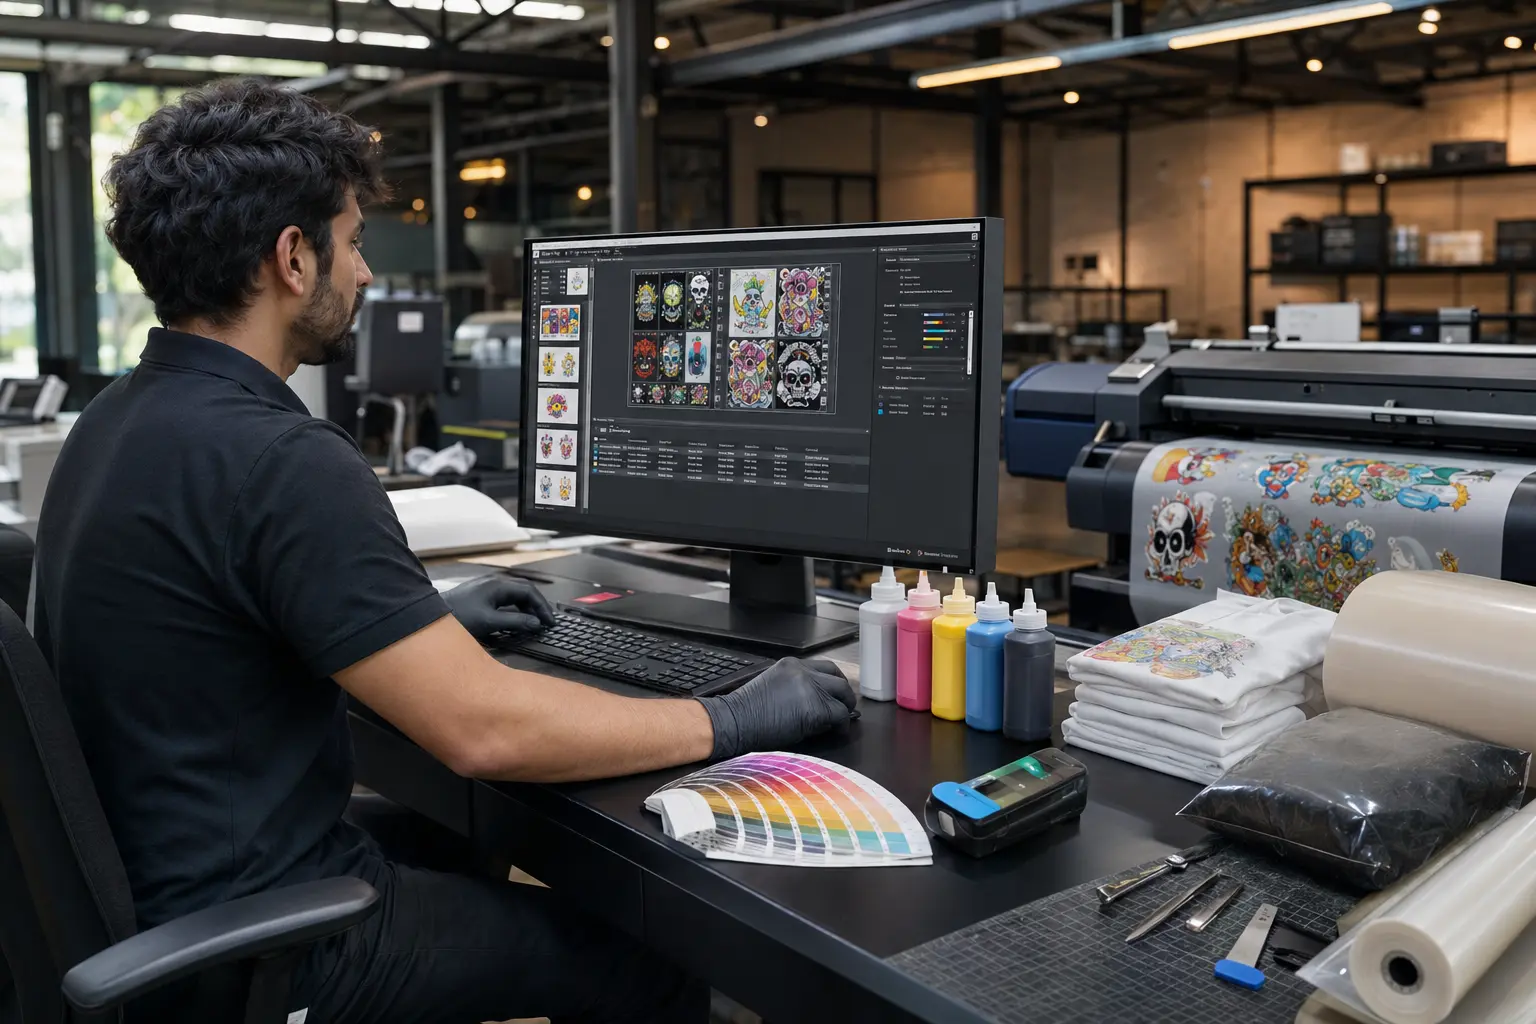

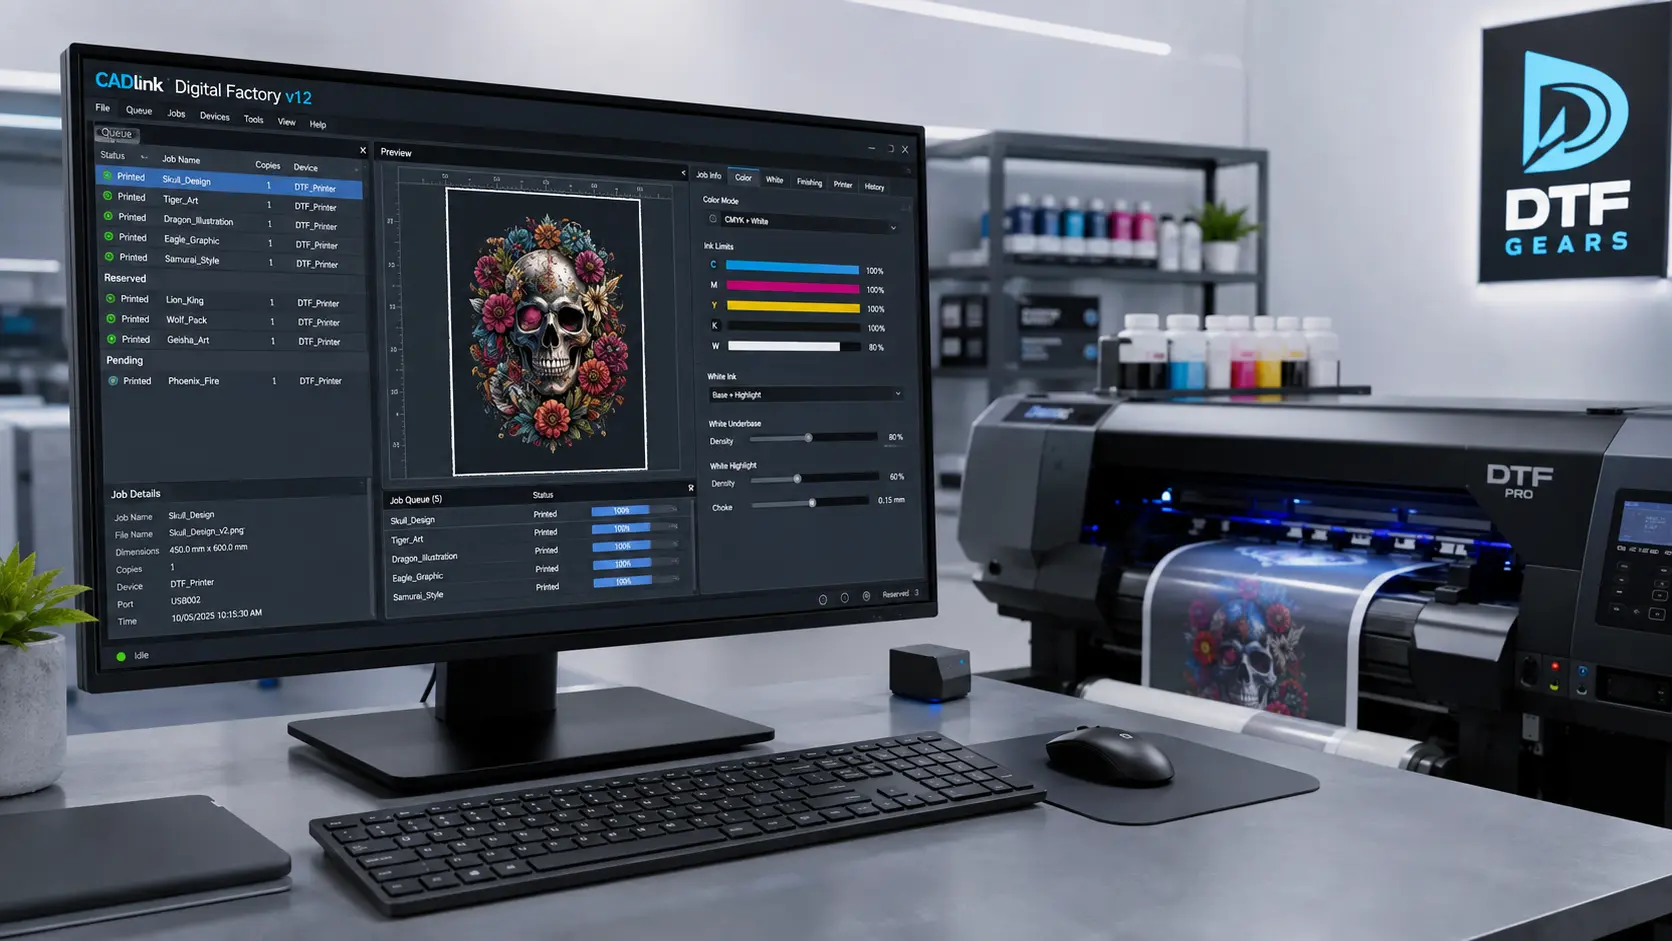
If you’re looking for how to install CADlink Digital Factory V12, the process is straightforward when you follow the correct installation and activation steps. CADlink Digital Factory V12 is a RIP software solution used for DTF printing, color management, white-ink control, production workflow, and print processing.
In this guide, we’ll show you how to install CADlink Digital Factory on Windows, how to complete CADlink V12 activation, connect your DTF printer, and troubleshoot common installation problems.
Whether you’re installing CADlink V12 for the first time or setting up a new DTF printing workstation, this CADlink software setup guide will take you through the complete process.
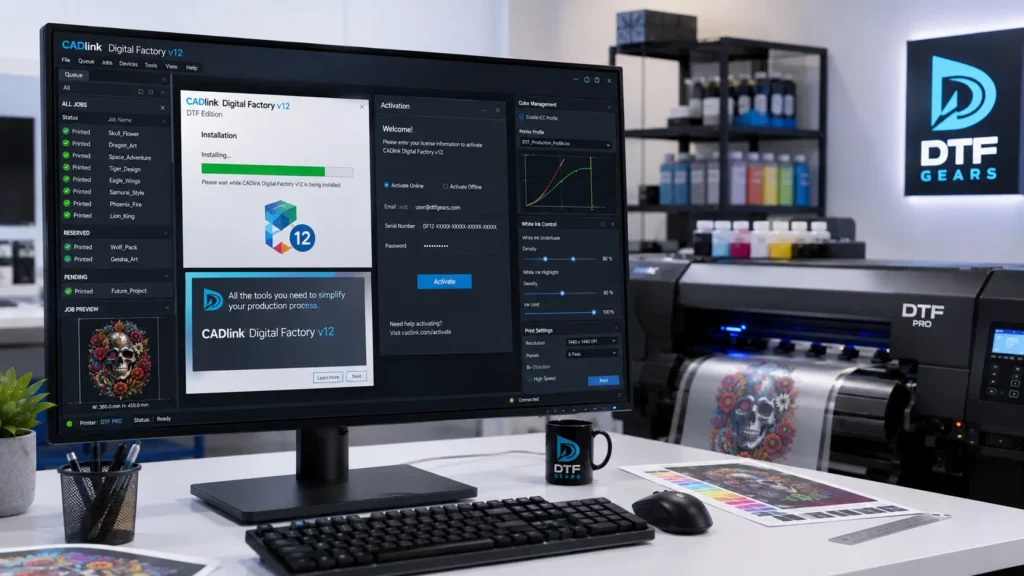
Before You Install CADlink Digital Factory V12: System Requirements
Before you learn how to install CADlink Digital Factory , prepare your Windows computer and DTF printer.
A properly prepared computer can help prevent installation errors, activation problems, and printer communication issues.
What You Need Before Installing CADlink V12
Make sure you have:
- A compatible Windows PC
- Administrator access to Windows
- A stable internet connection
- Your CADlink Digital Factory license information
- The correct CADlink V12 installer
- Your DTF printer and printer driver
- Sufficient storage space
- Your DTF ink, film, and printer configuration information
You should also make sure Windows is updated before starting the CADlink V12 installation.
Have Your CADlink V12 License Ready
If you purchased CADlink Digital Factory from an authorized reseller, keep your license or activation information available.
You will need this information during the CADlink V12 activation process.
Avoid downloading unofficial or modified CADlink installers. Always use the legitimate installer associated with your software license.
Step 1 — Download the Digital Factory V12 Installer
The first step in learning how to install CADlink Digital Factory is downloading the correct installation package.
Use the installer supplied with your CADlink V12 purchase or provided by your authorized CADlink software reseller.
Once the installer has downloaded:
- Open the folder containing the CADlink V12 installer.
- Right-click the installation file.
- Select Run as administrator.
- Allow Windows to launch the installer.
- Review the software license agreement.
- Follow the installation wizard.
- Select the required installation location if prompted.
- Allow the installation to complete.
- Launch Digital Factory V12.
Why Should You Run the CADlink V12 Installer as Administrator?
Running the installer with administrator permissions can help Windows install the required software components correctly.
If you receive a permission-related error while installing CADlink V12, close the installer, right-click it again, select Run as administrator, and restart the installation.
Step 2 — Install CADlink Digital Factory V12
After launching the installer, Windows will guide you through the CADlink Digital Factory installation process.
Follow the on-screen instructions carefully.
During installation:
- Accept the license agreement.
- Keep the default installation location unless you have a specific reason to change it.
- Allow the installer to complete all required components.
- Do not shut down the computer during installation.
- Launch Digital Factory V12 after installation finishes.
Once the installation is complete, you can move to the next stage: CADlink V12 activation.
Step 3 — Activate CADlink Digital Factory V12
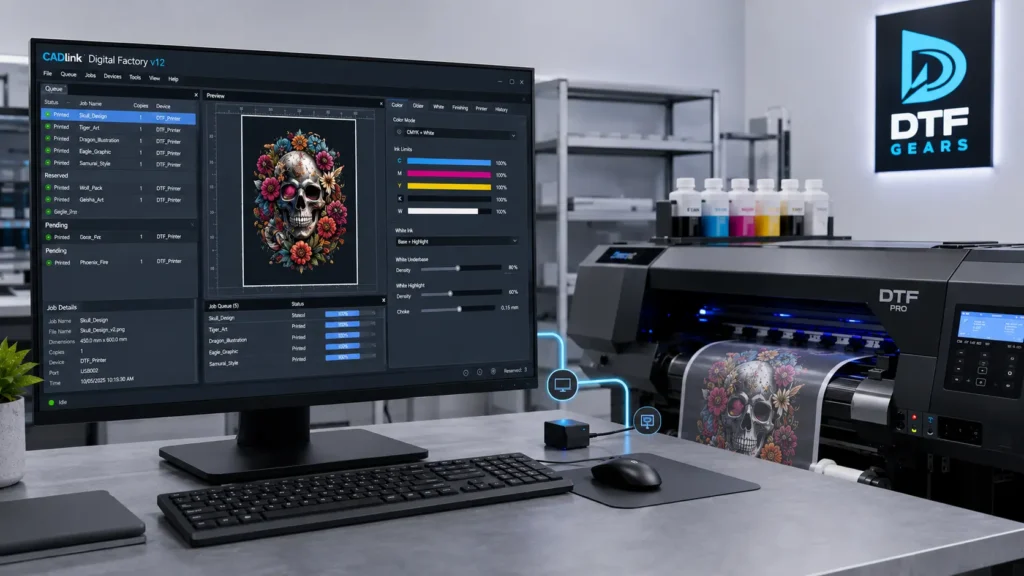
After you install CADlink Digital Factory V12, you need to activate your software license.
CADlink V12 activation verifies that your copy of Digital Factory V12 is properly licensed.
The exact activation screen can vary depending on your CADlink edition and licensing method, so always follow the activation instructions supplied with your purchase.
How to Activate CADlink V12
The general activation process is:
- Open CADlink Digital Factory V12.
- Open the software licensing or activation section.
- Enter the license information provided with your purchase.
- Connect your computer to the internet if online activation is required.
- Follow the activation instructions displayed on screen.
- Wait for the license verification process to finish.
- Restart CADlink V12 if prompted.
After successful CADlink V12 activation, check that your correct Digital Factory edition is displayed.
CADlink V12 Activation Not Working?
If CADlink V12 won’t activate, check the following:
- Verify that your license information is correct.
- Check your internet connection.
- Make sure your Windows date and time are correct.
- Restart Digital Factory V12.
- Restart your computer.
- Check whether Windows Firewall is blocking the software.
- Confirm that you’re using the correct CADlink installer.
If the activation problem continues, contact your CADlink reseller or support provider with the exact error message.
Step 4 — Connect Your DTF Printer to CADlink V12
Once you’ve completed the CADlink V12 installation and activation, the next step is connecting your DTF printer.
This step is essential because CADlink Digital Factory V12 needs to communicate with your printer before you can send production jobs.
Install Your DTF Printer Driver
Before configuring the printer inside CADlink V12:
- Install the correct printer driver.
- Connect the DTF printer to your Windows computer.
- Turn on the printer.
- Allow Windows to recognize the printer.
- Check that the printer appears correctly in Windows.
- Open CADlink Digital Factory V12.
The required printer driver depends on your DTF printer model.
Add Your Printer in CADlink Digital Factory V12
Open the printer or output configuration section in Digital Factory V12.
Select the appropriate printer configuration for your DTF machine and follow the available setup instructions.
Your exact printer settings will depend on the printer model, printhead, ink configuration, and CADlink V12 edition you’re using.
Step 5 — Configure CADlink V12 for DTF Printing
Installing CADlink Digital Factory is only part of the setup.
For consistent DTF output, you also need to configure the software according to your printer and consumables.
Important settings can include:
- Print resolution
- Color management
- ICC profiles
- White-ink settings
- Underbase configuration
- Ink limits
- Print mode
- Media settings
- Production queue settings
Configure White Ink in CADlink V12
White ink plays an important role in DTF printing because it provides the base layer underneath CMYK artwork.
Incorrect white-ink settings can cause:
- Weak colors
- Poor opacity
- Excessive white ink
- Uneven coverage
- Increased ink consumption
For this reason, don’t simply copy another printer’s settings.
Use settings appropriate for your specific DTF printer, ink, film, and production requirements.
Step 6 — Run a Test Print
After completing the CADlink Digital Factory setup, don’t immediately send a large production order.
Start with a small test print.
Check:
- Printer communication
- Artwork positioning
- Print dimensions
- CMYK output
- White-ink coverage
- Color accuracy
- Film alignment
- Print resolution
- Overall print quality
A test print can help identify configuration problems before you use valuable DTF film, ink, and powder for a complete production job.
Troubleshooting CADlink Digital Factory V12 Installation Errors
Even when you follow the correct steps for how to install CADlink Digital Factory , you may encounter installation, activation, or printer connection problems.
Here are some common issues.
CADlink V12 Installation Failed
If the CADlink V12 installation doesn’t complete:
- Restart Windows.
- Run the installer as administrator.
- Confirm that you’re using the correct installer.
- Check available disk space.
- Make sure Windows is updated.
- Check whether security software is blocking installation.
If you still can’t install CADlink Digital Factory V12, save the exact error message and contact your software provider.
CADlink V12 Activation Failed
If CADlink V12 activation isn’t working:
- Check your license information.
- Verify your internet connection.
- Check Windows date and time.
- Restart CADlink V12.
- Restart your computer.
- Check firewall settings.
- Confirm that the installed CADlink edition matches your license.
CADlink V12 Does Not Detect My DTF Printer
If your DTF printer isn’t appearing in CADlink Digital Factory :
- Check the USB or network connection.
- Make sure the printer is powered on.
- Check Windows Device Manager.
- Verify the printer driver.
- Reinstall the appropriate printer driver if necessary.
- Check your printer configuration inside CADlink.
- Restart Digital Factory V12.
For more solutions, read our guide to [Common CADlink V12 Errors & Fixes].
CADlink V12 Is Installed but Print Quality Is Poor
![For more solutions, read our guide to [Common CADlink V12 Errors & Fixes].](https://dtfgears.com/wp-content/uploads/2026/08/ChatGPT-Image-Aug-10-2026-12_40_44-PM-1024x576.webp)
Successful installation doesn’t automatically mean your DTF settings are optimized.
If your print has poor color accuracy, weak white coverage, banding, or other output problems, check:
- ICC profile
- White-ink settings
- Ink limits
- Print resolution
- Printer calibration
- Print mode
- DTF film
- DTF ink compatibility
The correct settings depend heavily on your printer and consumables.
Need Help With CADlink V12 Installation?
Knowing how to install CADlink Digital Factory V12 is the first step. Proper activation, printer configuration, color management, and white-ink setup are equally important for a reliable DTF workflow.
If you’re purchasing CADlink V12 and need help getting started, DTF Gears provides setup support to help you get your software ready for DTF printing.
Shop CADlink Digital Factory V12
Shop CADlink V12 from $394.99
Get CADlink Digital Factory V12 for your DTF printing workflow and get the support you need to set up your software.
Shop CADlink Digital Factory V12
CADlink Digital Factory V12 Installation Checklist
Before starting your first production print, confirm that you’ve completed the following:
- ✅ Downloaded the correct CADlink V12 installer
- ✅ Installed CADlink Digital Factory V12
- ✅ Activated your CADlink V12 license
- ✅ Installed the correct DTF printer driver
- ✅ Connected your DTF printer
- ✅ Configured your printer in CADlink V12
- ✅ Set up color management
- ✅ Configured white-ink settings
- ✅ Checked your print settings
- ✅ Completed a test print
- ✅ Verified the production queue
Final Thoughts
Learning how to install CADlink Digital Factory V12 doesn’t have to be complicated. By following the correct installation, activation, printer connection, and testing process, you can prepare CADlink V12 for your DTF printing workflow.
The most important step is to configure CADlink Digital Factory V12 according to your specific DTF printer, ink, film, ICC profile, and production requirements rather than relying on generic settings.
If you need help with CADlink V12 installation or setup, DTF Gears can help you get started with your DTF RIP software workflow.