
A practical DTF case study on white ink control, ink limits, color management, and production efficiency With CADlink V12
Running a DTF printing business is not just about producing great-looking transfers. It is about producing them consistently, efficiently, and at the lowest practical cost.
For many DTF print shops, ink is one of the largest recurring production expenses. And when a shop is producing hundreds or thousands of transfers every month, even small amounts of unnecessary ink can significantly affect profit margins.
In this case-study scenario, a growing DTF print shop was facing exactly that problem.
The printer was performing well. Customer demand was increasing. Print quality was acceptable.
But ink consumption was higher than expected.
After moving its production workflow to CADlink Digital Factory V12, the shop optimized its white ink, refined ink limits, improved color management, and made better use of its film.
The result?
Approximately 30% lower ink consumption in the case-study scenario.
Here’s what changed.
The DTF Ink Cost Problem
The shop had already invested in capable DTF printing equipment.
The problem wasn’t the printer.
It was the production workflow.
The team noticed that certain jobs were consuming significantly more ink than others. Large graphics, detailed artwork, gradients, and designs requiring substantial white underbases were particularly expensive to produce.
The shop was also relying heavily on standard print settings instead of creating optimized production profiles for different types of artwork.
That created several problems:
- Excessive white ink usage
- Higher CMYK ink consumption
- Inconsistent ink coverage
- Increased cost per transfer
- More difficult production costing
- Occasional reprints
- Inefficient film usage
When production volume is low, these issues can be easy to overlook.
When a DTF shop starts scaling, they become much harder to ignore.
The Solution: CADlink Digital Factory V12
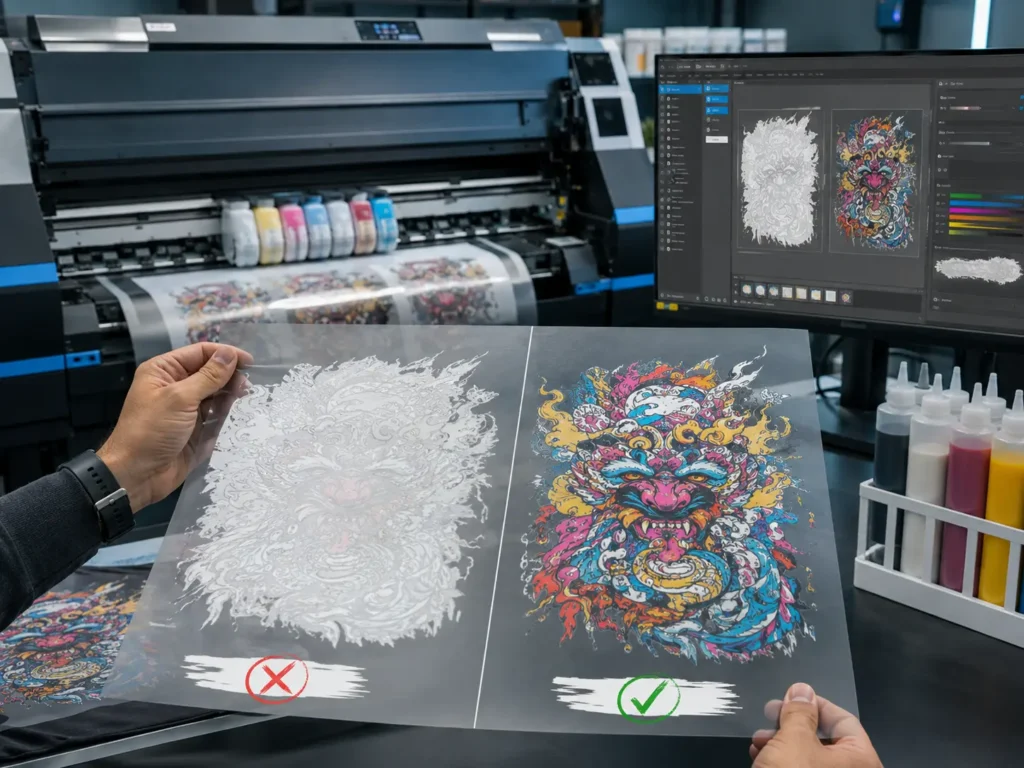
The shop introduced CADlink Digital Factory V12 into its DTF production workflow.
Instead of treating RIP software simply as a tool for sending artwork to the printer, the team used it to gain greater control over how the artwork was processed and printed.
This included:
- White ink management
- Ink-limit adjustment
- Underbase control
- Color management
- Print-mode optimization
- Gang-sheet production
- Job queuing
- Production workflow management
The objective wasn’t to simply reduce ink at any cost.
It was to find the right balance between ink consumption and print quality.
That’s an important distinction.
Using less ink doesn’t automatically mean better production.
The goal is to eliminate unnecessary ink usage while maintaining the quality customers expect.
Step 1: Optimizing White Ink
White ink was one of the biggest opportunities for improvement.
In DTF printing, white ink creates the foundation beneath the CMYK image. It is especially important when printing designs onto dark or colored garments.
But applying more white ink than necessary increases production costs.
The shop began testing different white-ink settings in CADlink V12 to determine how much underbase was actually required for different types of artwork.
CADlink Digital Factory provides controls for white ink settings, including maximum white ink, white choke, and underbase-related adjustments.
This gave the operator much greater control over the white layer rather than relying on a single aggressive setting for every job.
The result?
The shop reduced unnecessary white ink deposition while maintaining the opacity required for its production requirements.
The difference was particularly noticeable on designs containing:
- Large solid areas
- Gradients
- Shadows
- Semi-transparent artwork
- Detailed graphics
- Different levels of opacity
For DTF shops, this is an important lesson:
White ink should be optimized—not simply maximized.
Step 2: Calibrating Ink Limits
The next area the shop addressed was ink limits.
If a print mode allows excessive amounts of ink to be deposited, the result can be higher ink consumption without a proportional improvement in print quality.
The team therefore tested and refined its ink limits.
CADlink Digital Factory allows operators to work with individual ink limits and create controlled print modes for production.
Instead of assuming that maximum ink output produces the best result, the shop tested how far it could reduce ink levels while retaining the required:
- Color density
- Detail
- Contrast
- Saturation
- White coverage
- Overall image quality
This helped create more efficient production settings.
The objective became simple:
Use enough ink to achieve the desired result—and no more.
Step 3: Improving Color Management
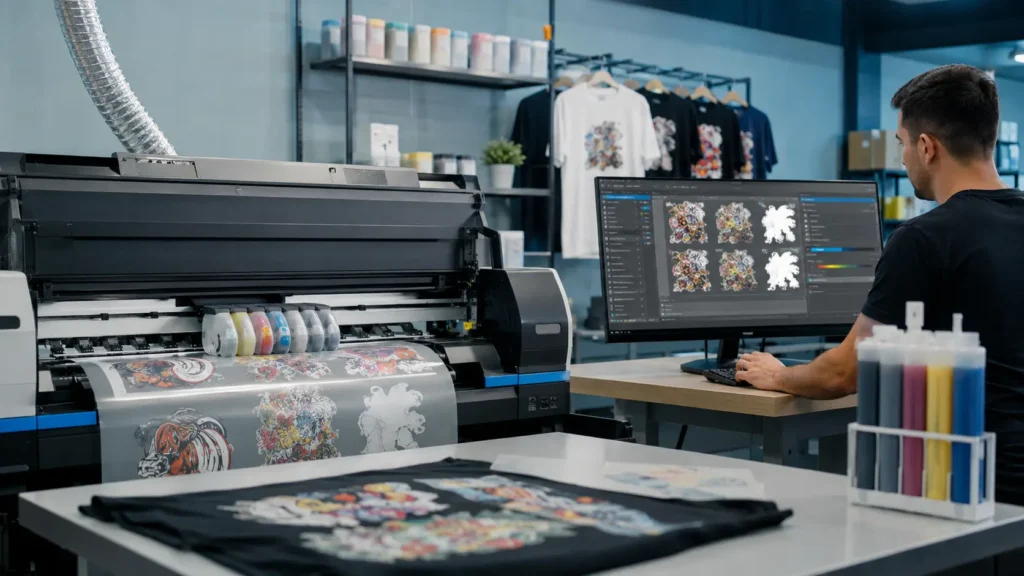
Ink savings aren’t useful if print quality drops.
The shop therefore focused on color consistency at the same time.
Before the change, operators sometimes compensated for weak or inconsistent output by increasing ink levels.
That could make certain prints appear more saturated, but it also increased consumable costs.
With a more controlled RIP workflow, the shop could establish repeatable color settings instead of constantly adjusting individual jobs.
CADlink Digital Factory supports ICC color management and provides tools for controlling color output and ink levels.
This helped the shop move away from trial-and-error production.
Why does this matter?
Because consistent color reduces unnecessary reprints.
If the first transfer meets the required quality standard, the shop doesn’t need to spend additional ink and film producing a replacement.
That makes color management part of the cost-saving strategy—not just a quality-control feature.
Step 4: Getting More From Every Gang Sheet
Ink wasn’t the only production expense.
Film usage also needed attention.
Previously, smaller jobs were sometimes printed individually, leaving unused areas of film.
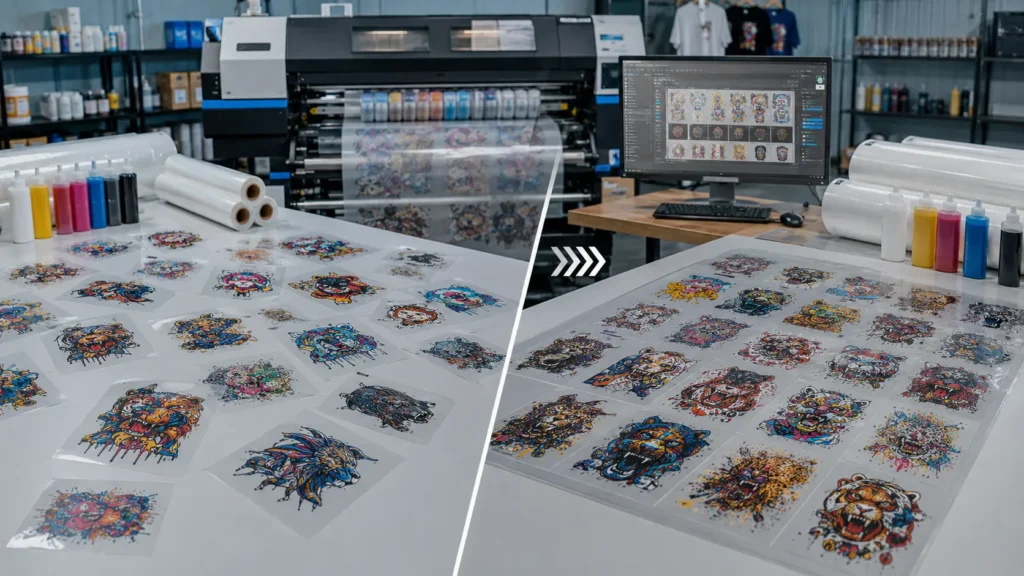
The shop began using the Gang Sheet Builder in CADlink V12 to combine compatible designs into more efficient layouts.
Instead of:
Design → Print → Cut → Repeat
the workflow became:
Multiple designs → Optimized layout → Single production run
This helped the shop make better use of each sheet of DTF film.
More efficient gang sheets can also reduce handling time and improve production throughput.
The result is not necessarily a reduction in ink used per square inch—but it can reduce the overall cost per finished transfer.
Before vs. After CADlink V12
The shop established its original ink consumption as a baseline and then compared production after optimizing its CADlink V12 workflow.
| Production Area | Before | After Optimization |
|---|---|---|
| White ink | Higher usage | Controlled |
| Ink limits | Generic settings | Calibrated |
| Color management | Less consistent | More controlled |
| Gang sheets | Less efficient | Better utilization |
| Reprints | Higher risk | Reduced |
| Ink consumption | 100% baseline | ~70% |
| Potential ink reduction | — | ~30% |
Note: The 30% reduction shown here is an illustrative case-study scenario. Actual savings vary based on printer model, ink set, artwork, print mode, RIP settings, media, and production volume.
What Does a 30% Ink Reduction Mean?
Let’s put the numbers into perspective.
Imagine a DTF print shop spending $2,000 per month on ink.
A theoretical 30% reduction would bring that expense to approximately:
$2,000 → $1,400 per month
That’s a difference of:
$600 per month
Or:
$7,200 per year.
The actual savings will depend on the shop’s starting ink consumption and production setup.
But the principle is important.
When margins are tight, reducing production costs can be just as valuable as increasing sales.
And unlike a temporary promotion or discount, improving production efficiency can continue benefiting the business across every future order.
Why White Ink Deserves Special Attention in DTF Printing
If you’re trying to reduce DTF ink costs, start by looking at white ink.
The white layer is essential for producing vibrant DTF transfers, especially on dark garments.
But the amount of white ink required can vary significantly depending on the artwork.
A detailed logo with transparent elements doesn’t necessarily require the same white-ink treatment as a large solid graphic.
That’s why a professional DTF RIP software solution can make such a difference.
CADlink V12 provides operators with greater control over the white layer, helping them adjust production according to the artwork rather than using one setting for every job.
The objective is not:
“How little ink can we use?”
It is:
“What is the minimum practical ink level that delivers the quality we need?”
That is a much better way to approach DTF ink optimization.
CADlink V12 Is More Than a DTF Printer Driver
A RIP solution sits between your artwork and your printer.
That makes it an important part of the production process.
With CADlink Digital Factory V12, DTF businesses can gain greater control over several stages of production.
White Ink Control
Fine-tune the white layer and underbase according to production requirements.
Ink-Limit Management
Control how much ink is deposited instead of relying entirely on generic settings.
Color Management
Create more consistent and predictable color output.
Gang Sheet Production
Arrange multiple designs efficiently to make better use of available film.
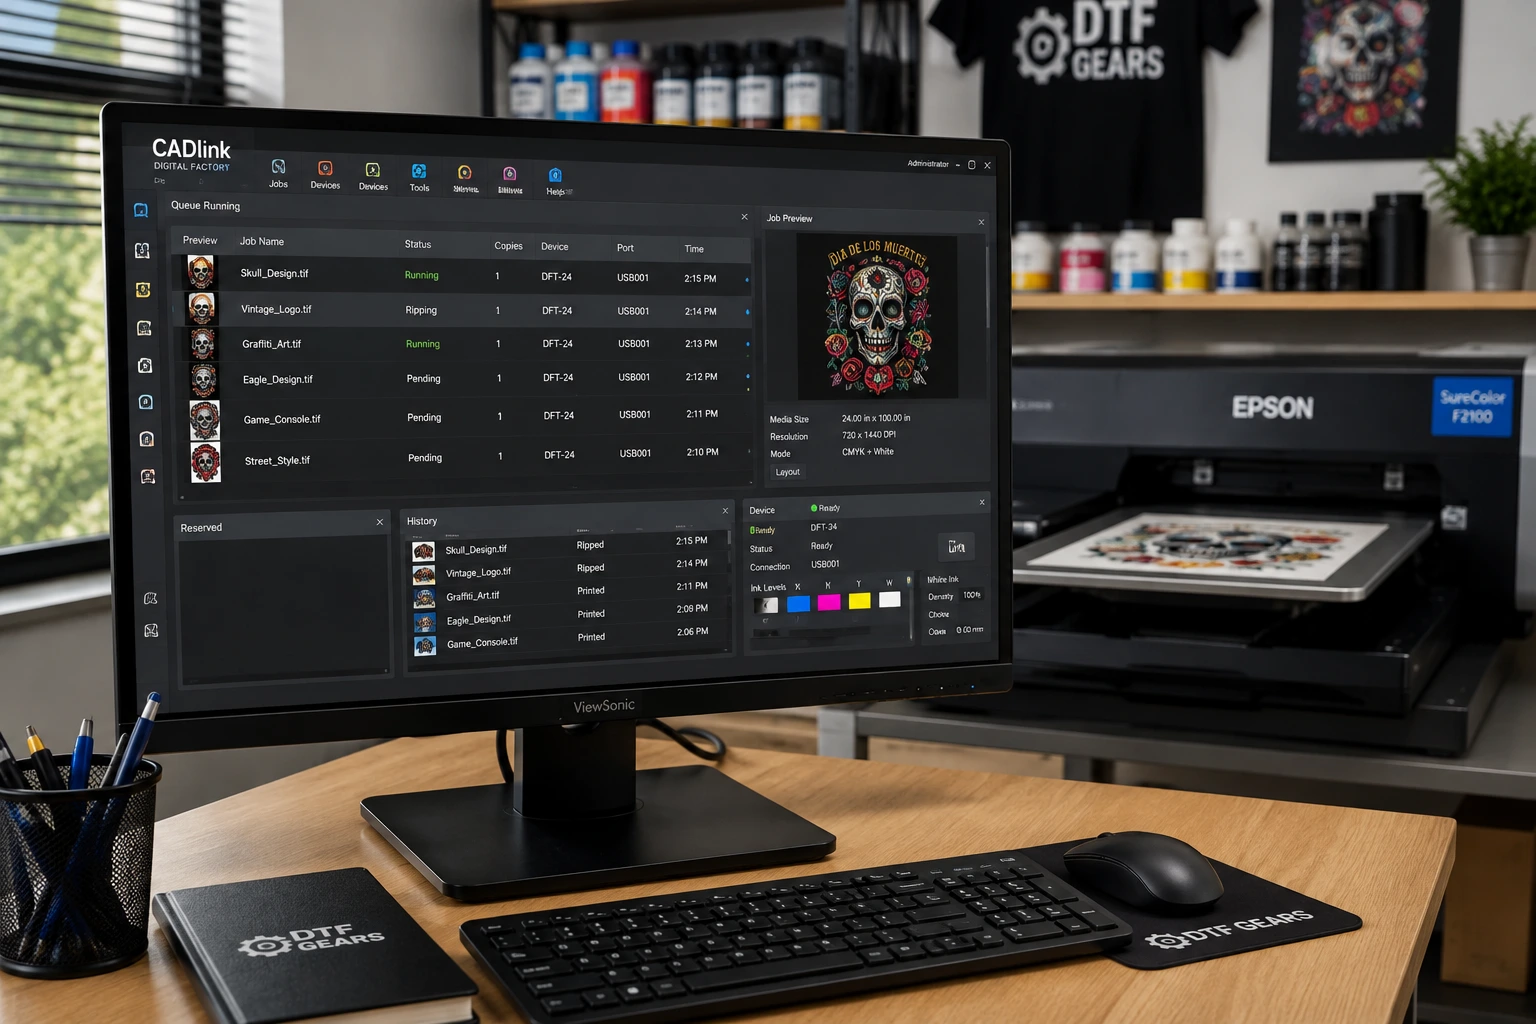
Production Queue
Organize jobs and streamline the workflow from artwork preparation to printing.
Job Preview
Review production jobs before sending them to the printer.
For a growing DTF operation, these controls can make the difference between simply printing more and producing more profitably.
Could CADlink V12 Reduce Your DTF Ink Costs?
There is no universal 30% saving.
Every DTF shop is different.
Your potential savings depend on factors such as:
- Printer model
- Ink brand
- RIP settings
- White ink configuration
- Artwork type
- Print volume
- Film
- Existing color profiles
- Current ink limits
- Production workflow
A shop that already has highly optimized production settings may see a smaller improvement.
A shop using generic settings and heavy white underbases may have much more room for optimization.
The best way to find out is to measure your current production.
How to Measure Your DTF Ink Savings
Before changing your workflow, establish a baseline.
Track these numbers for a representative production period:
1. Ink Consumption
Measure how much CMYK and white ink is being used.
2. Transfers Produced
Record the number of completed transfers.
3. Ink Cost Per Transfer
Calculate your average ink expense for each transfer.
4. Film Consumption
Measure how much DTF film you’re using per order.
5. Reprints
Track transfers that need to be reproduced because of quality or production issues.
6. Monthly Ink Expense
Compare your total monthly ink spending before and after optimization.
Once you have these numbers, you can make decisions based on actual production data rather than assumptions.
The Real Lesson: Optimize Before You Upgrade
When DTF production becomes expensive, the first instinct is often to buy faster equipment.
Sometimes that’s the right decision.
But before investing in another printer, look at the workflow behind your existing equipment.
Are you:
- Using excessive white ink?
- Running inefficient ink limits?
- Reprinting because of inconsistent color?
- Wasting film?
- Printing jobs individually when they could be combined?
- Using the same settings for every type of artwork?
If the answer is yes, there may be efficiency improvements available before you spend thousands on additional hardware.
That’s where professional DTF printing software can become an important part of your production strategy.
Why DTF Gears Recommends Looking at the Entire DTF Workflow
At DTF Gears, we understand that successful DTF production involves more than choosing a printer.
Your printer, film, powder, ink, RIP software, artwork, and production settings all work together.
That’s why choosing the right CADlink DTF RIP software matters.
CADlink Digital Factory V12 gives DTF operators the tools to take greater control over:
Ink → Color → White → Layout → Production
And that control can help a growing print business make better decisions about cost and quality.
Final Takeaway
The biggest opportunity for reducing DTF production costs isn’t always found in the printer itself.
Sometimes, it is in the settings and workflow behind the printer.
In this case-study scenario, optimizing white ink, ink limits, color management, and gang-sheet production helped reduce overall ink consumption by approximately 30%.
The lesson is simple:
Don’t just print more. Print smarter.
If you’re looking to improve your DTF production workflow, CADlink Digital Factory V12 gives you more control over the way your artwork is processed and printed.
And when every transfer matters to your margins, better control can make a meaningful difference.
Ready to Optimize Your DTF Production?
Explore CADlink Digital Factory V12 at DTF Gears and take greater control of your DTF RIP workflow, white ink, color management, and production process.